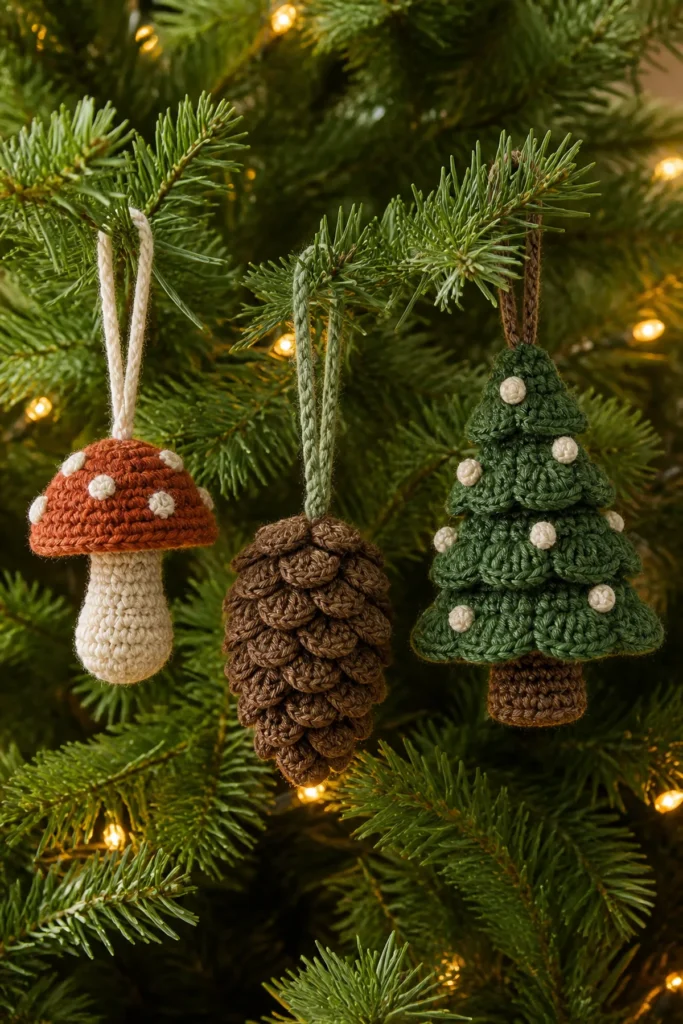
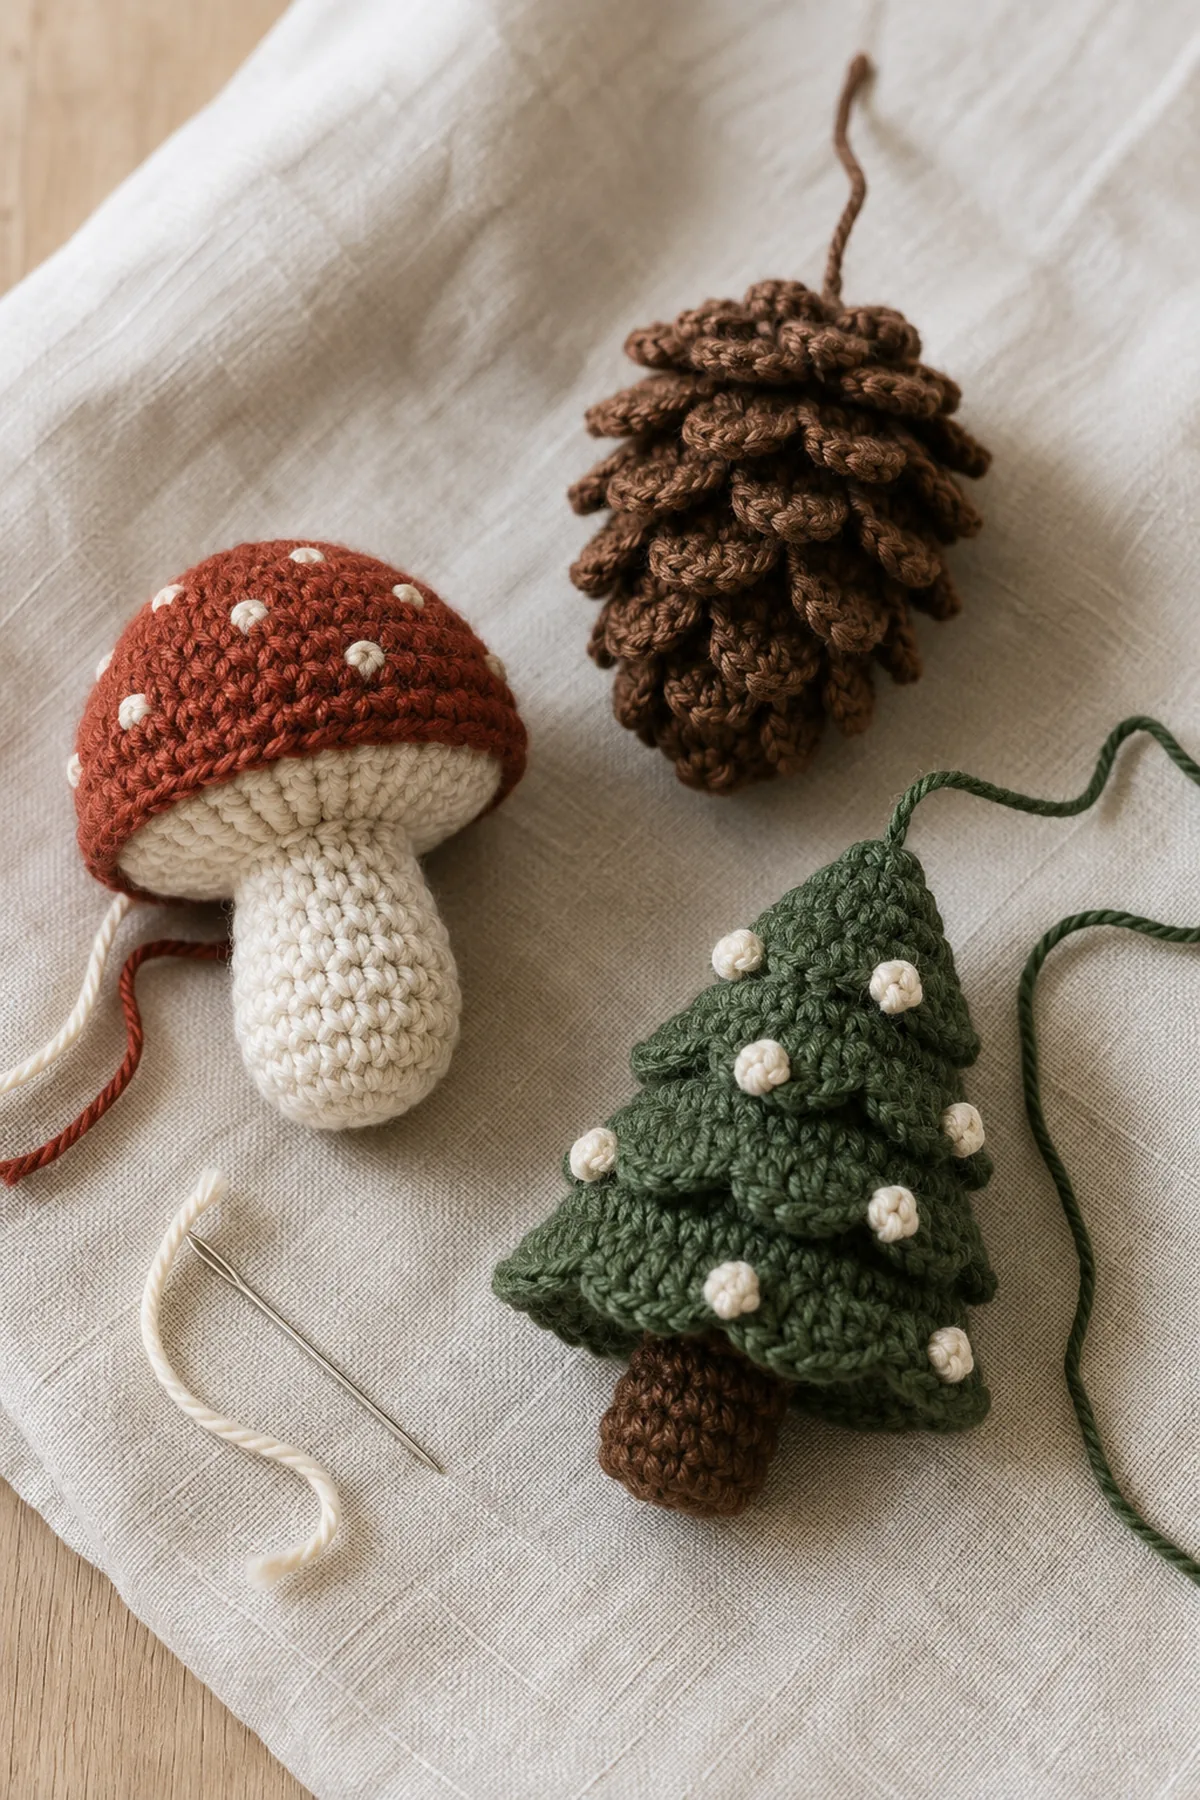
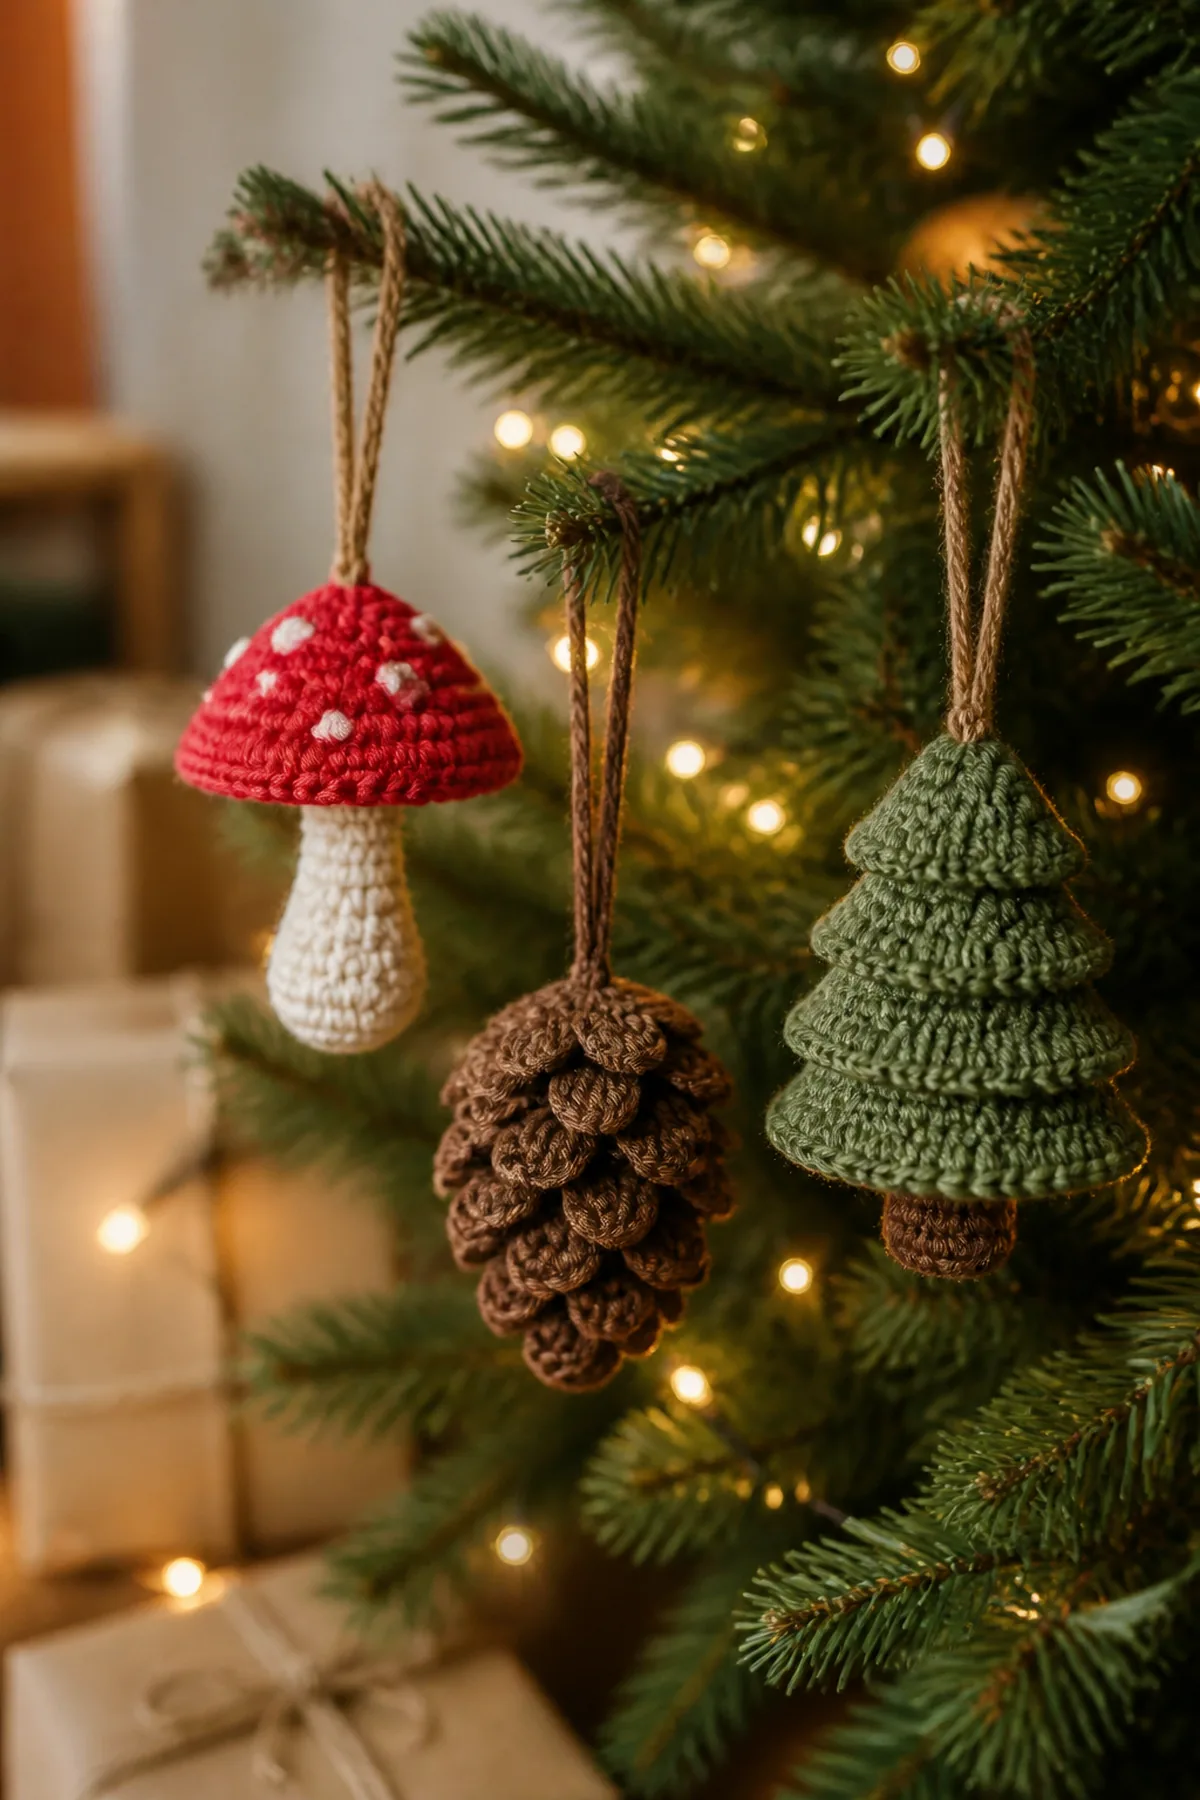
Instead of repeating one bauble, this woodland set gives a Christmas tree three related shapes: a warm mushroom, a layered pinecone and a compact fir. Shared cream and sage details hold the collection together, while each ornament uses a different construction and remains recognizable on its own.
Project Overview
A coordinated woodland collection containing one rust mushroom, one textured brown pinecone and one green fir tree ornament.
This design is mathematically checked but has not been physically sample-tested. Make and measure a swatch or first component, adjust for your yarn and tension, and review the finished draft before publication.
Pattern Details
- Skill Level: Intermediate
- Yarn Weight: Sport
- Hook Size: 3.5 mm
- Finished Size: Mushroom about 3.5 in, pinecone about 4 in, tree about 4.5 in tall
- Gauge: First 4 mushroom-cap rounds measure about 2.5 in / 6.5 cm across
- Terminology: US
- Estimated Time: About 4–6 hours for all three
Materials
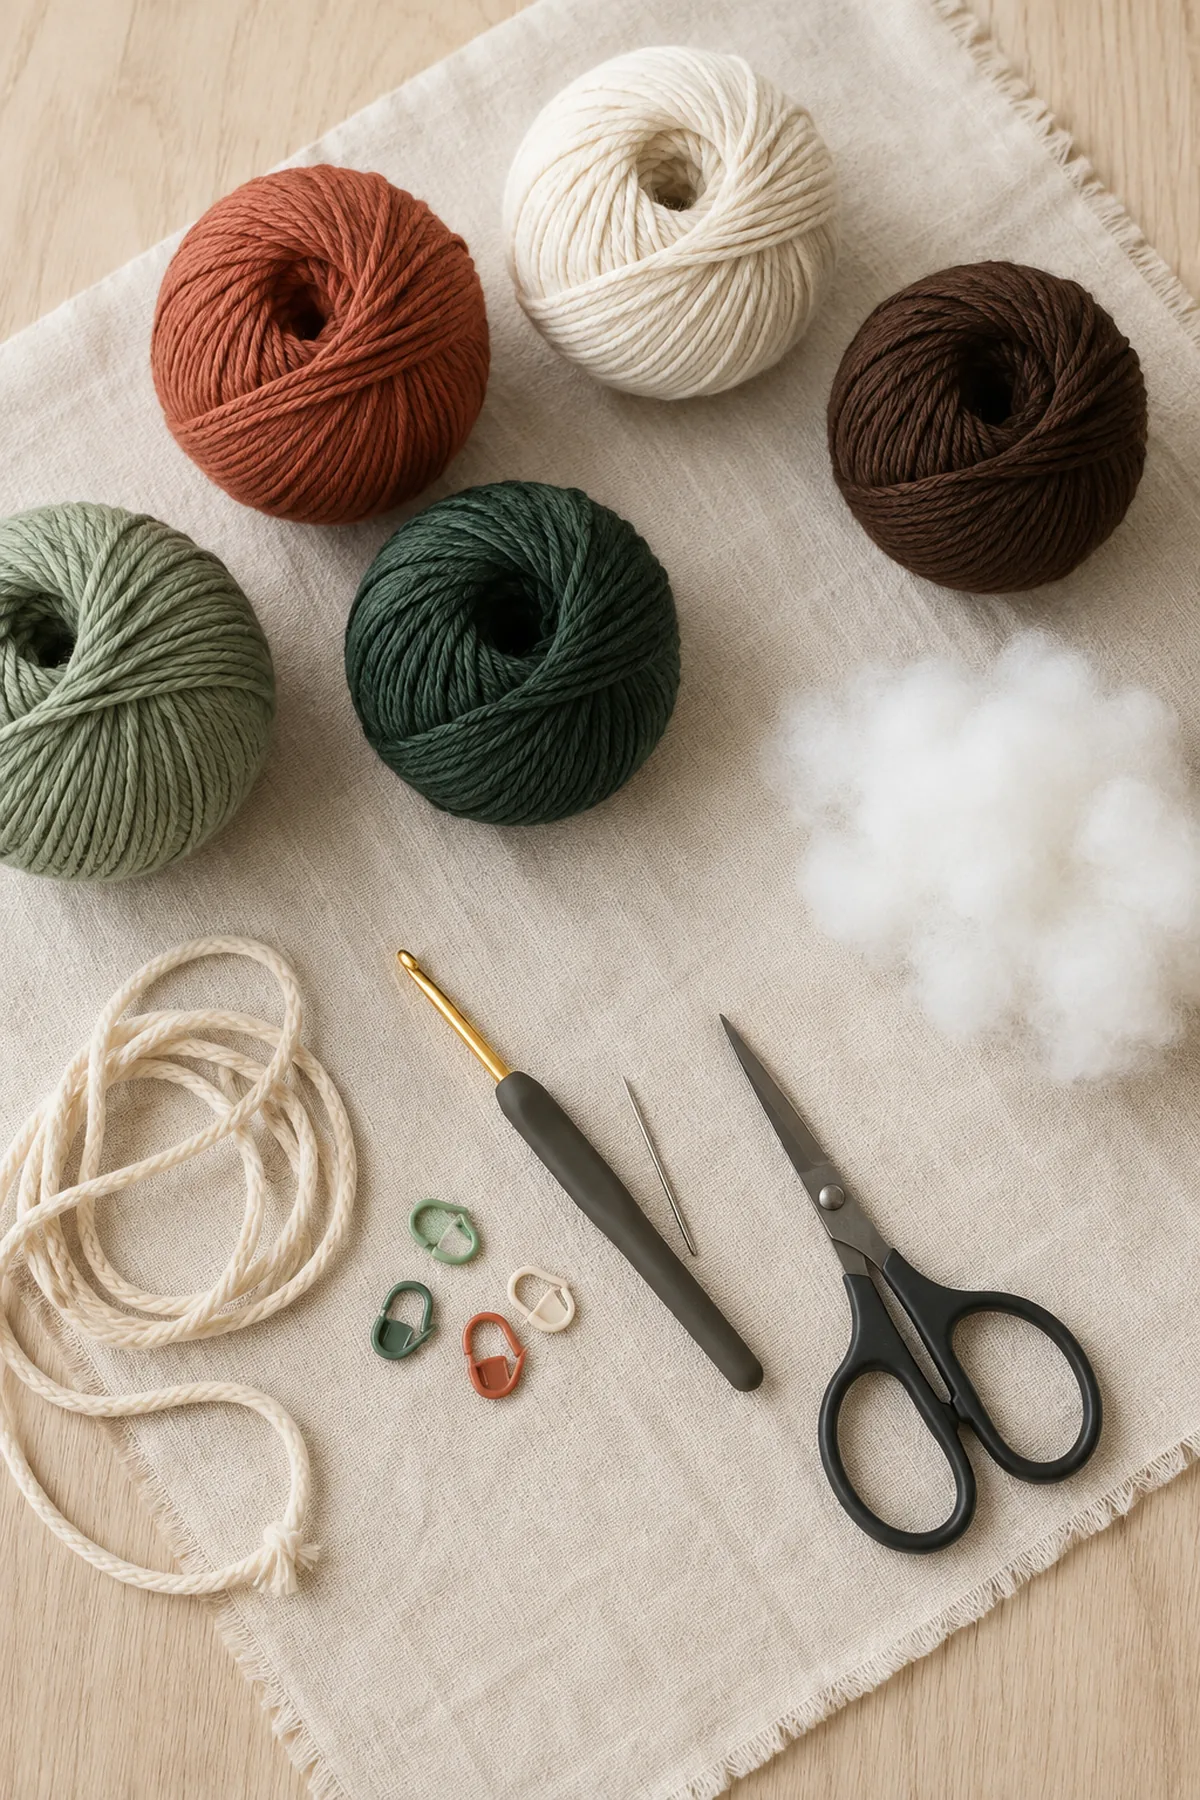
- Sport-weight cotton: about 35 yd rust, 25 yd cream, 45 yd brown, 25 yd sage and 45 yd forest green
- 3.5 mm crochet hook
- Small amount of washable polyester fiberfill for mushroom and pinecone only
- Tapestry needle, scissors, stitch markers and three 8-inch lengths of hanging cord
Abbreviations
- ch = chain
- sc = single crochet
- hdc = half double crochet
- dc = double crochet
- tr = treble crochet
- sl st = slip stitch
- st(s) = stitch(es)
- sc2tog = single crochet two together
Important Notes
- US terminology; use a marker for continuous rounds
- Stuff only enough to support shape, never so firmly that stitches gap
- Every hanging loop passes through several crochet stitches
- These ornaments contain loops and small parts and are not toys
Ornament One: Woodland Mushroom
With rust, make an adjustable ring and work 6 sc. Do not join. (6 sts)
Rnd 2: Work 2 sc in each stitch. (12 sts)
Rnd 3: Repeat [sc, 2 sc in next stitch] six times. (18 sts)
Rnd 4: Repeat [sc in next 2 stitches, 2 sc in next stitch] six times. (24 sts)
Rnds 5–6: Sc in each stitch. (24 sts) Fasten off with a sewing tail. For the cream stem, work 6 sc in an adjustable ring, then sc around for five rounds. Lightly stuff the cap and stem, center the stem under the cap and sew through matching back loops. Add five small cream surface-stitch dots to the cap, anchoring each tail inside.
Ornament Two: Textured Pinecone
With brown, make 6 sc in an adjustable ring. Rnd 2: Work 2 sc in each stitch for 12 sc. Rnd 3: Repeat [sc, 2 sc] six times for 18 sc. Rnds 4–8: Sc around for 18 sc. Rnd 9: Repeat [sc, sc2tog] six times for 12 sc, adding a small amount of stuffing. Rnd 10: Sc2tog six times for 6 sc; close. Starting at the lower tip, surface crochet upward in a spiral, repeating [slip stitch, ch 3, slip stitch in the same stitch] to create flexible scales. Stop below the top and add a sage hanging loop.
Ornament Three: Flat Fir Tree
With forest green, ch 2. Row 1: Work 2 sc in the second chain. Row 2: Ch 1, turn, 2 sc in each stitch for 4 sc. Row 3: Ch 1, turn, sc across for 4 sc. Continue alternating an increase row—2 sc in the first and last stitch, sc between—with an even sc row until an increase row has 14 sc. Work one even row. Fasten off. Make a second matching triangle. Sew the two triangles together around the sides with no stuffing, leaving the lower edge open. Insert a small cream rectangle made from 5 sc for 4 rows as the trunk, then close the lower edge. Sew five cream bobbles across the front and add a sage loop at the tip.
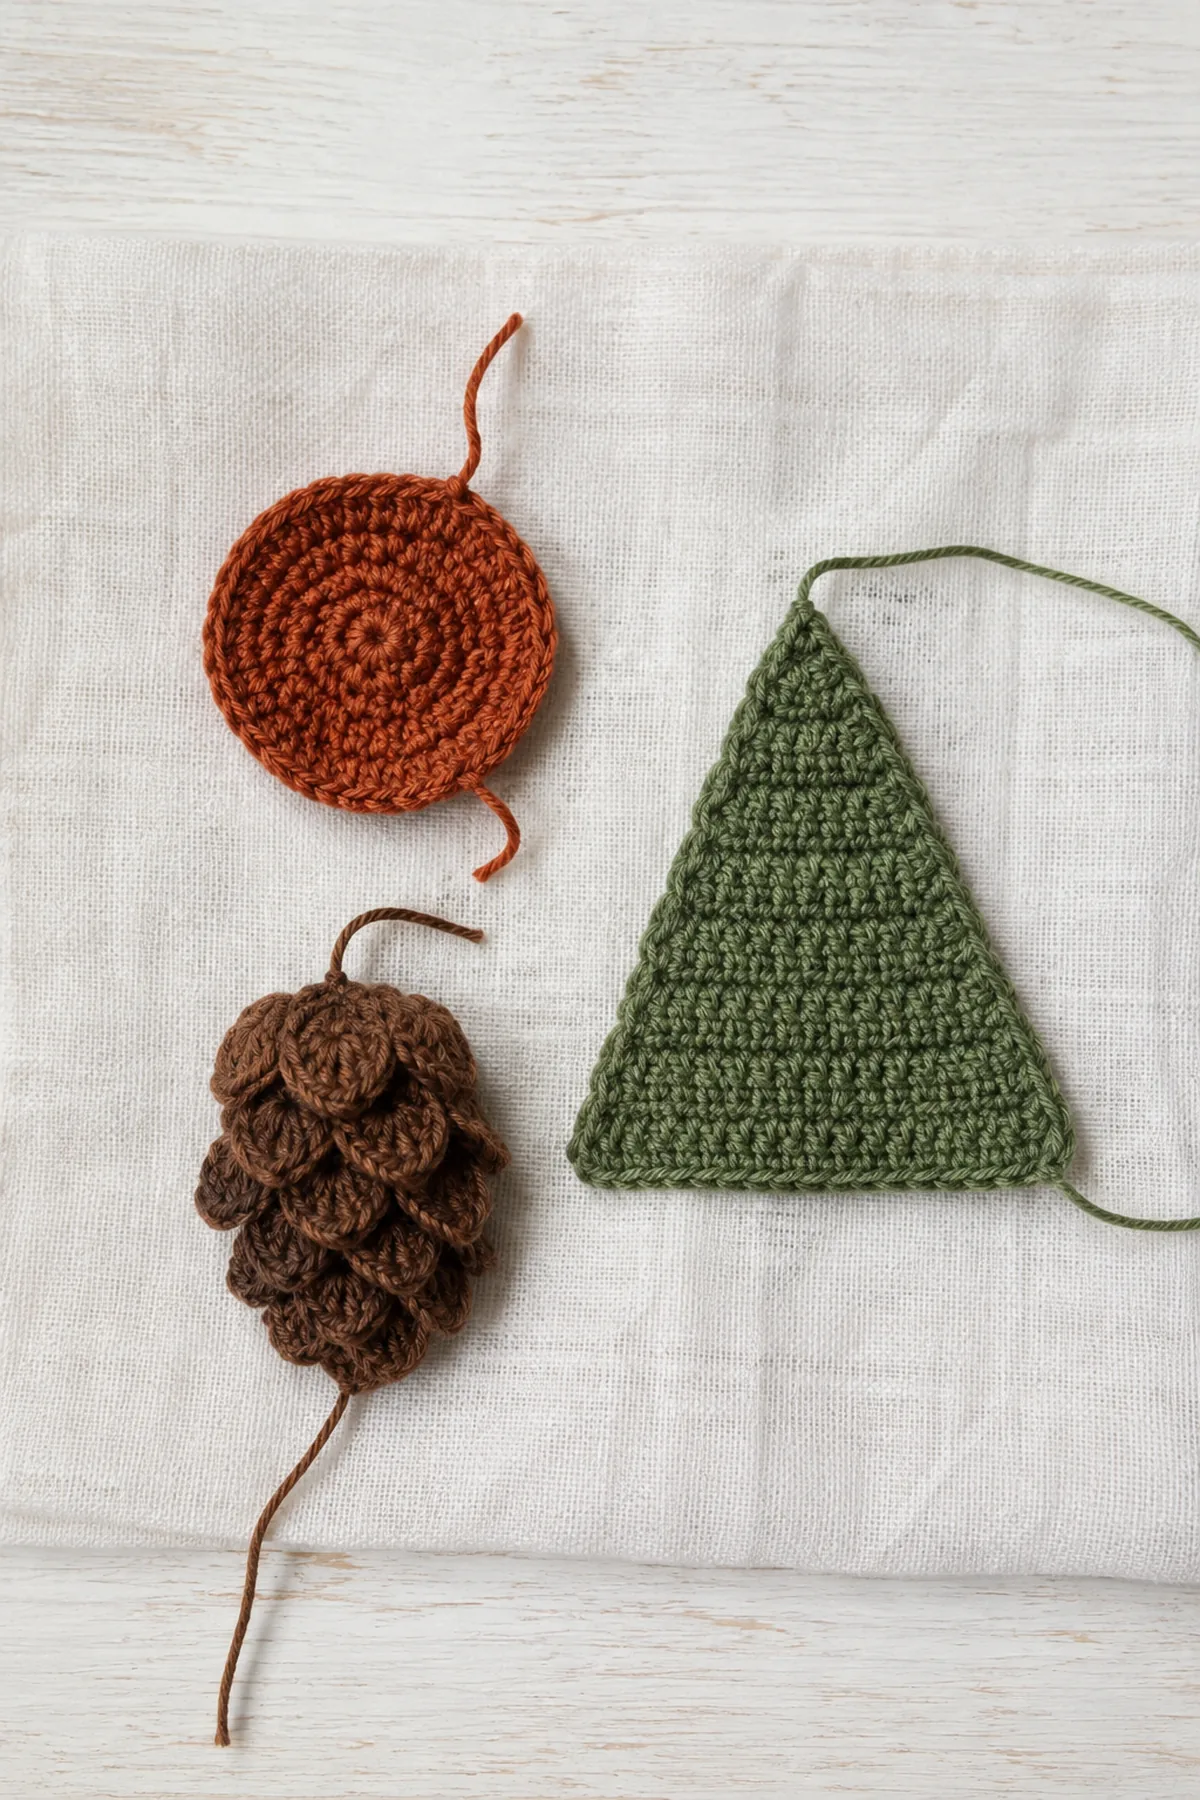
The early-stage image is a generated construction illustration. Use the written stitch counts as the working reference.
Finishing
Weave every tail through a different path and tug each decoration and loop gently. Steam-block only the flat tree; keep heat away from fiberfill. Arrange the three ornaments together to check color balance. Store them in acid-free tissue without crushing the pinecone scales.
Customization Ideas
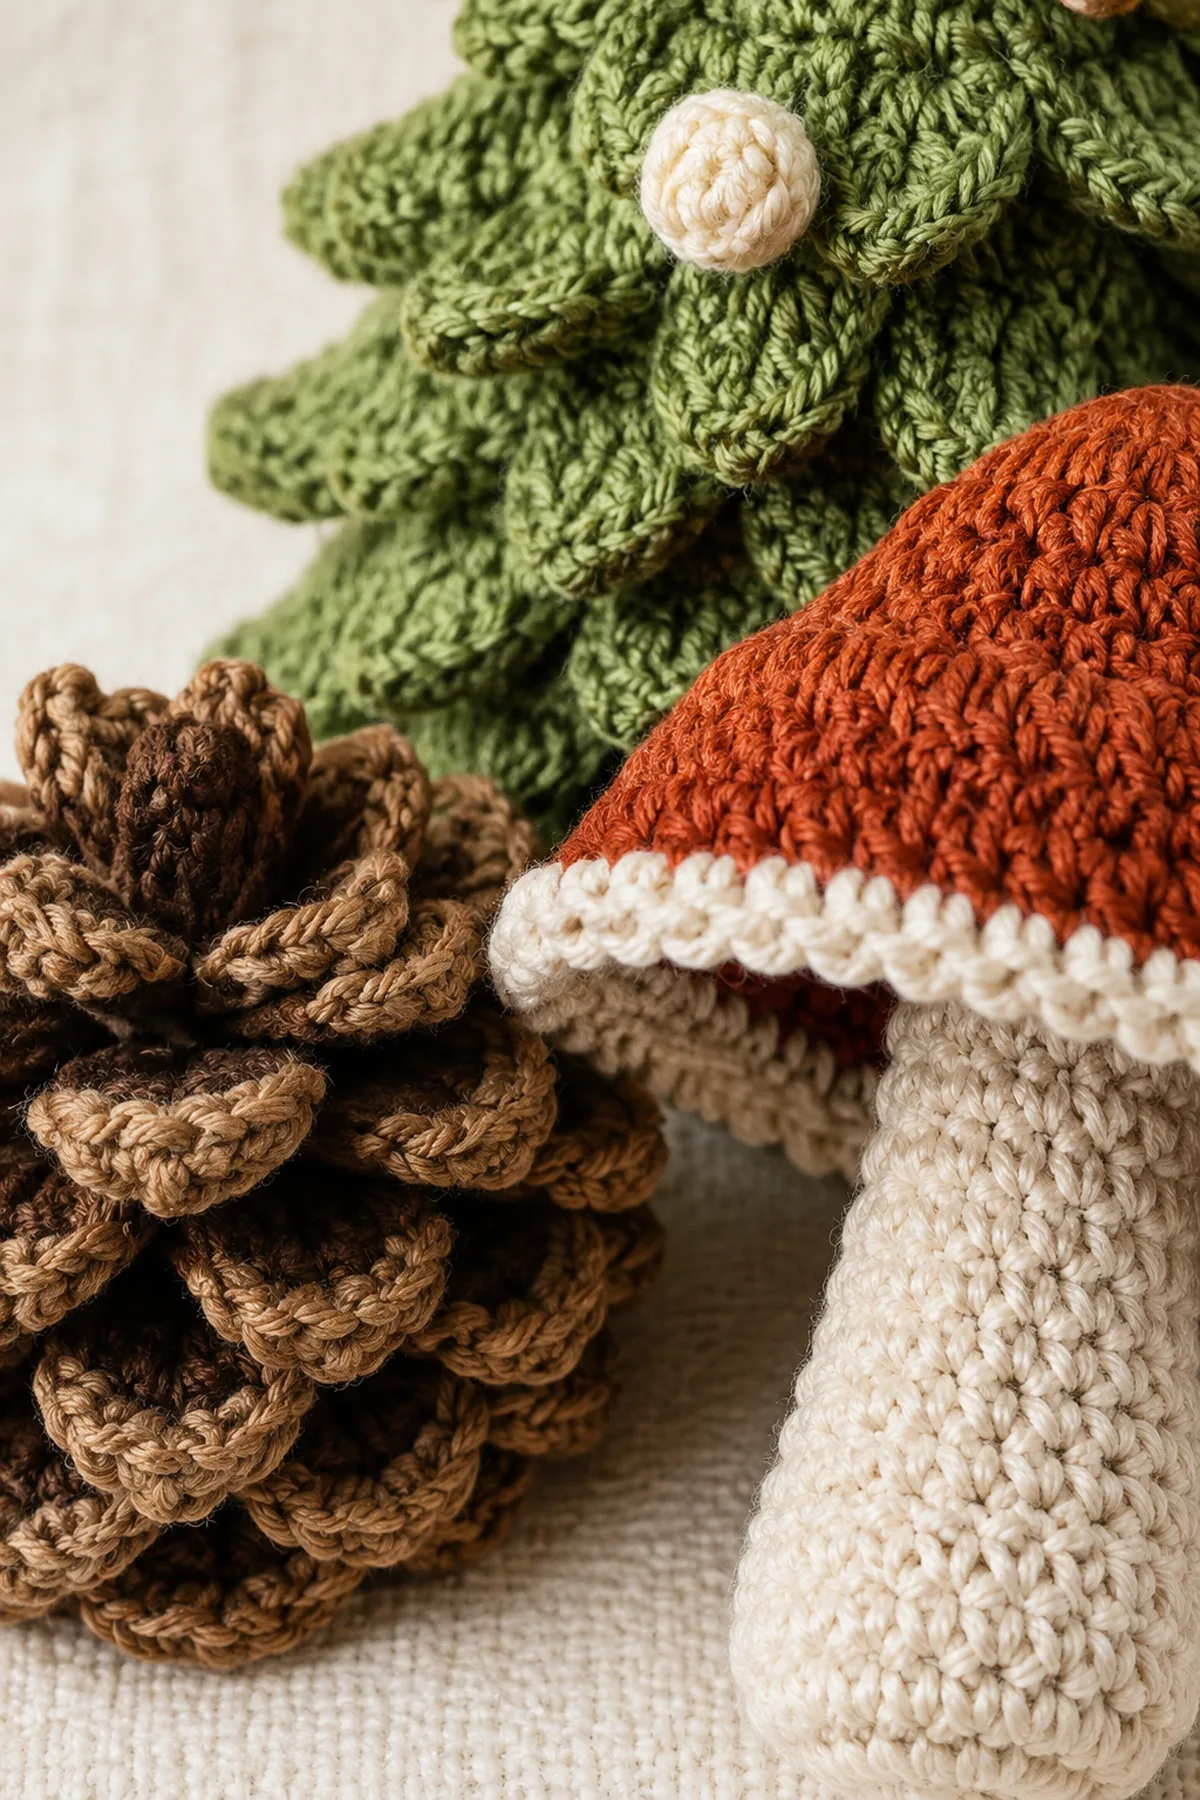
- Reverse rust and cream on the mushroom for a snowy cap
- Use two shades of brown in the pinecone surface spiral
- Embroider tiny gold yarn stars on the tree instead of adding hard beads
Care and Display
Follow the yarn label, test saturated colors for transfer and dry the piece in its intended shape. Keep decorative crochet away from flame, hot bulbs, moisture and snagging hardware. Inspect hanging loops and sewn details before each seasonal display.
Troubleshooting
- Count at the end of every row or round and correct the first mismatch immediately.
- If the fabric twists unexpectedly, confirm the foundation orientation and the marked first stitch before continuing.
- When a join puckers, remove the stitches and resew with relaxed, even tension rather than stretching the finished fabric.
Frequently Asked Questions
Do I have to make all three?
No. Each ornament stands alone, though the shared colors make the complete set cohesive.
Can I use safety eyes?
The designs use no eyes. Keeping the pieces free of hard plastic supports the simple woodland style.
Can children play with them?
No. These are decorations with hanging loops, sewn parts and fiberfill, not tested toys.
Before You Finish
Compare the completed piece with the measurements and construction notes, photograph any adjustment and record it before making another. Because this is an untested draft, physically sample and review the project before public release.