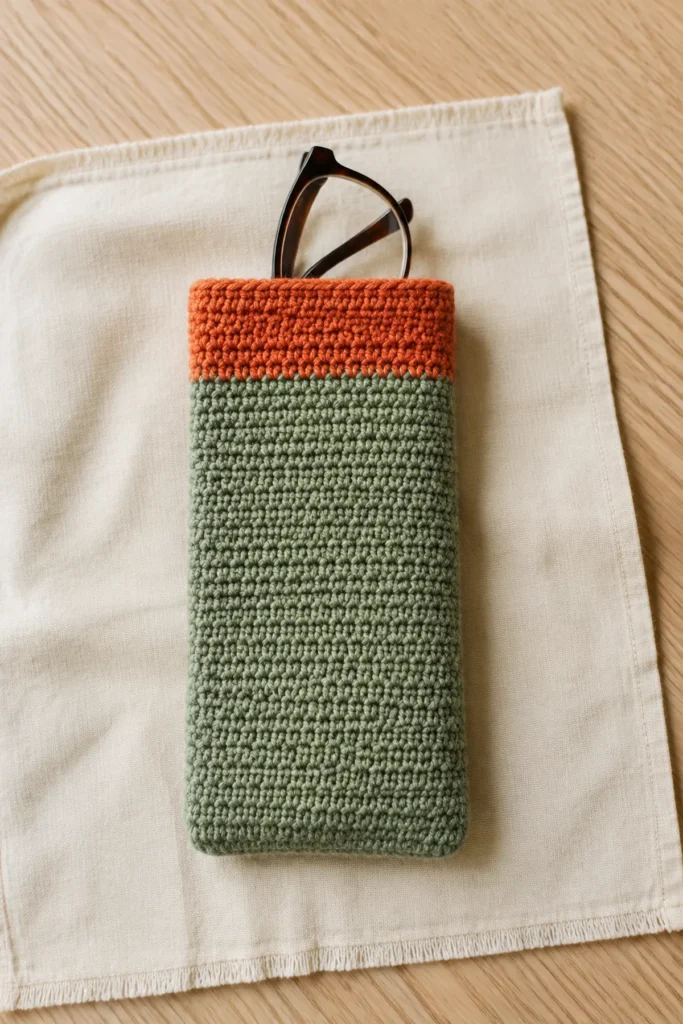
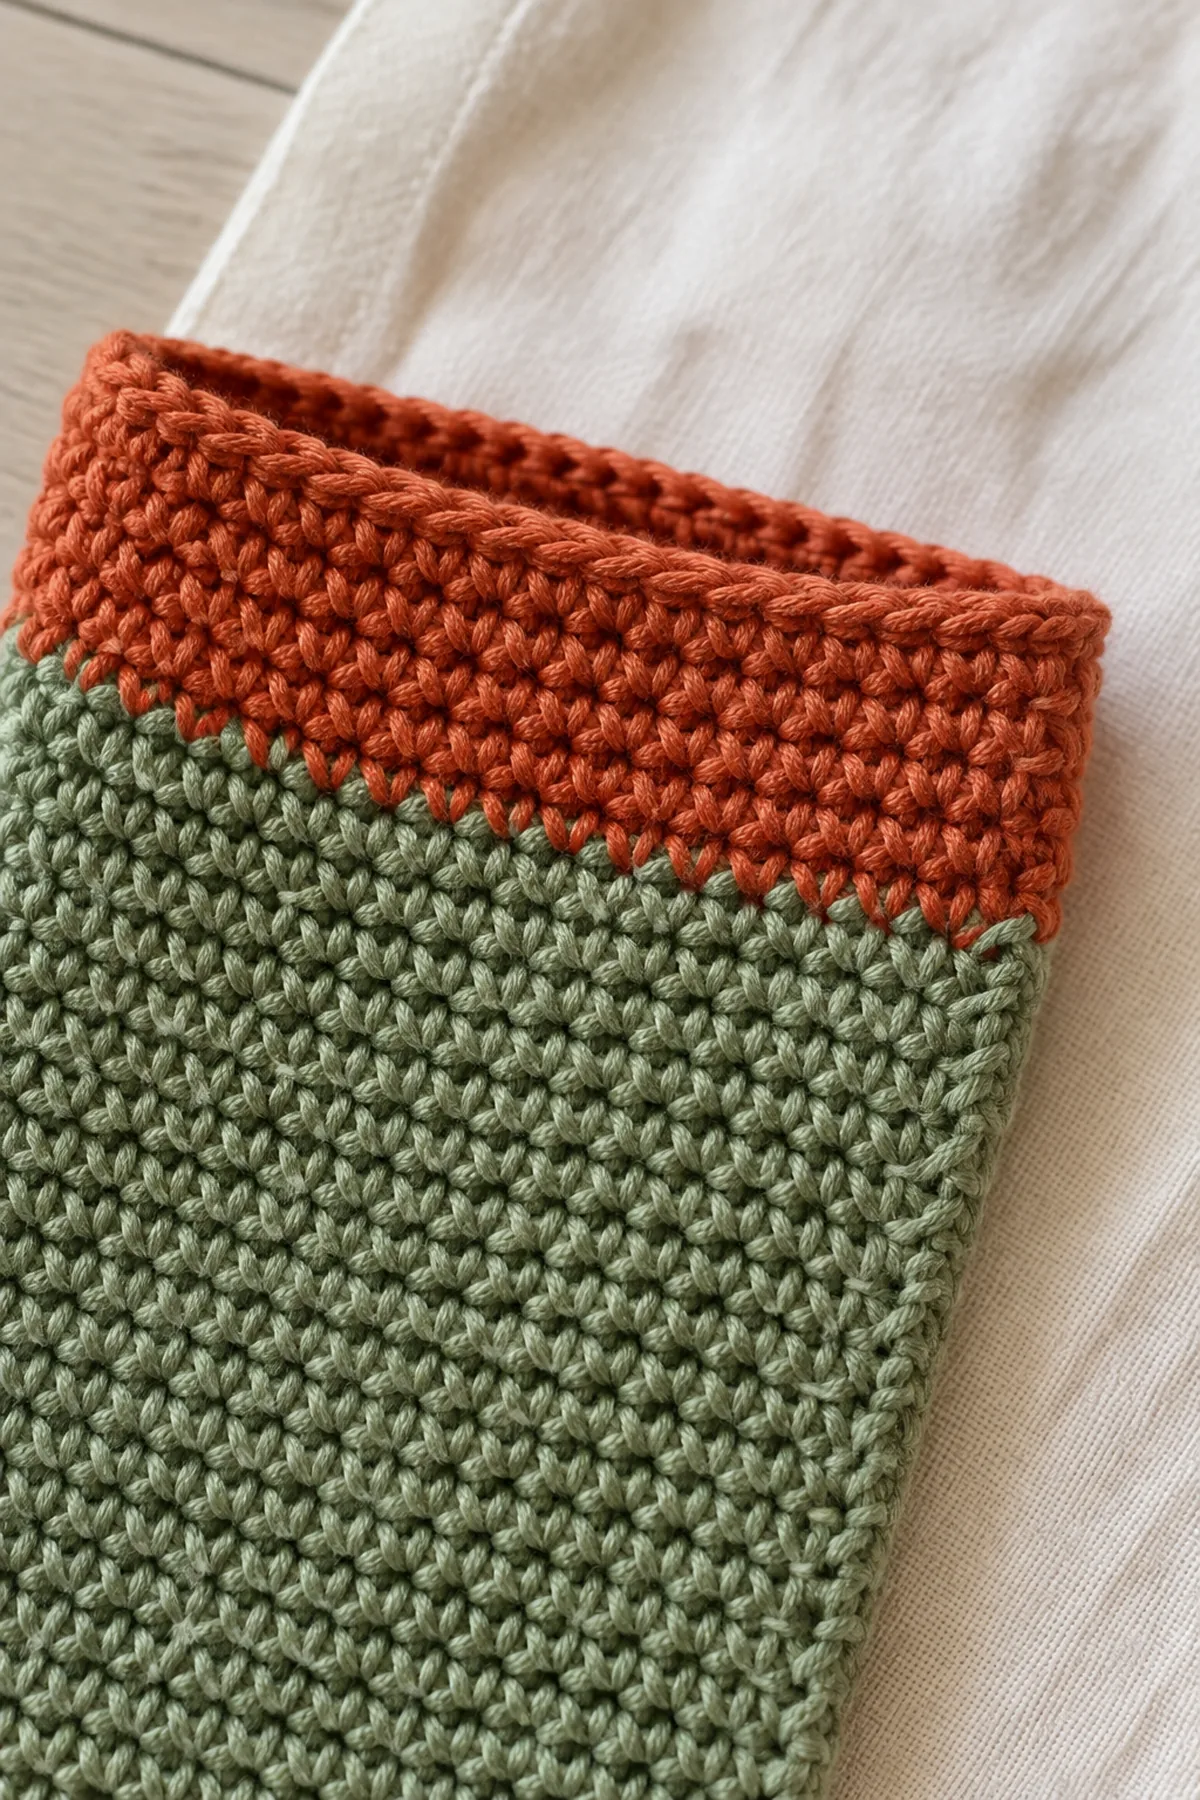
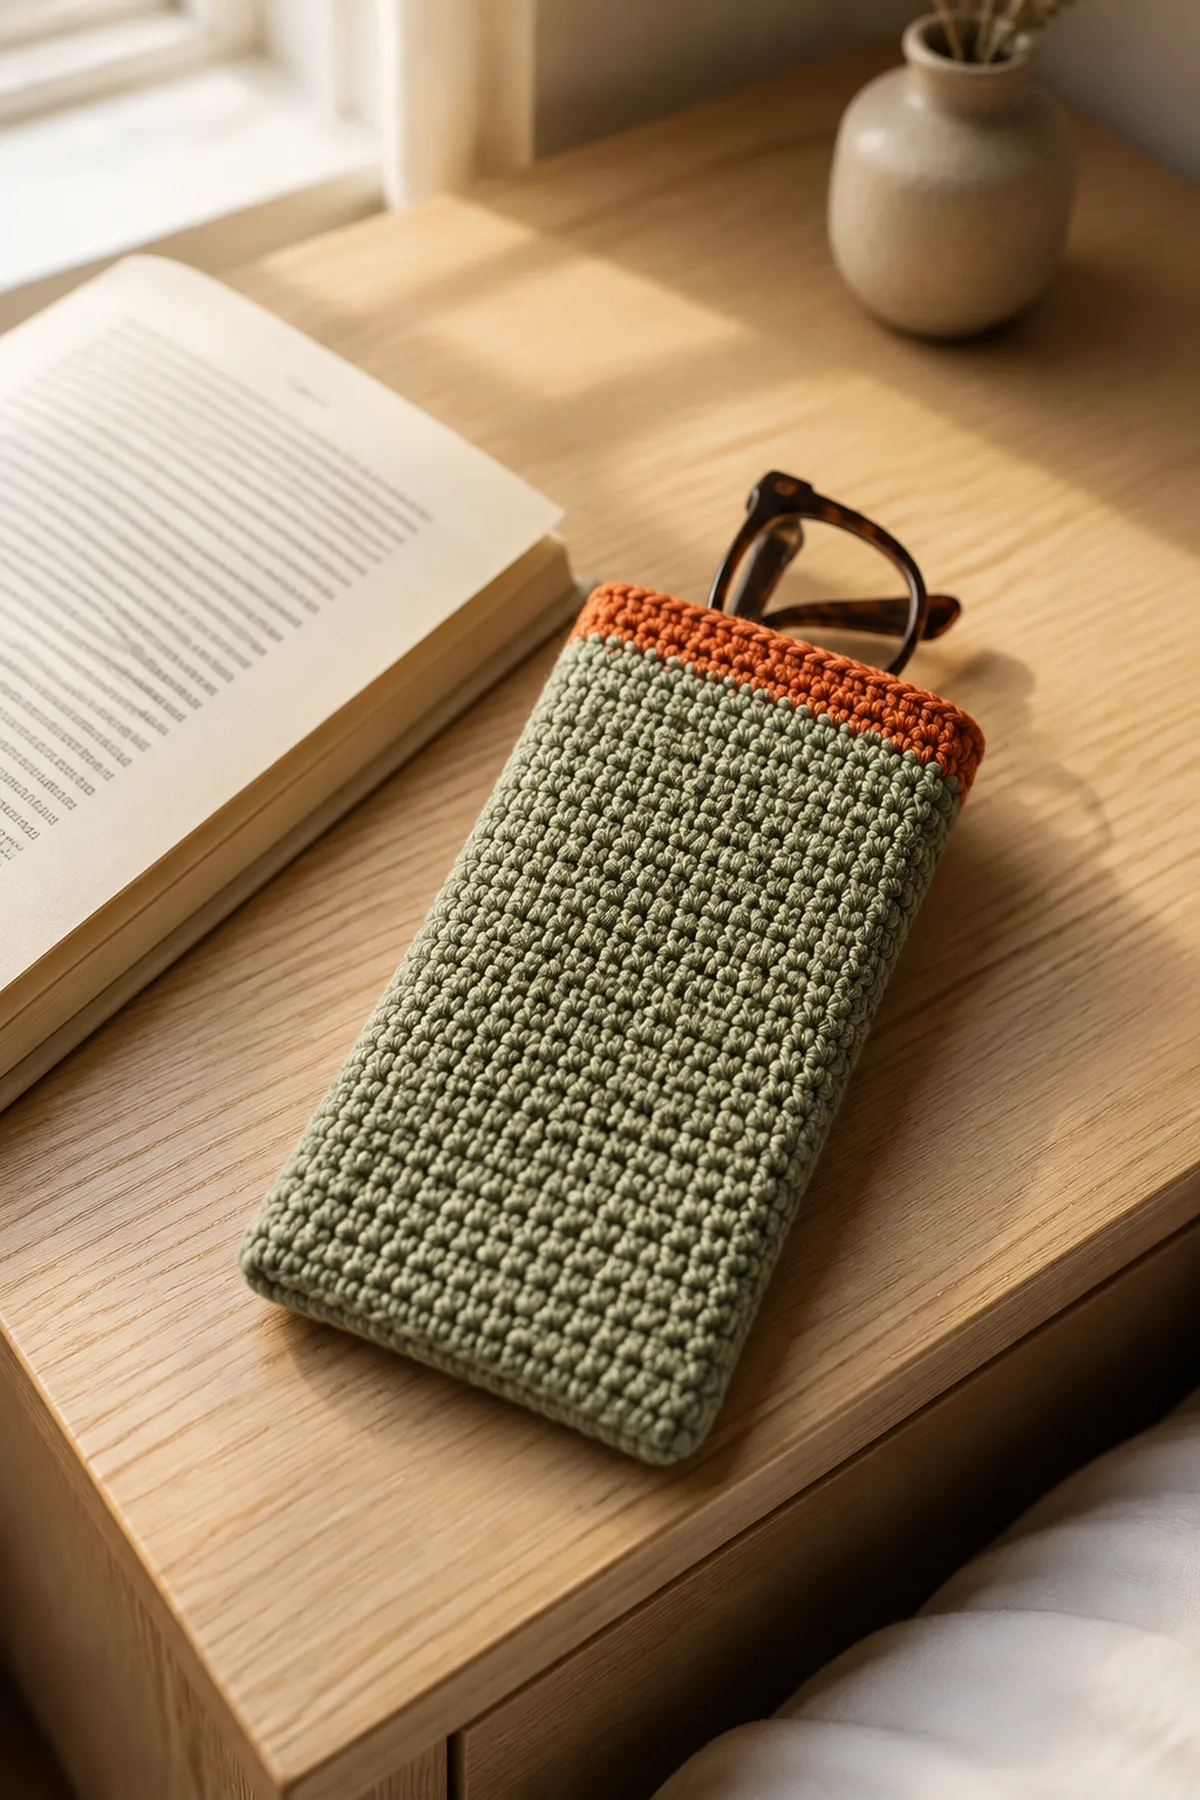
A small splash of terracotta makes this soft sage sleeve easy to spot beside a book or inside a tote. This crochet glasses sleeve pattern starts with one straight rectangle: two short color bands become the opening, the middle folds into the base, and two simple seams create the pocket. There are no increases, decreases, buttons, or separate pieces to attach.
Pattern at a Glance
- Skill Level: Easy
- Yarn Weight: Worsted
- Hook Size: 4 mm, or size needed for gauge
- Finished Size: Approximately 3.75 in wide by 6.4 in deep (9.5 by 16.3 cm) before seam take-up; check actual fit.
- Gauge: 16 single crochet stitches and 20 rows = 4 in / 10 cm in blocked flat fabric.
- Terminology: US
- Estimated Time: An evening for a comfortable beginner; pace varies.
- Construction: One 15-stitch rectangle, 64 rows long, folded between Rows 32 and 33 and seamed at both sides.
The sleeve is an open fabric pocket for keeping glasses together, not a rigid protective case. Keep it clean and use a separate soft lens cloth around delicate lenses. Do not rely on crochet fabric to prevent crushing in a packed bag.
Materials
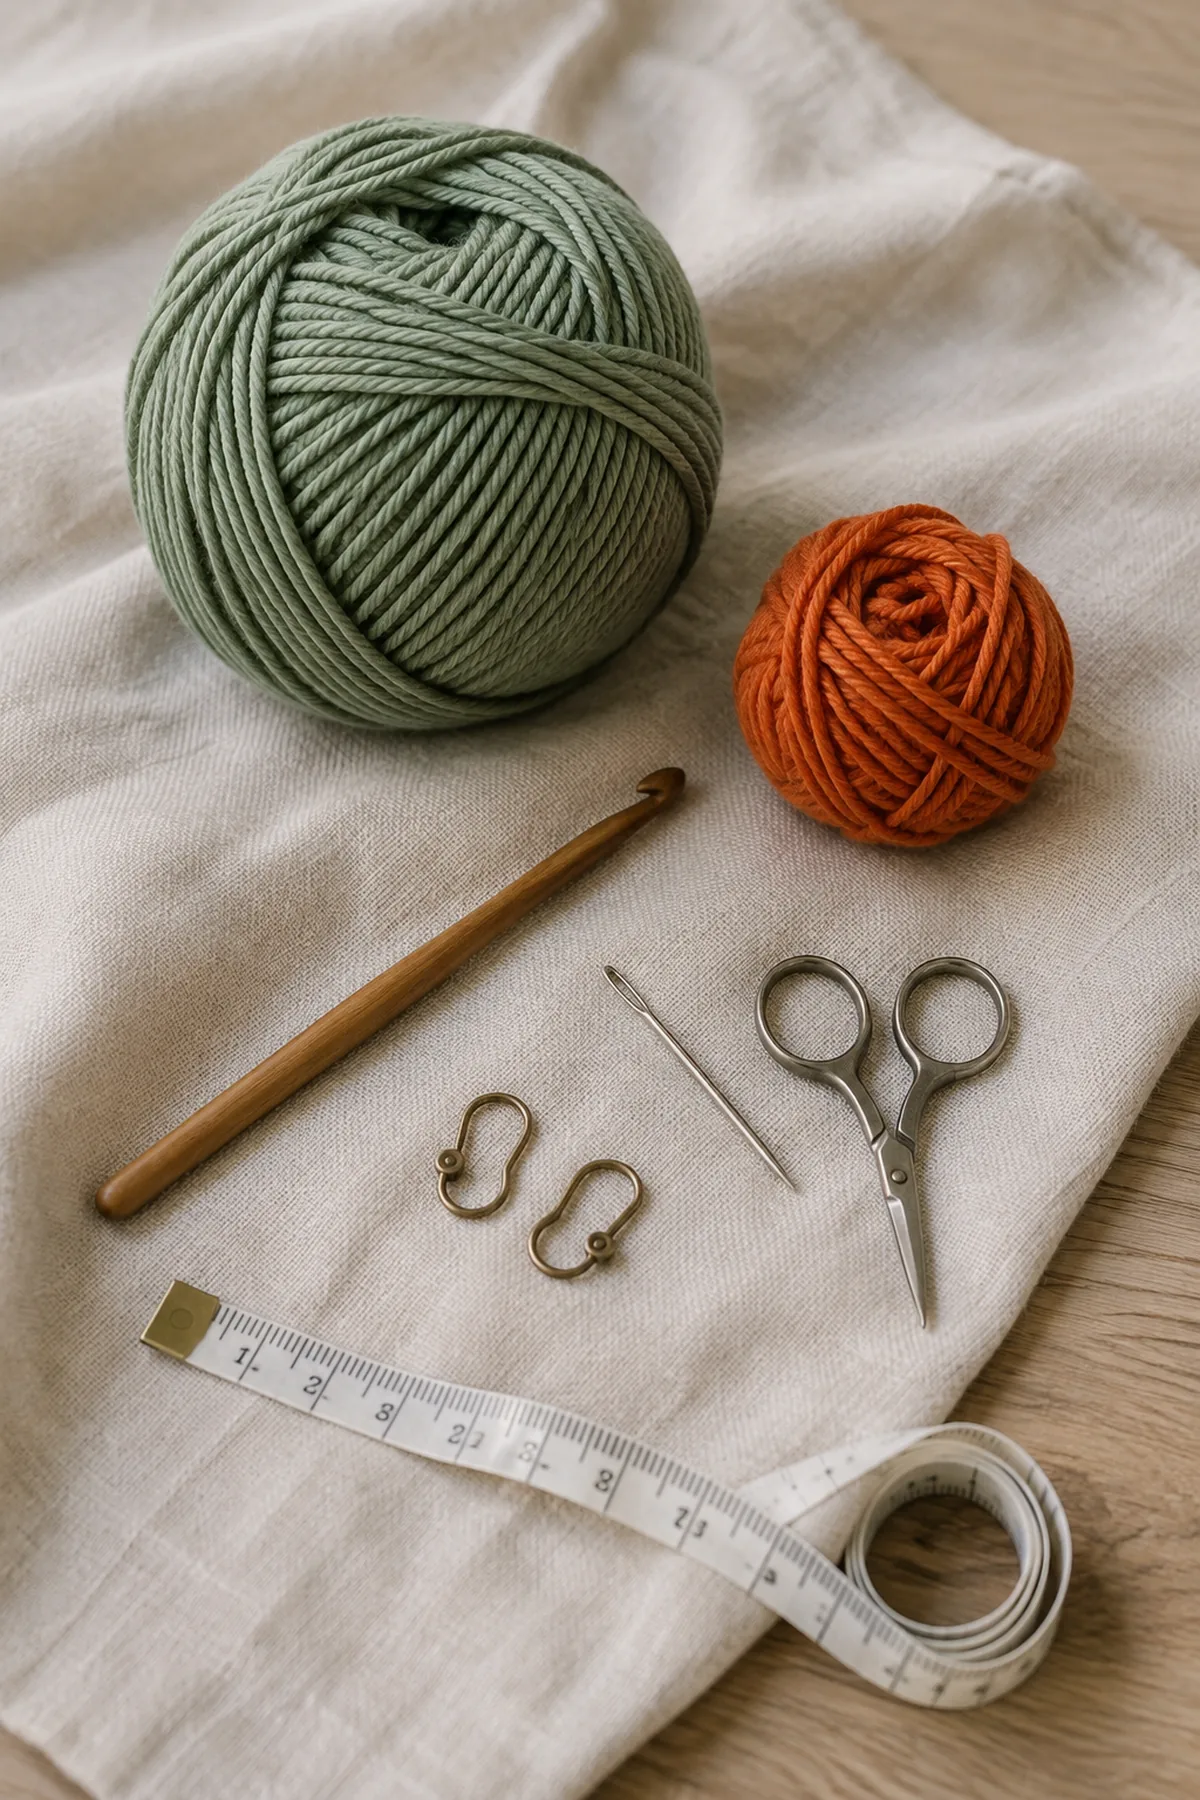
- Worsted-weight smooth cotton yarn: approximately 40 g sage (A) and 10 g terracotta (B); allow about 90 m / 100 yd total, including swatching and seaming. Amounts are estimates.
- 4 mm crochet hook as a starting point; adjust the hook to obtain the stated gauge.
- Blunt tapestry needle, scissors, measuring tape, and two removable stitch markers.
- The folded glasses you want the sleeve to hold, for checking the fit before sewing.
Gauge and Fit Before You Begin
Make a swatch wider than 4 inches in single crochet, wet it according to the yarn label, lay it flat to dry, and measure the middle without stretching. Aim for 16 stitches and 20 rows over 4 inches. If there are too many stitches in 4 inches, try a larger hook; if there are too few, try a smaller hook. Keep the fabric firm but flexible.
At that gauge, 15 stitches make a rectangle about 3.75 inches wide and 64 rows make it about 12.8 inches long. Folding halves the length to about 6.4 inches. The seams reduce usable width slightly. Compare these measurements with your own folded glasses; wide frames and large sunglasses may need a larger sleeve.
For a custom width, choose a whole number of stitches and chain one more than that number. Use the same stitch count in every row. For extra depth, add an even number of sage rows before the last terracotta band, then fold at the new midpoint. For example, four extra sage rows add roughly 0.4 inch of folded depth at the stated gauge. These changes use more yarn. The numbered instructions below describe the original 15-stitch, 64-row size.
Abbreviations and Stitch Notes
- ch = chain
- sc = single crochet
- st(s) = stitch(es)
- A = sage yarn
- B = terracotta yarn
Single crochet: Insert the hook into the indicated stitch, yarn over and pull up a loop, then yarn over and pull through both loops. Work under both top loops on Rows 2–64. The one turning chain lifts the hook to the next row; skip it when counting stitches.
Color change: Work the last sc of the old-color row until two loops remain. Yarn over with the new color and pull it through both loops to finish that sc. The completed stitch still belongs to the old row. Ch 1 with the new color, turn, and begin the next row. Leave 6-inch tails and cut the old color; do not carry unused yarn along the side.
Before You Crochet
- Work flat through both top loops of every stitch. The turning chain never counts as a stitch.
- Every row has 15 stitches. Place markers in the first and last stitch and move them after each row.
- The color sequence is B for Rows 1–4, A for Rows 5–60, and B for Rows 61–64.
- Turn after each ch 1. Do not join the foundation into a ring or crochet around its underside.
- The two short ends stay open. Do not sew across the top opening.
- Dimensions and yarn quantities are calculated estimates; the design has not been physically sample-tested.
How to Crochet the Glasses Sleeve
First Terracotta Band: Rows 1–4
- Foundation: With B, ch 16 loosely. Keep the chain straight. This is a flat starting chain, not a ring.
- Row 1: Sc in the second chain from the hook and in each remaining chain, working along one side of the chain only. The skipped chain is the height chain. (15 sts)
- Row 2: Ch 1, turn. Sc in the first stitch directly below the turning chain, then sc in each remaining stitch through the marked last stitch. Do not work into the old turning chain. (15 sts)
- Row 3: Ch 1, turn. Sc in each of the 15 stitches. (15 sts)
- Row 4: Ch 1, turn. Sc in each stitch; change to A on the final pull-through of the last sc. Cut B, leaving a 6-inch tail. (15 sts)
Sage Body: Rows 5–60
- Row 5: With A, ch 1, turn. Sc in each stitch. (15 sts)
- Rows 6–59: At the beginning of each row, ch 1 and turn. Sc in every stitch through the marked final stitch. Count 15 stitches after every row. There are 54 rows in this repeated section. (15 sts in each row)
- Row 60: Ch 1, turn. Sc in each stitch, changing to B on the final pull-through of the last sc. Cut A, leaving a 6-inch tail. (15 sts)
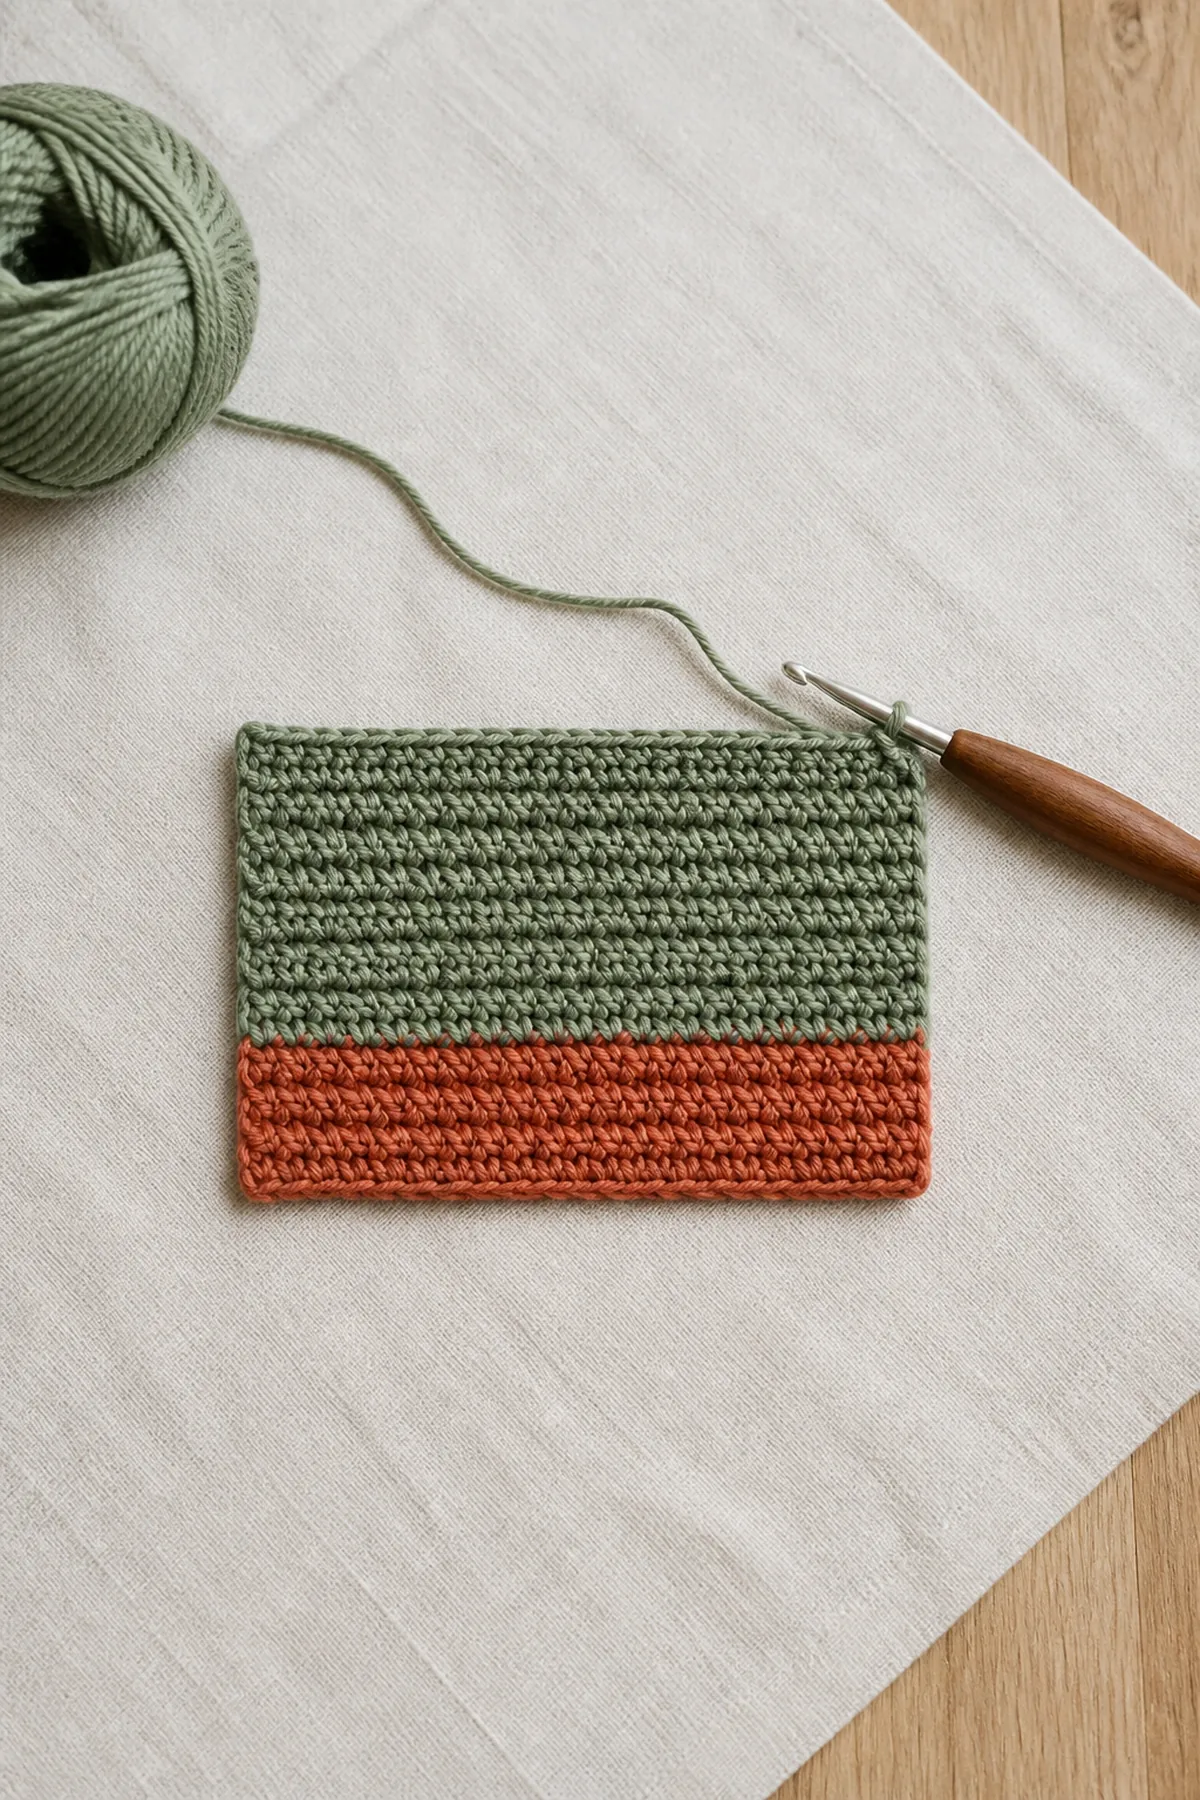
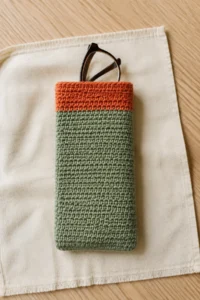
The early-stage illustration shows the first color band and the start of the sage body. Use the written row and stitch counts when following the pattern.
Second Terracotta Band: Rows 61–64
- Row 61: With B, ch 1, turn. Sc in each stitch. (15 sts)
- Row 62: Ch 1, turn. Sc in each stitch. (15 sts)
- Row 63: Ch 1, turn. Sc in each stitch. (15 sts)
- Row 64: Ch 1, turn. Sc in each stitch. Cut B with a 6-inch tail and pull the tail completely through the working loop. Do not add another crochet row. (15 sts)
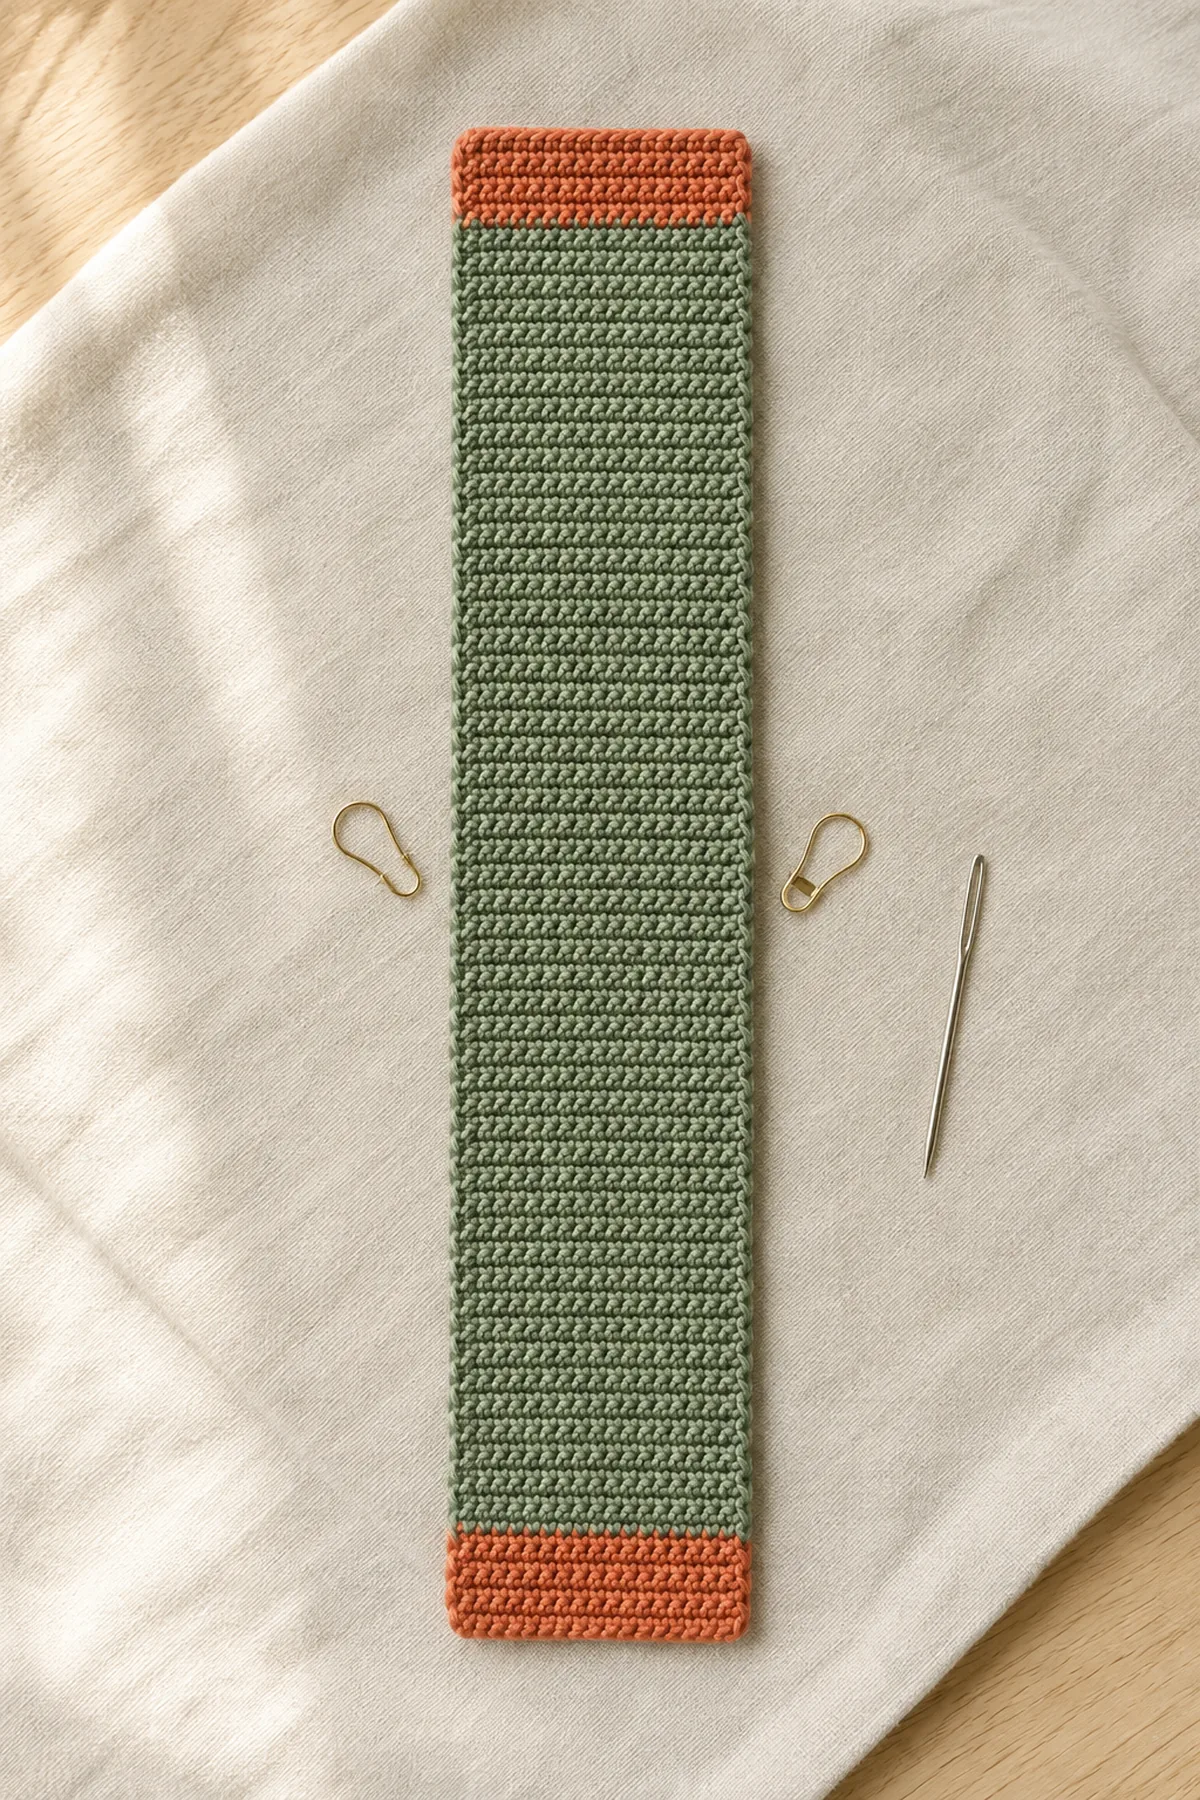
You now have 4 terracotta rows, 56 sage rows, and 4 terracotta rows: 64 rows altogether, each containing 15 stitches. The rectangle contains 960 single crochet stitches before seaming. Both short ends have the same color band.
Fold, Check the Fit, and Seam
- Weave each color-change tail through the back of stitches in its own color for about 2 inches, reverse direction through a different path for another inch, then trim. Keep the edge flat and do not pull the color change into a knot.
- Dampen and lay the rectangle flat to dry according to the yarn label. Straighten the corners without stretching. Decide which face you prefer as the outside; the flat single-crochet fabric is reversible.
- Fold across the middle between Rows 32 and 33, with the chosen outside faces touching. Bring the foundation short edge and Row 64 short edge together. The terracotta bands meet at the top; the center sage section forms a closed folded bottom.
- Clip both side edges together and gently test the folded glasses inside. Leave a little sliding room so they can enter without stretching the fabric. If it is too narrow, remake the rectangle with more stitches; if too shallow, remove the last band, add an even number of sage rows, and remake the four-row band.
- Thread about 24 inches of A onto the tapestry needle. Starting at the bottom fold on one side, whipstitch through a corresponding edge loop on each layer. Make one small seam stitch for each paired row end, working from the fold up through the 28 sage row-end pairs. Match Row 32 with Row 33, then Row 31 with Row 34, continuing through Row 5 with Row 60. Pull each stitch just snug enough to close the seam without puckering.
- Secure and weave the sage seam tail into the inside seam. Use a separate 12-inch length of B to seam the final four row-end pairs: Row 4 with Row 61, Row 3 with Row 62, Row 2 with Row 63, and Row 1 with Row 64. Secure the top corner with a second pass through that same pair, then weave in the tail. Do not cross the opening.
- Repeat the sage and terracotta seams on the other side. Each side joins 32 row-end pairs. Turn the sleeve right side out, gently ease out the bottom corners, and check that both lips of the opening remain free.
Finishing and Everyday Care
Run a finger inside the empty sleeve to find loose tails or bulky seam ends, then secure them before inserting glasses. If the top edge flares, lay it flat and smooth it while damp rather than adding tight stitches around the opening. An extra edging round would change the opening size and is not part of this design.
Wash the empty sleeve according to the yarn label, reshape it, and dry it completely before use. Dark or saturated yarn can release dye, so test a damp scrap against a white cloth before letting the fabric touch a light bag lining or lens cloth. Keep the soft pocket separate from keys and other sharp objects.
Helpful Adjustments and Troubleshooting
- A widening edge usually means the turning chain was counted as a stitch. Keep the first and last actual single crochet stitches marked and return to the last row with 15 stitches.
- A narrowing edge usually means the last stitch was missed. Work into the marked last stitch before making the next turning chain.
- If one side is longer, check that you made exactly 64 rows and folded between Rows 32 and 33. Do not hide a row mismatch by stretching one layer.
- For a one-color version, use the same yarn for A and B and keep every stitch and row count unchanged.
- For a coordinated gift, change the sage and terracotta colors while keeping the yarn weight and gauge consistent. Avoid gluing decorations onto the pocket opening.
Frequently Asked Questions
Is this pattern suitable for a beginner?
Yes, if you can chain, single crochet, turn a row, and count stitches. The color change and side seams are explained separately. Practice the color change on your gauge swatch if it is new to you.
Can I use a different yarn?
A smooth yarn that produces the stated gauge can work, but a change in fiber changes stretch and care. Swatch first. Fuzzy yarn makes the stitch count and small seam ends harder to see.
Will this fit sunglasses?
Not every pair. Fold and clip the rectangle around your own glasses before sewing. Use the width and depth adjustments above for a larger pair; do not stretch a small finished sleeve over bulky frames.
Does the sleeve need a lining?
The written construction is unlined. A separate clean lens cloth can be wrapped around the glasses. A sewn-in lining would be an additional sewing project and would reduce the interior space, so account for it during the fit check.
Are the pictures stitch charts?
No. The images are generated visual illustrations of the design and construction stages, not photographs of a tested sample or countable stitch charts. Follow the written counts and measure your own fabric. This draft design still needs a physical sample and fit review before publication.