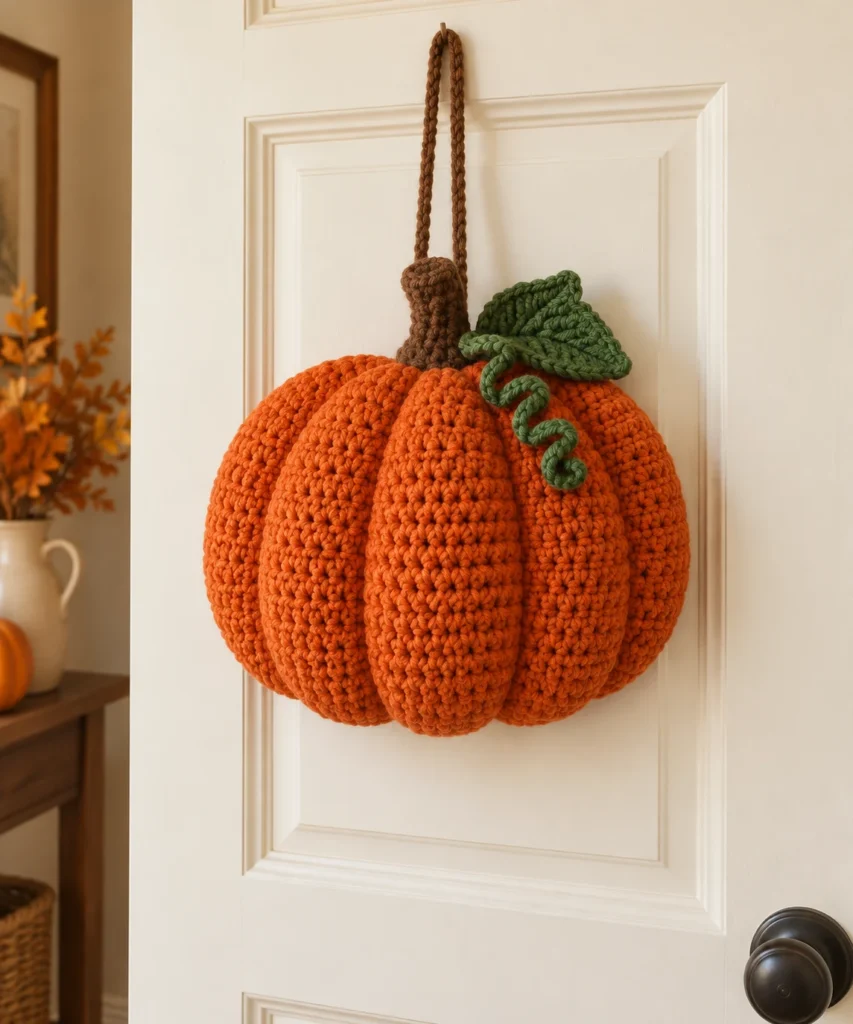
Crochet Pumpkin Door Hanger Pattern
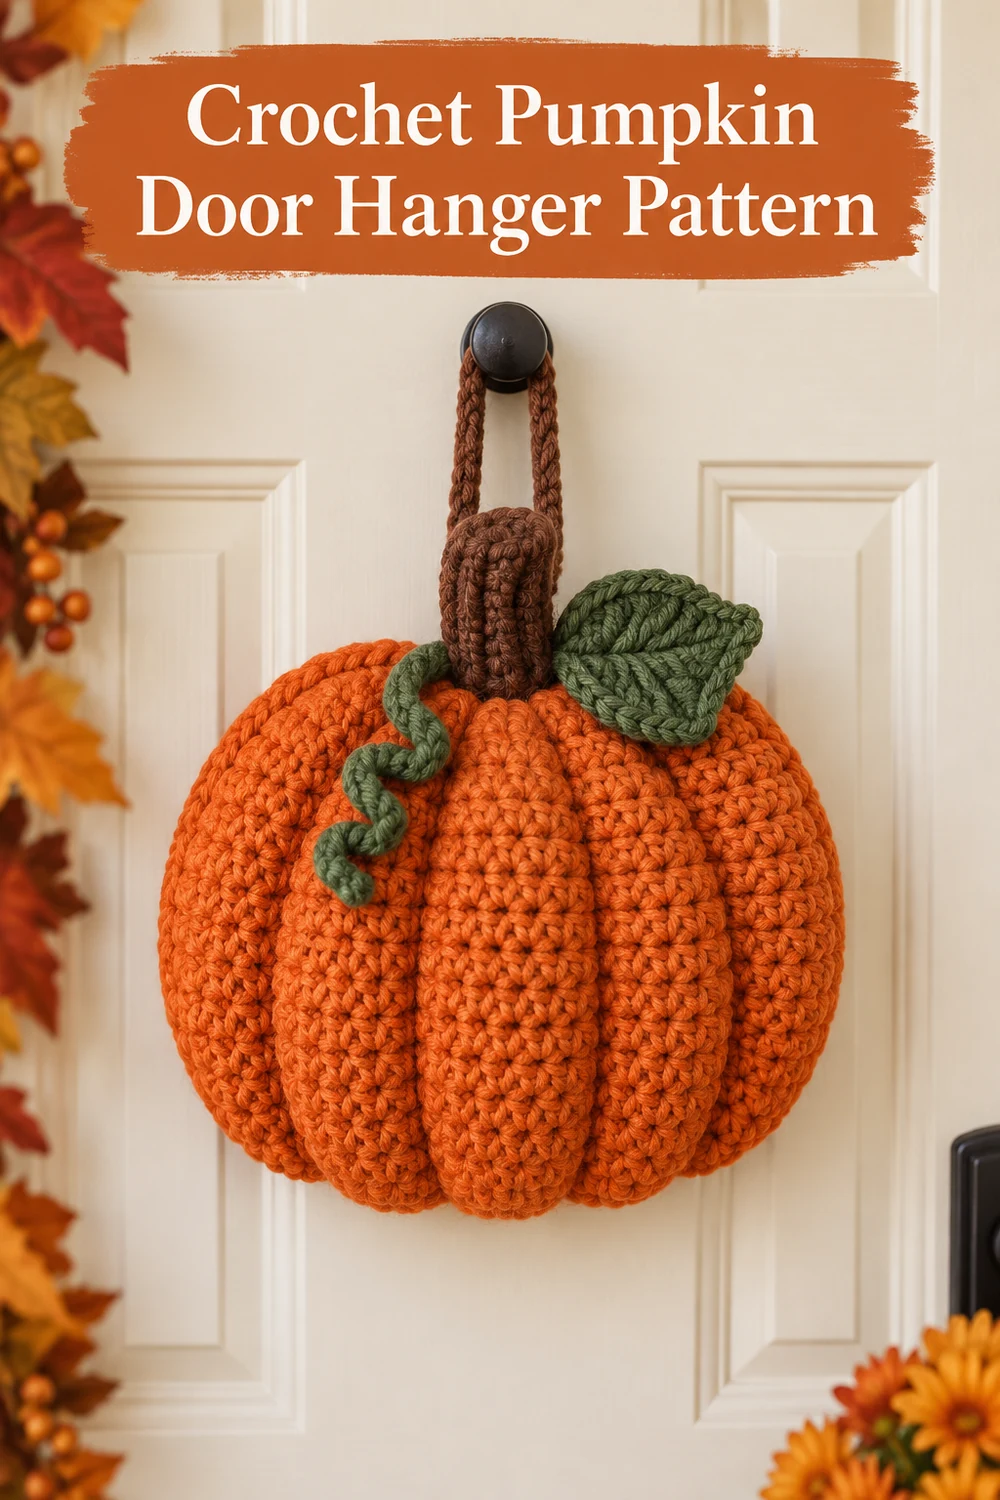
Welcome autumn with a soft pumpkin decoration sized for an interior door, covered porch, or wall hook. This original pattern uses two matching panels, light stuffing, and surface stitches to create a dimensional pumpkin without a heavy frame.
Pattern at a Glance
- Skill level: Confident beginner
- Terms: US crochet terminology
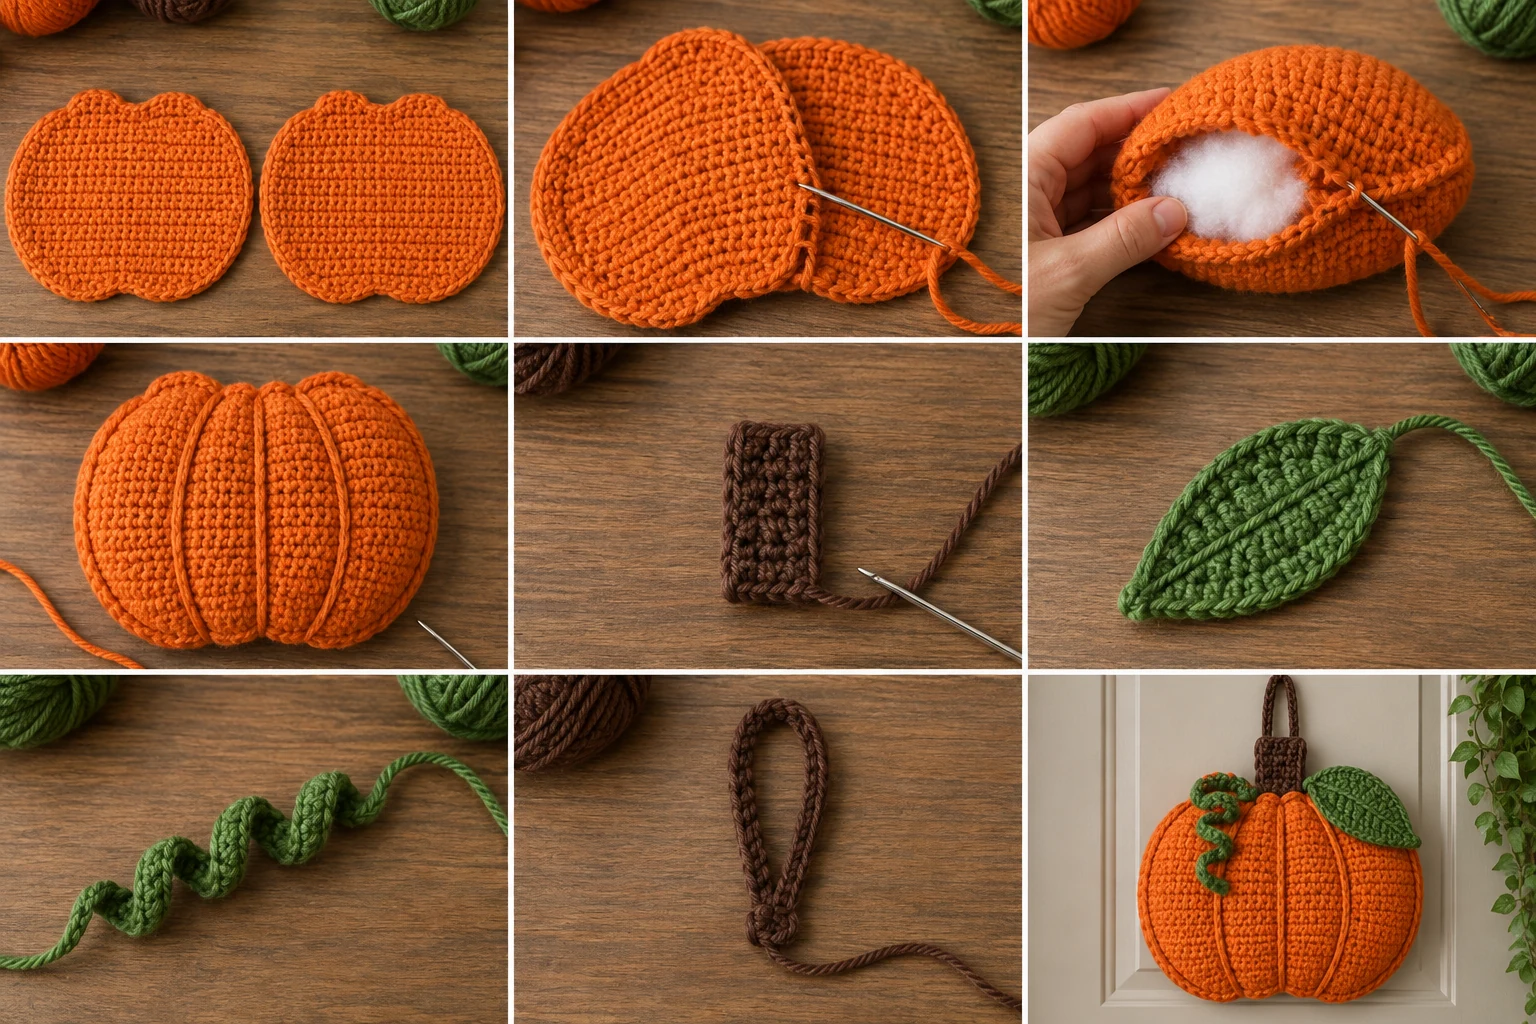
- Construction: Two shaped panels are seamed and lightly stuffed; the stem, leaf, vine, and hanging loop are attached afterward.
- Visible components: 2 pumpkin panels, 1 stem, 1 leaf, 1 spiral vine, and 1 hanging loop.
Materials You’ll Need
- Category 4 worsted yarn: 180 yd orange, 25 yd brown, 30 yd green
- 5 mm (H-8) hook
- Yarn needle, scissors, stitch markers
- About 2 oz polyester fiberfill
Gauge
14 sc and 16 rows = 4 in/10 cm. Gauge is useful for the stated size; keep the fabric firm enough to contain stuffing.
Finished Measurements
About 12 in/30.5 cm wide by 14 in/35.5 cm tall including the stem, excluding the hanging loop.
Crochet Abbreviations
- ch = chain
- sc = single crochet
- sl st = slip stitch
- hdc = half double crochet
- dc = double crochet
- tr = treble crochet
- dec = single crochet 2 together
- st(s) = stitch(es)
Important Pattern Notes
- Turning chains do not count as stitches.
- Make both panels with the same tension.
- Leave the door hanger lightly stuffed so it hangs flat.
- All decorative pieces are sewn; no glue or rigid hardware is required.
Complete Free Crochet Pattern
Pumpkin Panels — Make 2 in Orange
Ch 31.
Row 1: Sc in second ch from hook and across. (30)
Rows 2–20: Ch 1, turn, sc across. (30)
Row 21: Ch 1, turn, dec, sc 26, dec. (28)
Row 22: Ch 1, turn, dec, sc 24, dec. (26)
Row 23: Ch 1, turn, dec, sc 22, dec. (24)
Row 24: Ch 1, turn, dec, sc 20, dec. (22)
Row 25: Ch 1, turn, dec, sc 18, dec. (20)
Fasten off the first panel. On the second, leave a 60 in/152 cm tail for seaming.
Stem — Make 1 in Brown
Ch 9. Row 1: sc in second ch and across. (8) Rows 2–6: ch 1, turn, sc across. (8) Fasten off with a 24 in/61 cm sewing tail.
Leaf — Make 1 in Green
Ch 13. Starting in the second ch, work sl st, sc, hdc, dc, tr in next 4 ch, dc, hdc, sc, then 3 sc in final ch. Work along the opposite side: sc, hdc, dc, tr in next 4 loops, dc, hdc, sc, sl st. Fasten off with an 18 in/46 cm tail.
Spiral Vine — Make 1 in Green
Ch 31. Work 3 sc in each of the next 30 chains. (90 sc) Fasten off with an 18 in/46 cm tail.
Hanging Loop — Make 1 in Brown
Ch 45. Sl st in the second ch and each remaining ch. (44 sl sts) Fasten off with two 12 in/30.5 cm tails.
Assembly
- Block the two panels to matching dimensions and place wrong sides together.
- Using the long orange tail, seam around the sides and shaped top with small whipstitches. Leave a 4 in/10 cm opening along the bottom.
- Add a thin, even layer of fiberfill. Close the opening securely.
- With a doubled length of orange yarn, make four straight surface-stitch lines from bottom to top to suggest five pumpkin ridges. Pull only enough to define the sections.
- Fold the stem rectangle in half lengthwise, seam its long edge, flatten it, and sew its lower edge centered behind the pumpkin top.
- Sew the narrow end of the leaf beside the stem and secure the first inch of the spiral vine on the opposite side.
- Join the ends of the hanging loop. Sew both ends to the back of the stem and through the top edge of the pumpkin with at least six passes per end. Knot and bury all tails.
Finishing
Shape the ridges, flatten the back, arrange the leaf and curl, and gently test the loop before hanging.
Customization Ideas
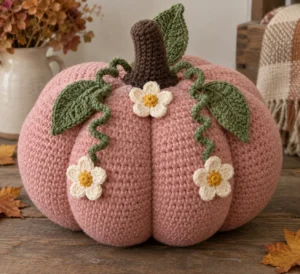
Try cream, rust, or sage for the pumpkin. Surface-embroider a simple face for indoor Halloween decor, or add a second leaf while keeping the loop attachment unchanged.
Troubleshooting
Why does my hanger bulge?
Remove some fiberfill and redistribute it in a thin layer.
Why do the panels twist?
Check that both panels have identical row counts and block them before seaming.
How can I strengthen the loop?
Use the specified slip-stitched chain and sew each end through both the stem and pumpkin edge several times.
Care Instructions
Spot-clean with cool water and mild detergent. Reshape and dry flat. Keep away from rain, high heat, and rough door hardware.
Frequently Asked Questions
Can I use this outdoors?
Use it only in a well-sheltered location and bring it inside during damp weather.
Is wire required?
No. The soft construction uses yarn and light fiberfill only.
Has this pattern been physically tested?
No physical testing is claimed; check gauge and construction as you work.