No-Sew Crochet Plush Turtle Pattern
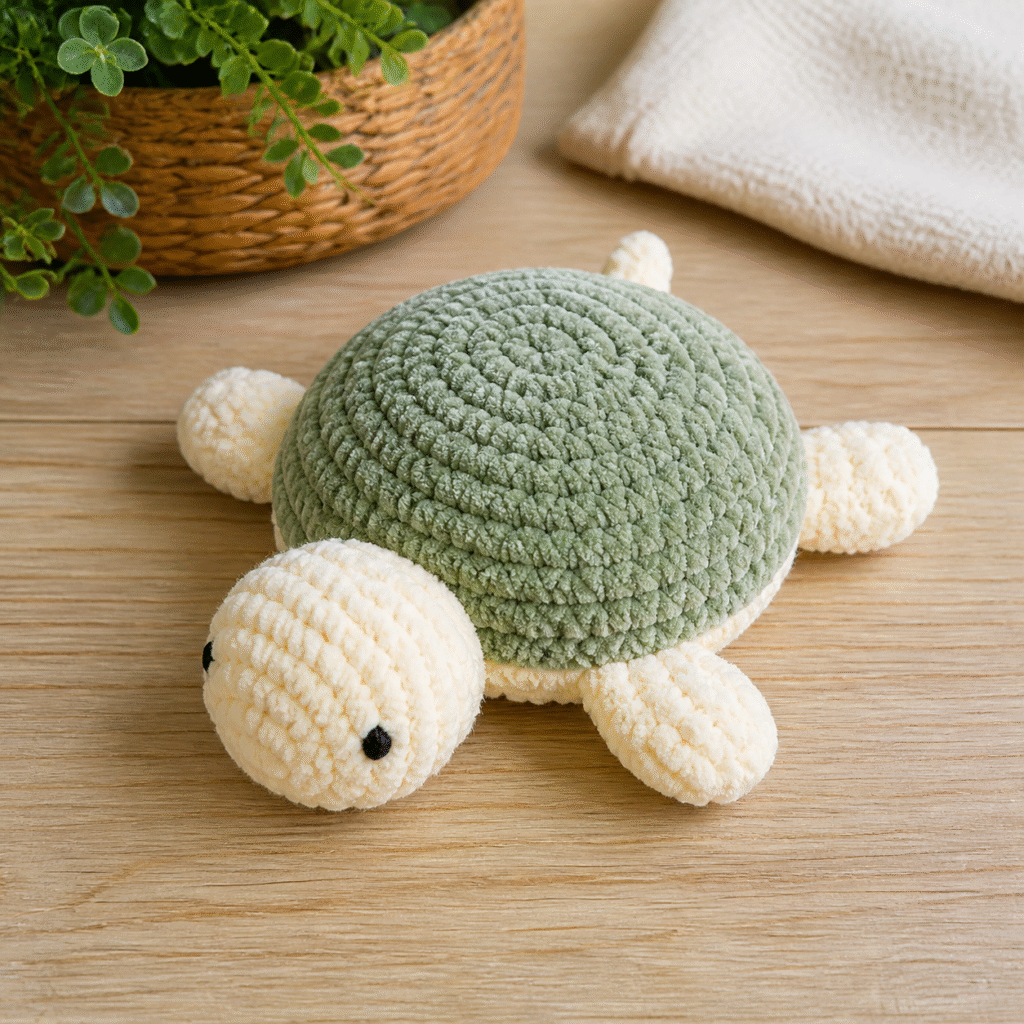
This mini plush turtle is worked as one continuous shell and body. The head, four flippers, and tail are bobble stitches crocheted directly into a designated round, so there are no separate pieces to attach. The only needlework is weaving ends and optional eye embroidery.
Skill Level
Easy amigurumi. You should know single crochet, increases, invisible decreases, continuous rounds, color changes, bobble stitches, and stuffing.
Finished Size
Approximately 6 inches from head to tail using CYC 6 super-bulky plush yarn and an 8 mm hook.
Materials
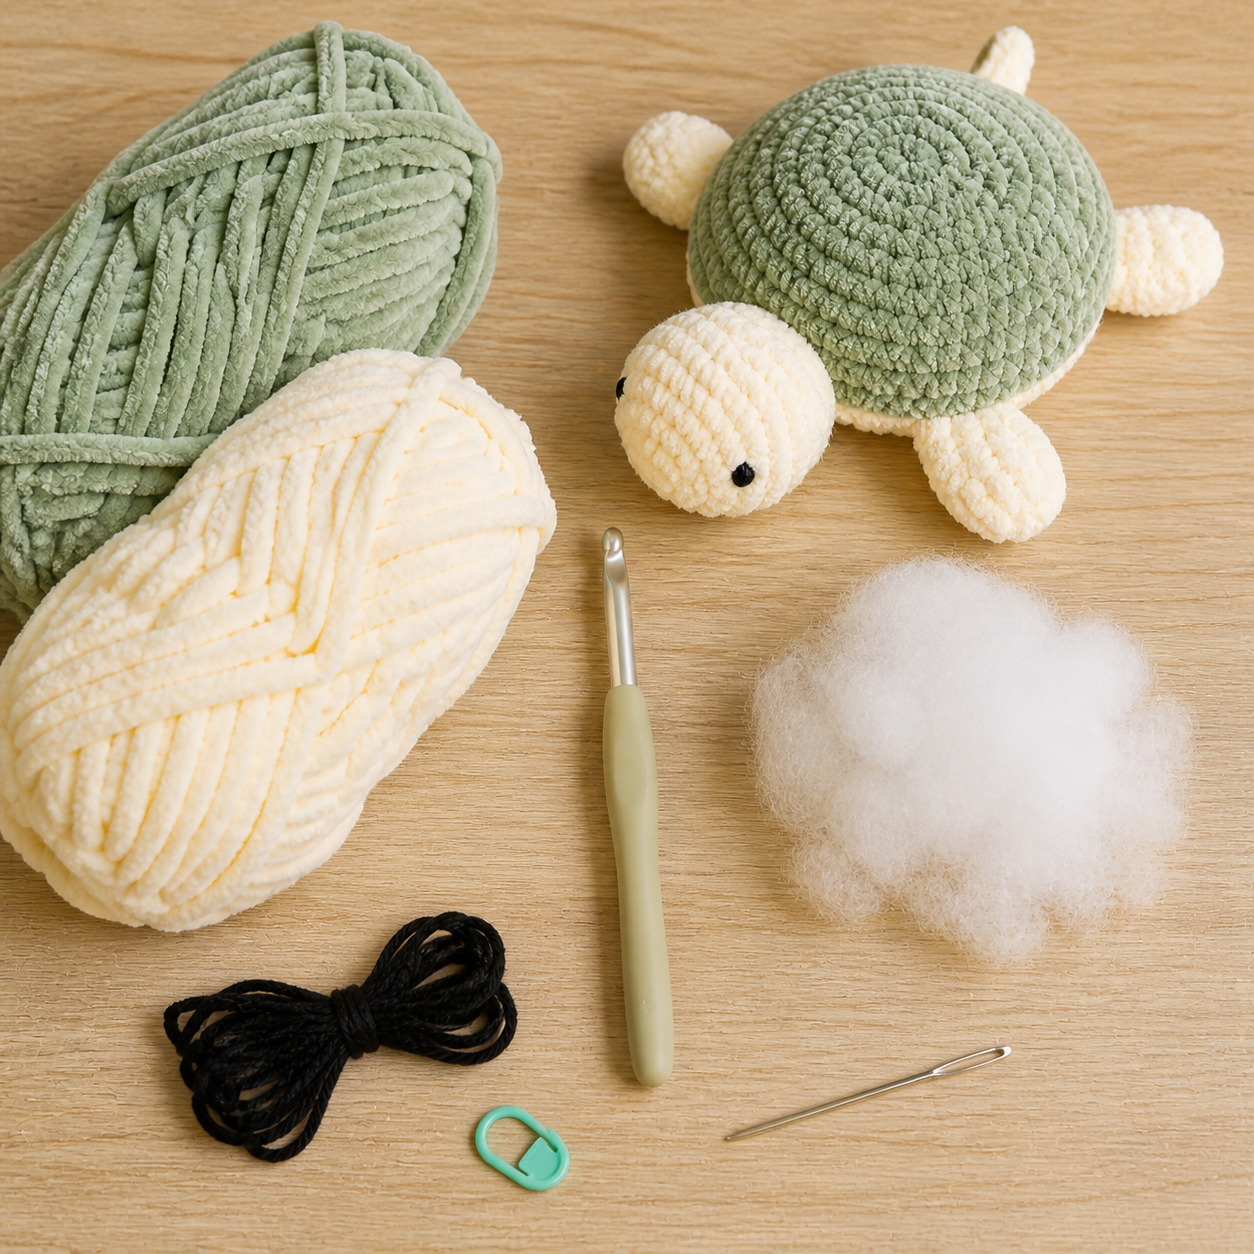
- CYC 6 super-bulky plush yarn: 45 yards sage green and 30 yards cream
- US L/11 (8 mm) crochet hook
- Polyester fiberfill
- Locking stitch marker, yarn needle, and scissors
- Small amount of black smooth yarn for embroidered eyes
Safety Note
Embroidered eyes are recommended for items intended for babies or young children. Safety eyes can loosen and become a choking hazard; no small component can make a handmade toy universally safe. Inspect seams and embroidery regularly and supervise play according to the recipient’s age.
Abbreviations (US Terms)
- bobble: work 5 dc together in the indicated stitch
- dec: invisible single crochet decrease
- inc: 2 sc in one stitch
- sc: single crochet
- st(s): stitch(es)
Pattern Notes
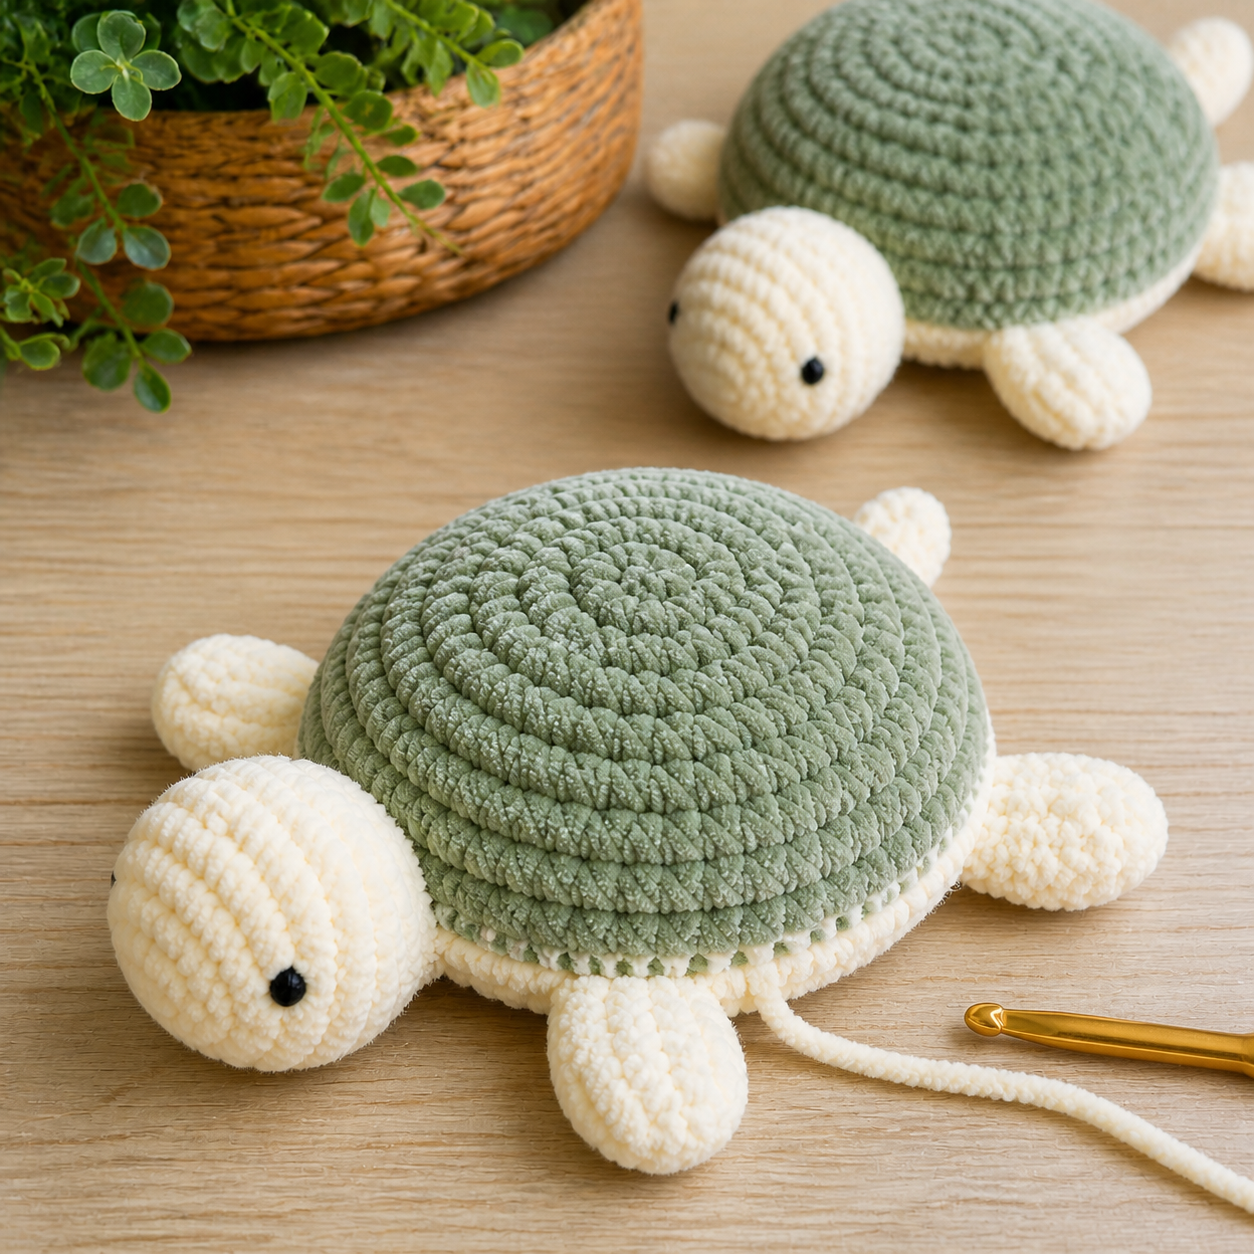
Work in a continuous spiral and move the marker after every round. Bobbles are pushed to the outside. Each bobble consumes one base stitch and does not change the 30-stitch round count. Change from sage to cream at the end of Round 5.
For the larger head bobble, work 7 treble crochets together in one stitch. For the tiny tail, work 3 half double crochets together in one stitch.
Complete No-Sew Turtle Pattern
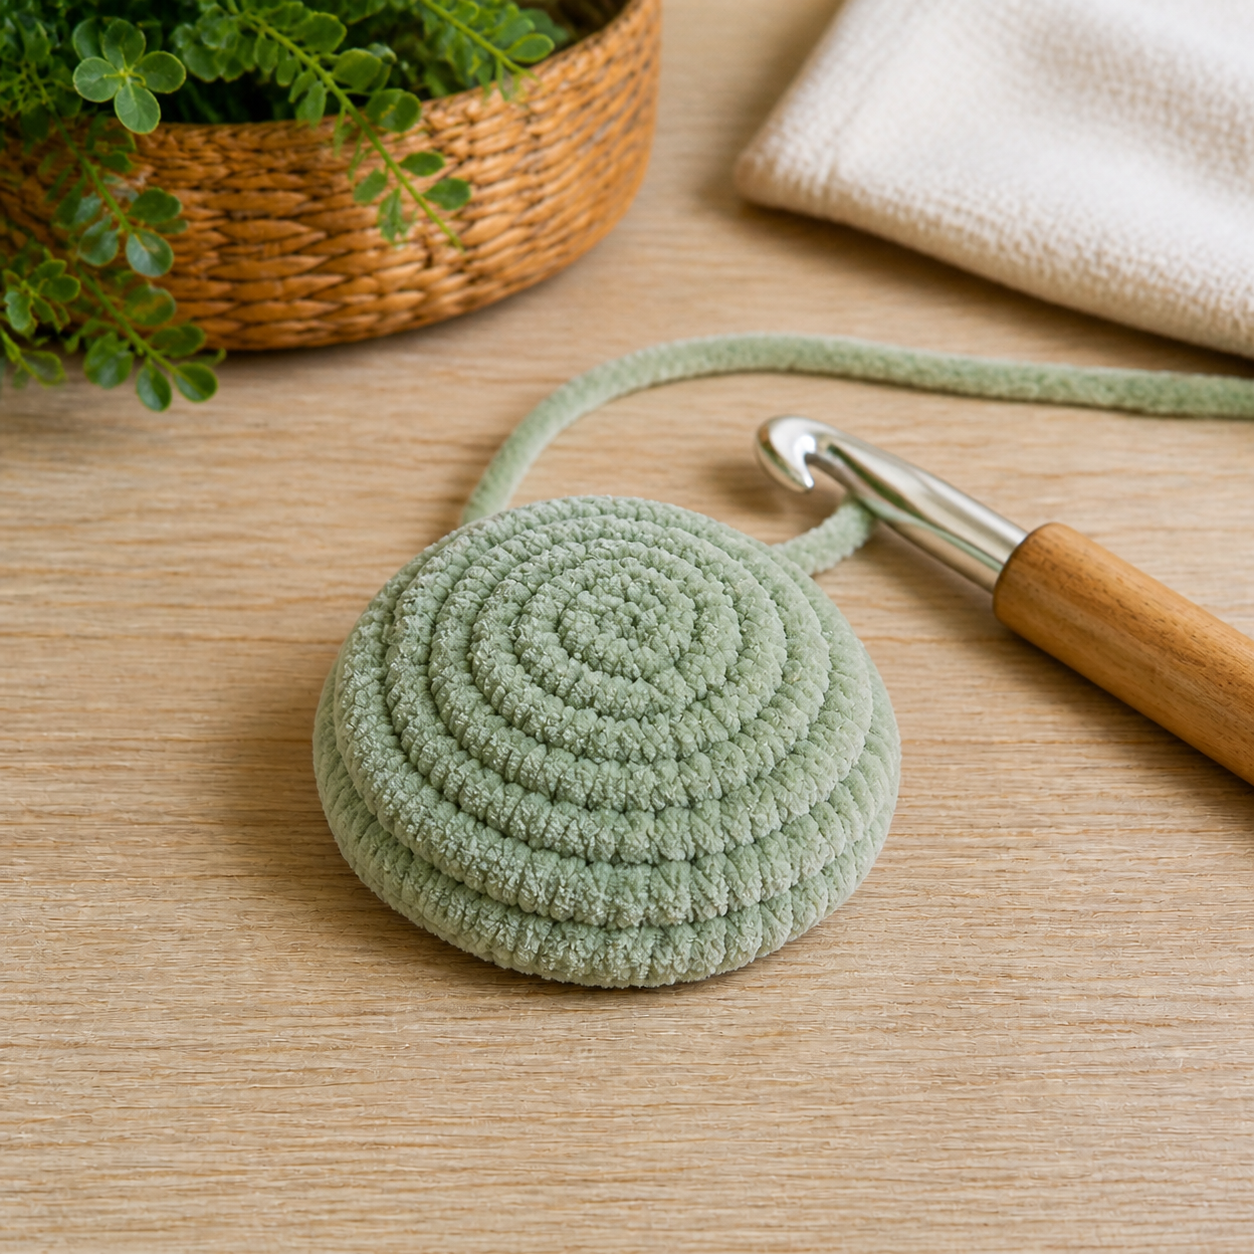
With sage, make a magic ring.
Round 1: 6 sc in ring. (6)
Round 2: Inc in each st. (12)
Round 3: *Sc, inc; repeat around. (18)
Round 4: *Sc in next 2, inc; repeat around. (24)
Round 5: *Sc in next 3, inc; repeat around. (30)
Change to cream.
Round 6: Working in back loops only, sc around. (30)
Round 7 — feature round: Large head bobble in next st; sc in next 3; bobble in next st; sc in next 7; bobble in next st; sc in next 2; small tail bobble in next st; sc in next 2; bobble in next st; sc in next 7; bobble in next st; sc in next 3. (30 base sts; one head, four flippers, one tail)
Round 8: Sc in each base st around, working behind the bobbles rather than into their loops. (30)
Round 9: *Sc in next 3, dec; repeat around. (24)
Round 10: *Sc in next 2, dec; repeat around. (18)
Stuff the shell firmly but keep the underside relatively flat.
Round 11: *Sc, dec; repeat around. (12)
Add a final small amount of stuffing.
Round 12: Dec around. (6)
Fasten off and draw the remaining opening closed. Weave in the tail.
Face and Finishing

Use black yarn to embroider one small eye on each side of the head bobble. Keep the stitches short and secure the yarn deeply inside the plush. Shape the four flippers outward and massage the stuffing into an even dome.
Tips
Use a hook small enough that stuffing does not show. Count only the base stitches in the feature round. Mark the first stitch and, if helpful, place temporary markers in the head and tail positions before beginning Round 7.
Troubleshooting
The turtle has the wrong number of flippers
Round 7 contains six feature stitches: one head, four identical flippers, and one tail. Recount the plain single crochets between them before continuing.
The bobbles sit inside
Push each bobble outward immediately after completing it. Plush yarn can hide the direction until the next stitches are made.
The underside bulges
Remove a little stuffing and redistribute it toward the shell dome before the final decrease round.
Customization

Use brown and tan for a natural turtle, bright contrasting colors for a playful plush, or embroider a few shallow lines across the shell. Avoid sewn-on decorations for a project intended to retain no-assembly construction.
Frequently Asked Questions
Can I substitute yarn?
Yes, but choose a similar fiber and weight, make a gauge swatch, and expect the finished dimensions to change if your gauge differs.
How should I wash the finished project?
Follow the yarn label. Hand washing and drying flat is the gentlest choice for shaped crochet pieces and helps preserve the stitch definition.
Can I change the colors?
Absolutely. Keep enough contrast between structural sections so the construction and decorative details remain easy to see.
Conclusion
By crocheting every feature directly into the body round, this plush turtle keeps assembly simple and makes the no-sew description accurate. Careful counting in Round 7 is the key to balanced flipper placement.