Beginner Crochet Halter Crop Top Pattern
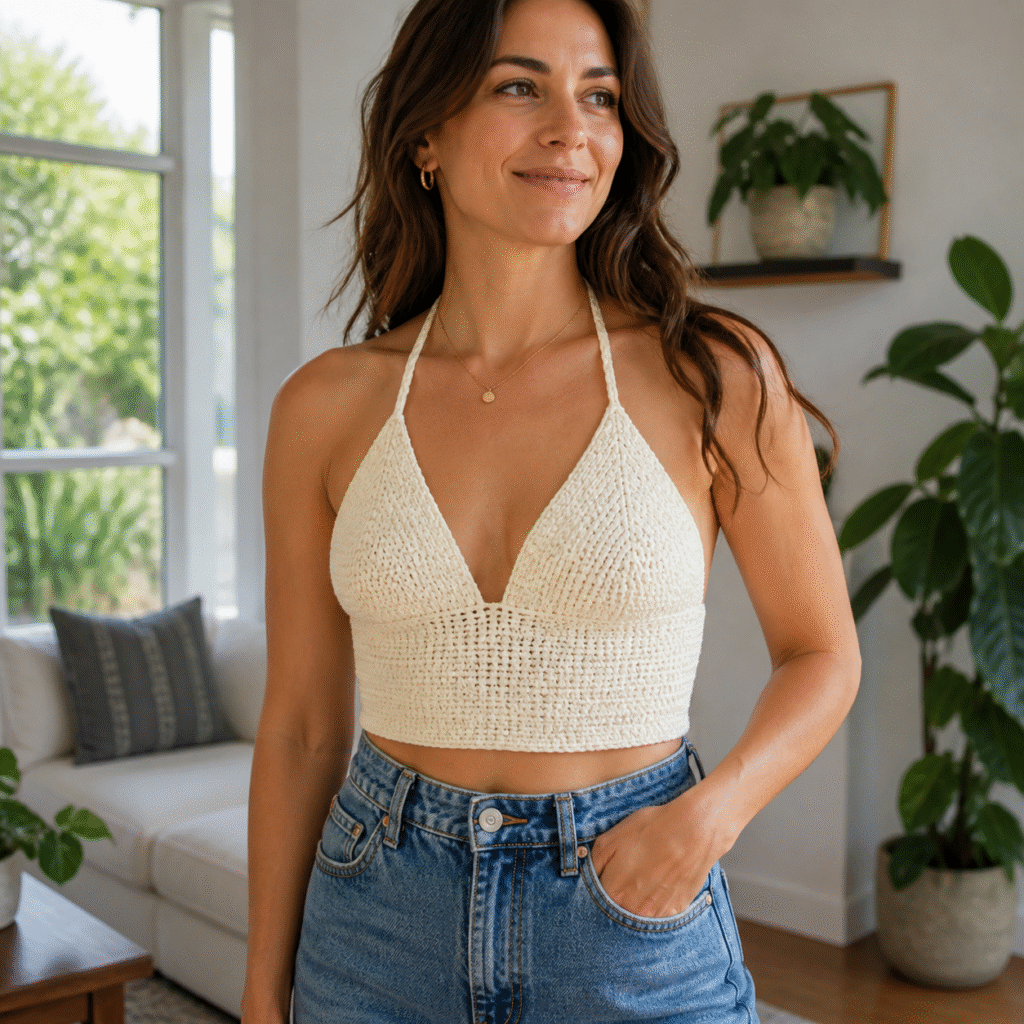
This adjustable halter crop top uses a measured underbust band, two triangular cups, neck ties, and back ties rather than pretending one size fits everyone. Five size groups provide practical starting numbers, while measurement checkpoints let you refine coverage and torso length for your body.
Skill Level
Adventurous beginner. Skills include chains, half double crochet, double crochet, increases, counting rows, seaming, and making reinforced ties.
Fit and Intended Ease
Measure your snug underbust while wearing the undergarments you expect to pair with the top. The front band is designed with about 1–2 inches of negative ease and closes with adjustable back ties. Choose the group closest to your underbust measurement, then compare the band against your body before attaching cups.
Size Table
XS/S: 28–31 inch underbust; band 98 hdc; cup 25 dc across after 12 rows; approximate cup base 7 inches.
M: 32–35 inch underbust; band 112 hdc; cup 29 dc after 14 rows; approximate cup base 8.25 inches.
L: 36–39 inch underbust; band 126 hdc; cup 33 dc after 16 rows; approximate cup base 9.5 inches.
XL: 40–43 inch underbust; band 140 hdc; cup 37 dc after 18 rows; approximate cup base 10.5 inches.
2X/3X: 44–48 inch underbust; band 154 hdc; cup 41 dc after 20 rows; approximate cup base 11.75 inches.
Finished torso length is 6 inches below the cup seam as written and is easy to adjust.
Materials
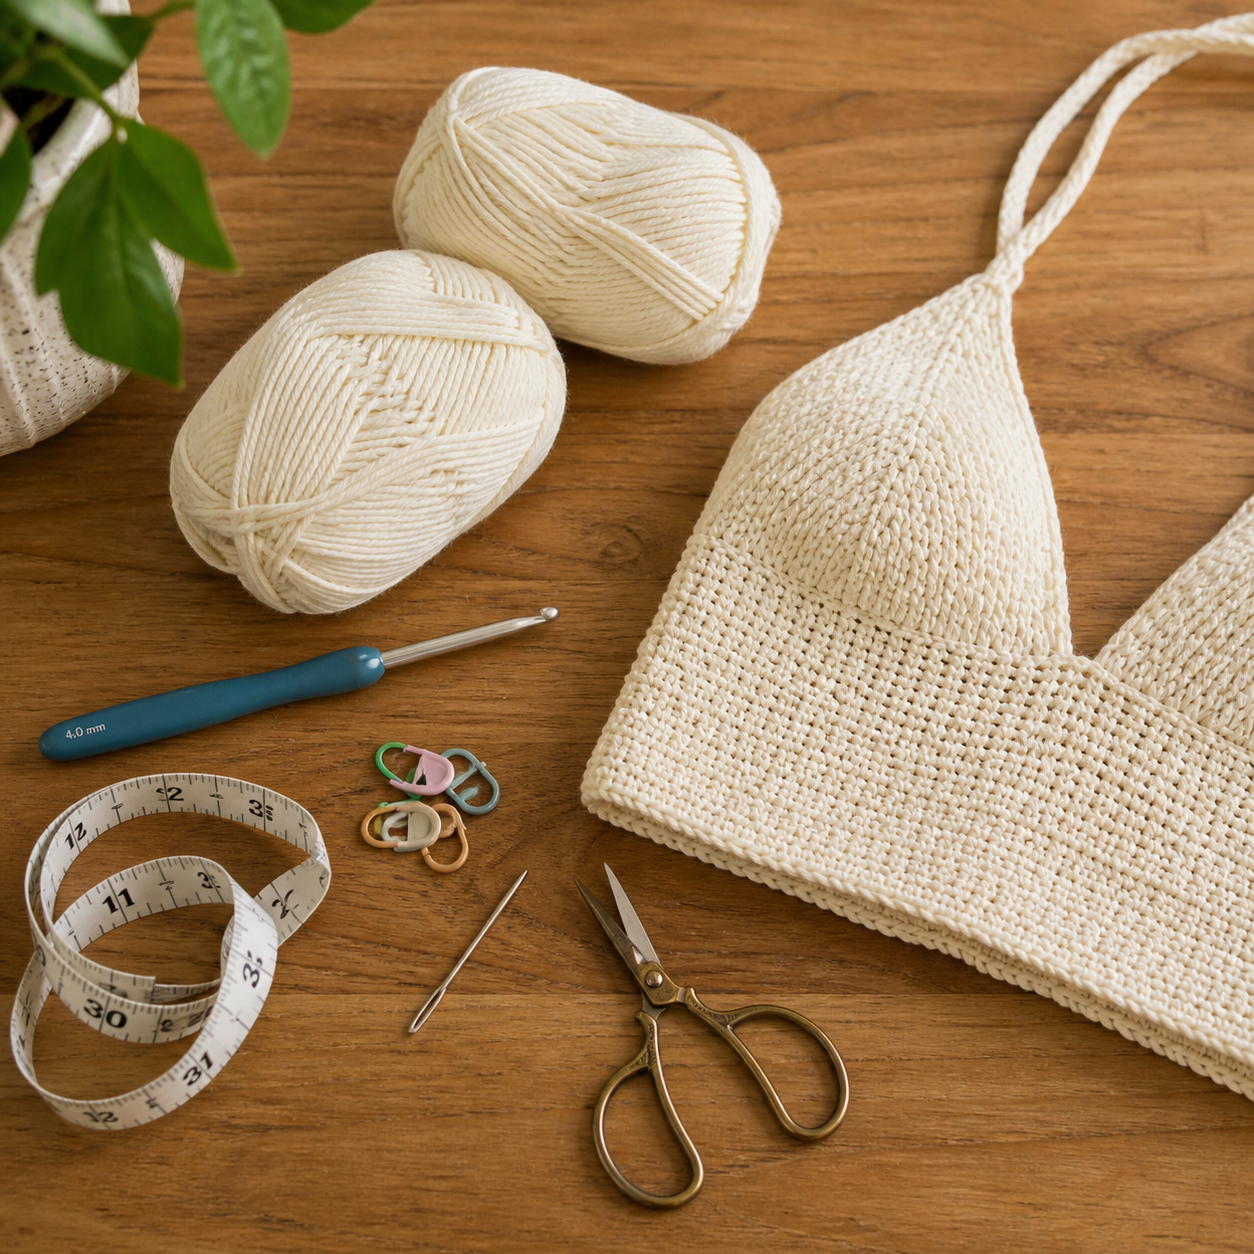
- CYC 3 DK-weight cotton or cotton-bamboo blend: 450 (500, 575, 650, 750) yards
- US G/6 (4 mm) crochet hook
- Measuring tape, yarn needle, scissors, and stitch markers
Gauge
14 hdc and 10 rows = 4 inches in the band pattern. Cup gauge is approximately 14 dc and 8 rows = 4 inches. Wash and dry a swatch as the yarn label directs before measuring.
Abbreviations (US Terms)
- ch: chain
- dc: double crochet
- hdc: half double crochet
- sc: single crochet
- sl st: slip stitch
- st(s): stitch(es)
Underbust Band
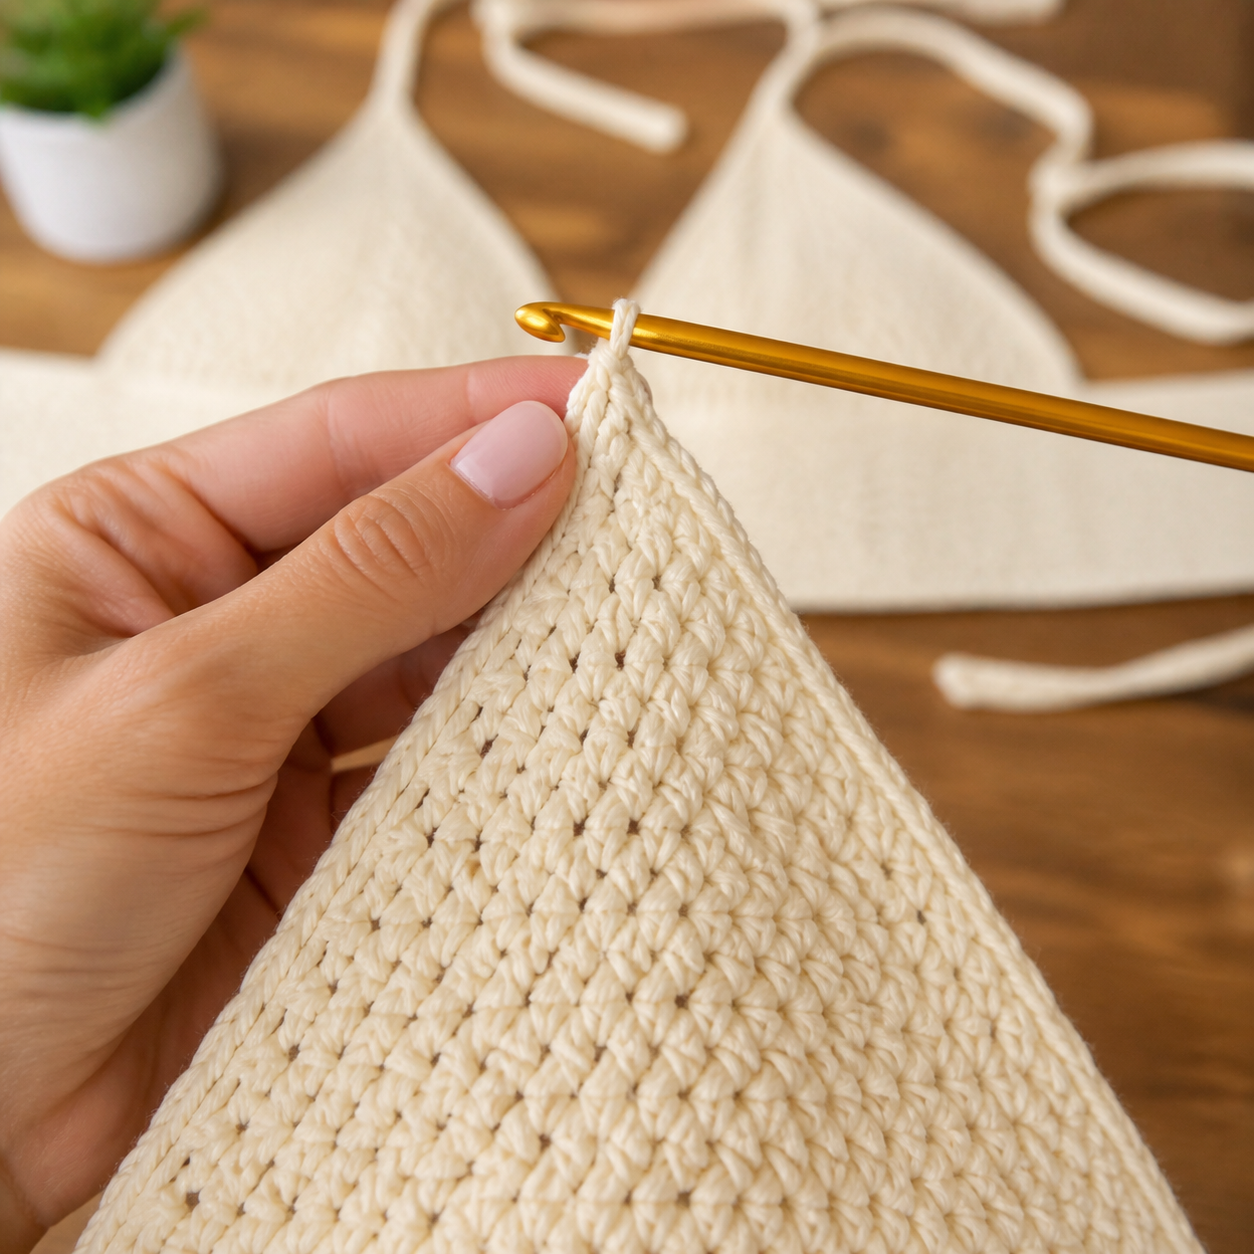
Chain 99 (113, 127, 141, 155).
Row 1: Hdc in second ch from hook and each ch across. Turn. 98 (112, 126, 140, 154) hdc.
Rows 2–15: Ch 1, hdc in each st across. Turn. This produces about 6 inches of torso length. Add or remove rows here for your preferred crop length, ending after a wrong-side row. Fasten off.
Hold the band across your front underbust. Its corners should stop short of meeting at the center back so the ties can adjust the fit.
Triangular Cups (Make 2)
Ch 4.
Row 1: Work 3 dc in fourth ch from hook. Turn. (3 dc)
Row 2: Ch 3 (does not count), 2 dc in first st, dc in next st, 2 dc in last st. Turn. (5 dc)
Following rows: Ch 3, 2 dc in first st, dc in each st to last st, 2 dc in last st. Turn. Each row adds 2 stitches.
Continue until the cup has 25 (29, 33, 37, 41) dc, corresponding to 12 (14, 16, 18, 20) total rows. Fasten off with a long attachment tail.
Hold the cup with the narrow point upward. The base should cover from near the center front toward the side of the bust without extending into the underarm. Add pairs of rows for more width and height, or stop earlier for less coverage; record the same adjustment for the second cup.
Cup Placement and Assembly
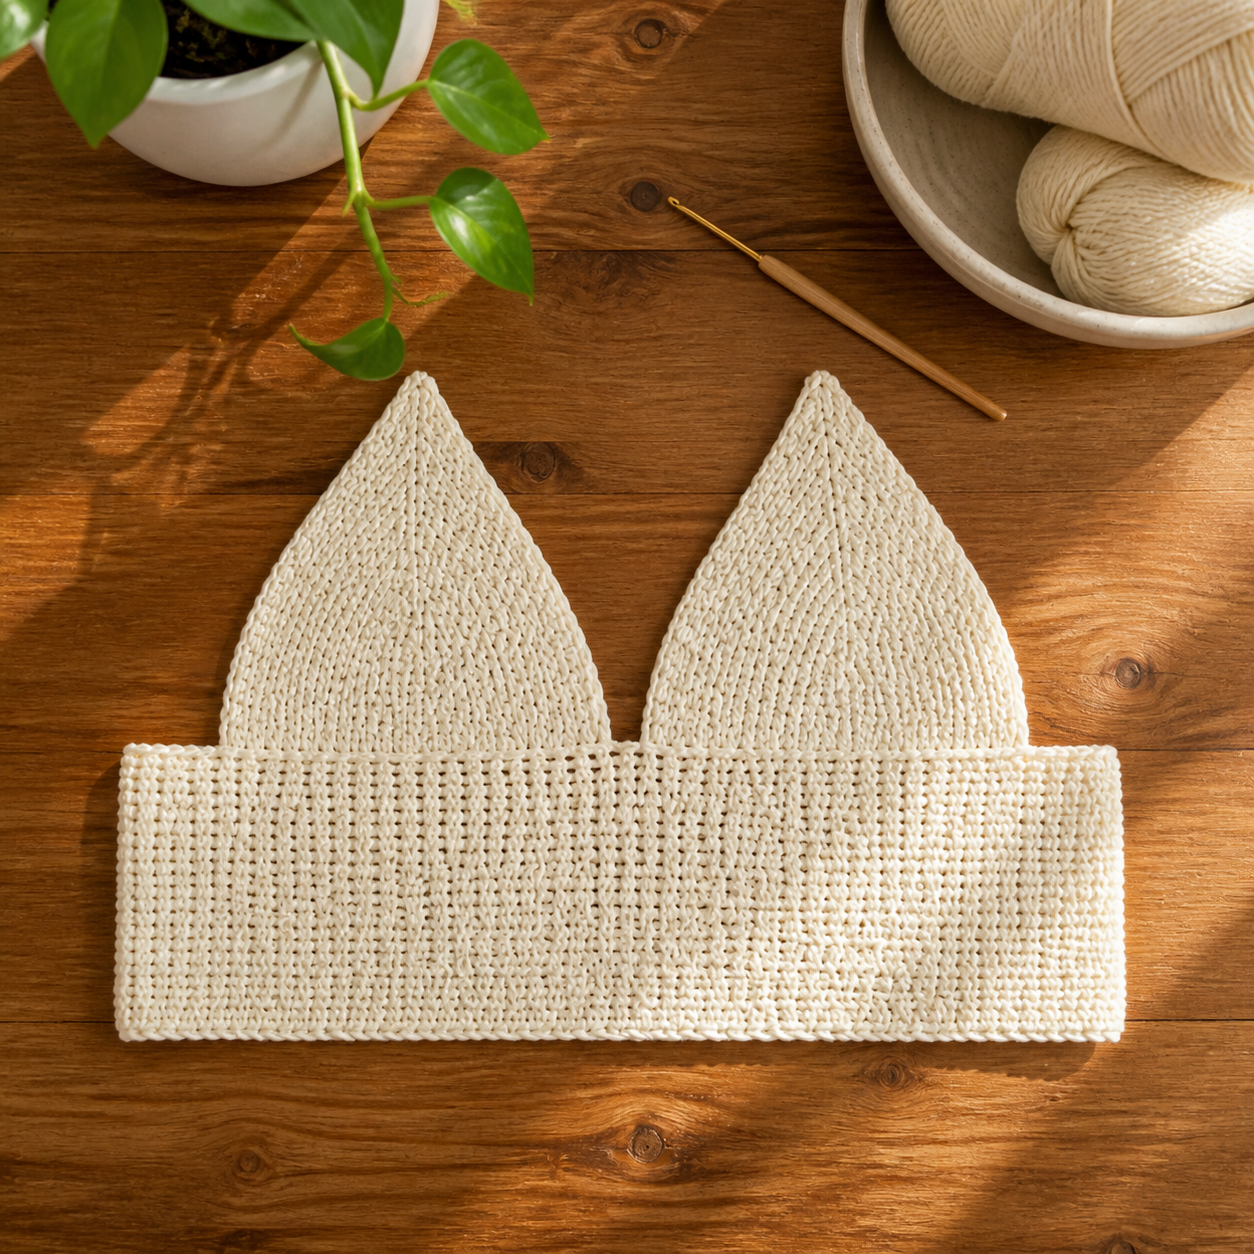
Mark the center of the band’s long top edge. Leave about a 1-inch center gap. Position the two cup bases symmetrically on either side, with their wider edges aligned to the band. Whipstitch each cup base securely to the band without stretching either piece. Try on before weaving in the long tails and adjust the overlap or gap if needed.
Neck and Back Ties
Join yarn at one cup point. Ch 90, then sl st back along every chain for a reinforced tie. Fasten off. Repeat at the other cup point.
At each upper back corner of the band, join yarn, ch 120, and sl st back along every chain. Repeat for the remaining corner. For additional security, add matching ties to the lower back corners using the same method.
Finishing

Work one row of sc evenly along exposed cup sides and the top band edge, avoiding the ties. Weave all ends securely. Block lightly to measurements without stretching the ties.
Fit Tips and Troubleshooting
If the band rides up, lengthen the back ties or reduce band width slightly. If the cups gap at the sides, reposition their bases closer together or remove two cup rows. If more coverage is needed, add two rows to both cups and recheck the base width.
The neck ties should support the garment without carrying all tension. Adjust the back ties first, then tie the halter comfortably. Stop wearing the top if ties or seams show damage.
Customization

Add band rows for a longer top, use contrasting edging, or add a simple picot border after fit is confirmed. A lining can provide more coverage while preserving the crochet texture.
Frequently Asked Questions
Can I substitute yarn?
Yes, but choose a similar fiber and weight, make a gauge swatch, and expect the finished dimensions to change if your gauge differs.
How should I wash the finished project?
Follow the yarn label. Hand washing and drying flat is the gentlest choice for shaped crochet pieces and helps preserve the stitch definition.
Can I change the colors?
Absolutely. Keep enough contrast between structural sections so the construction and decorative details remain easy to see.
Conclusion
A measured band, symmetrical cups, and adjustable ties make this halter top far more adaptable than a one-size design. Check the fit at each milestone and customize cup coverage and torso length before finishing the seams.