Magic Sugar Crystal Ball: The Complete Guide to DIY Rainbow Crystal Growing Jars
Science Craft · Rainbow Activity · Ages 5+ 20 min prep · Overnight reveal · Real chemistry magic
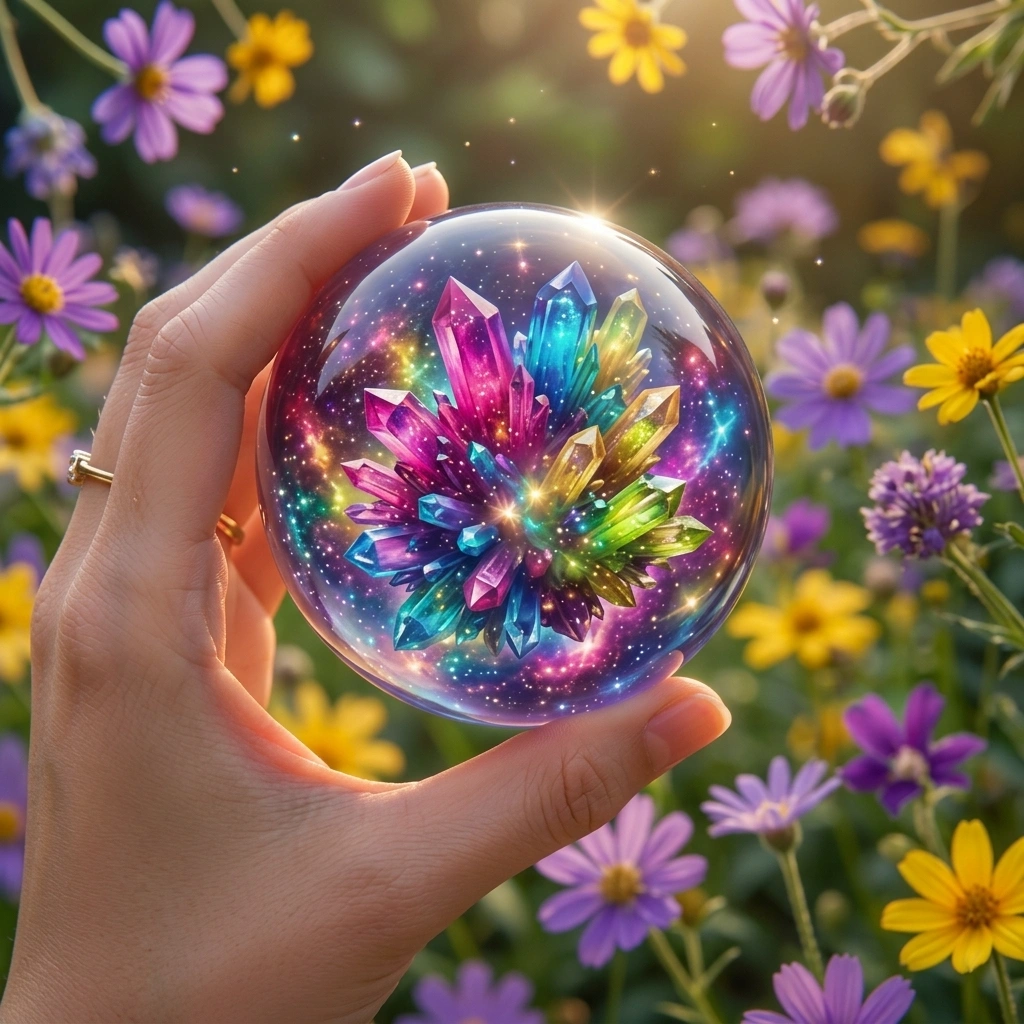
Imagine waking up to find that overnight, a jar on your windowsill has transformed into a glittering, rainbow-coated treasure — a real crystal ball filled with jewel-bright sugar crystals clinging to the petals of a tiny daisy flower like fairy dust. That is exactly what the Magic Sugar Crystal Ball project delivers. It combines the wonder of crystal-growing science with gorgeous layered rainbow colors and the tactile magic of a glitter swirl, creating an experience that is as educational as it is enchanting.
This step-by-step guide covers everything you need to know: the science behind crystal formation, the exact ingredients and measurements, a clear process for building perfect rainbow layers, tips for getting your daisy flower perfectly coated in crystals, creative variations to try, and answers to the most common questions. Whether you are a parent looking for a rainy-day project, a teacher planning a hands-on science lesson, or a craft enthusiast chasing your next beautiful DIY, this guide is your complete companion.
What Is a Sugar Crystal Ball?
A Magic Sugar Crystal Ball is a supersaturated sugar solution layered in rainbow colors inside a clear glass jar, with a small flower or daisy-shaped pipe cleaner suspended in the center. As the water slowly evaporates overnight, sugar molecules come out of solution and attach themselves to the flower’s surface, forming glittering crystalline structures. The result is a breathtaking crystal garden — rainbow-colored, glitter-dusted, and entirely made by science.
Unlike rock candy, which is typically one color and takes many days to grow, this project is designed for visual drama and quick results. The layered rainbow colors, the addition of fine glitter, and the botanical centerpiece make the finished jar feel like something conjured from a fairy tale. The optional borax powder accelerates and enhances crystal growth, while the sugar provides the raw material for the crystals themselves.
The Science Behind the Magic
When you dissolve sugar in hot water, you can pack in far more sugar than cold water can hold — this is called a supersaturated solution. As the water cools and evaporates, it can no longer hold all that dissolved sugar, so the excess comes out of solution and locks into an orderly, repeating structure: a crystal. The daisy flower provides a rough surface with tiny imperfections called nucleation sites — microscopic anchors where the first sugar molecules can grab on and start building. Once the first crystal layer forms, more molecules stack on top in the same pattern, growing the crystal outward petal by petal.
Ingredients You Will Need
For one crystal ball jar, gather the following:
- 1 cup granulated sugar
- ½ cup hot water, boiled and poured by an adult
- 1 tablespoon borax powder (optional but recommended)
- Food coloring in red, yellow, green, and blue — 5 drops of each color
- 1 tablespoon fine glitter
- 1 small white daisy flower or a daisy-shaped pipe cleaner
- 4 small cups or glasses for dividing the solution
- 1 pencil and a length of thread or string
- 1 tall clear glass jar
- 1 spoon for gentle layering
Choosing Your Daisy
The centerpiece flower is the soul of this project. A small real white daisy works beautifully — the natural petal texture provides excellent nucleation sites for crystal formation, and the finished effect looks genuinely magical. If real daisies are not available, or you want a more durable result, a daisy-shaped pipe cleaner in white or pale yellow works just as well and can be bent and shaped to fit any jar. Avoid synthetic plastic flowers with a smooth, sealed surface, as crystals will not adhere easily to them.
A Note on Borax Safety
Borax is a naturally occurring mineral powder that is safe for adult use in craft applications. The sealed finished jar is completely safe for children to handle and display. However, the powder itself should be measured and dissolved by adults only, and the liquid inside the bottle should never be tasted or touched by children. If you prefer to avoid borax entirely, the project works without it — crystals will simply take a little longer to form and may be slightly smaller.
Step-by-Step Instructions
Step 1: Create a Supersaturated Sugar Solution
Bring half a cup of water to a boil — an adult must handle this step. Pour the hot water into a heatproof bowl or large measuring cup. Add the full cup of granulated sugar and, if using, the tablespoon of borax powder. Stir steadily for about two minutes until both are fully dissolved. The liquid should look clear and slightly syrupy, with no visible granules remaining. This supersaturated solution is the engine that drives crystal growth, so it is worth taking the time to dissolve everything completely.
Step 2: Divide and Color the Rainbow Layers
Working quickly while the solution is still warm and fluid, divide it equally among your four small cups or glasses. Add 5 drops of blue food coloring to the first cup, 5 drops of green to the second, 5 drops of yellow to the third, and 5 drops of red to the fourth. Stir each one separately until the color is fully and evenly distributed. The colors should look vibrant and saturated — these will become the visible rainbow strata in your finished crystal jar.
Step 3: Layer the Rainbow Colors into the Jar
This is the most delicate step and the one that determines how sharp and spectacular your rainbow layers look. Hold a spoon inside your clear jar with the bowl of the spoon gently touching the glass wall. Slowly pour the blue layer first, letting it run down the spoon and settle at the bottom without splashing or disturbing. Add the green layer next using the same technique — slow and steady against the glass. Repeat with yellow, then finish with red on top. The goal is four distinct, visible color bands. Do not rush or pour from height, as this will cause the colors to blend and muddy.
Step 4: Add Glitter and Suspend the Daisy
Sprinkle the tablespoon of fine glitter across the surface of the layered liquid — it will drift down through the colors in sparkling trails. Next, tie your daisy flower or pipe cleaner daisy securely to the center of a pencil using your thread or string. The stem of the flower should reach down into the center of the jar when the pencil rests horizontally across the jar’s open top. Adjust the string length carefully so the daisy hangs in the middle of the liquid, touching neither the sides nor the bottom of the jar.
Step 5: Seal Loosely and Wait for the Magic
Place the jar in a stable, undisturbed spot. A windowsill that receives gentle warmth works wonderfully, as the slight temperature change encourages evaporation and crystal formation. Cover the top loosely with a piece of cling film or a cloth — you want to slow evaporation just enough to encourage orderly crystal growth rather than a sudden dry-out. Leave the jar overnight without peeking or disturbing it. In the morning, carefully lift out the pencil and flower. Rainbow sugar crystals will have formed on the daisy petals like a coat of jeweled fairy dust.
The Morning Reveal
Lift the daisy gently from the jar and hold it up to the light. The crystals on the petals will catch and scatter the light like tiny prisms, glowing in all four rainbow colors. Allow the flower to rest on a piece of parchment paper for one to two hours to dry fully before handling. Once dry, it can be displayed in a small vase, pressed under glass, or kept in the jar as a permanent sparkling centerpiece.
Expert Tips for the Best Crystal Results
Keep the solution as hot as possible when dividing. Cooler solution begins to crystallize before you have even finished layering. Work quickly after dissolving, and if needed, briefly reheat the cups in a microwave in ten-second bursts before pouring each layer.
Use fine glitter, not chunky. Fine glitter remains suspended in the liquid longer, coating the flower more evenly as crystals form around it. Chunky glitter tends to sink immediately to the bottom and does not contribute to the crystal effect.
Do not move the jar once it is set. Vibration interrupts the crystallization process. Choose a location where the jar will not be bumped, and let everyone in the household know to leave it alone until morning.
Increase borax for faster, more dramatic crystals. A full tablespoon of well-dissolved borax produces noticeably larger and more defined crystals than the sugar solution alone. If you are skipping borax entirely, allow 24 to 36 hours rather than overnight for the best results.
Scratch the daisy petals gently before use. Using a pin or toothpick, lightly score the surface of real daisy petals before suspending them in the jar. This creates more nucleation sites and results in a denser, more even crystal coating across every petal.
Try a cooler room for slower, larger crystals. Crystal growth that happens slightly more slowly in a cooler environment tends to produce larger, more organized crystals. A warmer spot creates more crystals faster, but they may be smaller and fuzzier in appearance.
Photograph the jar before removing the flower. The layered liquid with the suspended crystal-coated daisy is a genuinely stunning image. Document it before the color layers blend — these photographs are wonderful keepsakes and make beautiful project records for school.
Creative Variations to Try
Monochrome Crystal Jewel
For a more refined aesthetic, skip the rainbow layering and use a single deep jewel tone — sapphire blue, emerald green, or deep amethyst purple. Use a larger central flower such as a dried rose head, and allow 48 hours for crystal formation. The result is a sophisticated crystal-encrusted botanical that looks like something from a Victorian natural history collection.
Galaxy Crystal Ball
Use deep blue-purple coloring with silver and holographic glitter. Instead of a daisy, suspend a small star-shaped pipe cleaner sculpture. Leave it longer for a denser crystal coat. The finished object looks like a tiny galaxy in a jar — mysterious, shimmering, and deeply beautiful.
Seasonal and Occasion Themes
Adapt the colors and botanicals to suit the season or a special occasion. For winter, use silver-white solution with snowflake-shaped pipe cleaners and iridescent glitter. For autumn, use amber, orange, and rust tones with a small dried maple leaf. For a birthday, use the child’s favorite colors and spell out their initial in wire to suspend in the jar.
Rock Candy Variation
If you want to extend the project into a full rock candy experience, use a wooden skewer instead of a daisy and allow the jar to sit undisturbed for five to seven days. The crystal coating will grow thick and opaque and can be carefully eaten if borax was not used. This is an excellent introduction to crystallization science for older children and classroom projects.
Using This Project in Educational Settings
The Magic Sugar Crystal Ball is tailor-made for classroom science demonstrations and STEM enrichment programs. It tangibly illustrates several foundational scientific concepts: solubility (how much solute dissolves in a solvent), saturation and supersaturation, nucleation (where and why crystals begin forming), density (why the colored layers remain distinct from one another), and evaporation as a driver of physical change.
For primary school children aged five to eight, the project works best as a demonstration with adult preparation of the hot solution, with children contributing the coloring, glitter, and flower placement. For older students aged nine to twelve, the full process can be run independently with supervision and extended into a formal hypothesis-and-observation experiment. Suggested questions include: Does temperature affect how quickly crystals form? Do different flowers produce different crystal densities? Does the color of the solution affect the color of the finished crystals?
This project supports primary and middle school science standards around states of matter, solutions, physical and chemical change, and properties of materials. It can also be incorporated into art lessons as an exploration of color mixing, layering, and natural pattern-making.
Frequently Asked Questions
Why didn’t my crystals form overnight?
The most common causes are an insufficiently saturated solution (not enough sugar dissolved), a room that was too warm causing rapid rather than slow evaporation, or a daisy surface that was too smooth to provide nucleation sites. Try adding more dissolved sugar next time, lightly scratching the flower surface before use, and placing the jar in a slightly cooler location. Allow up to 36 hours before concluding the experiment was unsuccessful.
Is borax safe for this craft?
Borax is a naturally occurring mineral that is safe for adult use in craft contexts. The finished, sealed jar is safe for children to handle and display. Borax powder should be measured and dissolved by adults only, and the liquid mixture should not be tasted or touched. If you prefer, the project works without borax — crystals simply take a little longer and may be slightly smaller.
Can the crystal-coated daisy be kept permanently?
Yes. Once fully dried on parchment paper for at least two hours, the crystal-coated daisy is surprisingly durable. Display it under a glass cloche, frame it between two sheets of glass, or keep it in the original jar as a sealed decorative object. Avoid high humidity environments, which can cause sugar crystals to slowly re-dissolve. A light spritz of clear craft sealant spray will preserve the crystals indefinitely.
My rainbow layers mixed together. What went wrong?
This happens when the solution is poured too quickly or from too high above the surface. The key is patience and the spoon technique — always let each new layer flow slowly down a spoon pressed against the inside of the glass. Slightly cooled (not cold) solution is also easier to layer cleanly than very hot, thin liquid, as it is marginally thicker and more stable.
What age is this project suitable for?
With adult handling of the hot water and borax powder, this project is suitable from age five upward. Children can independently add food coloring, perform the careful layering, decorate with glitter, and place the daisy. The overnight wait and morning reveal is genuinely thrilling for children of all ages. For children under five, this is best experienced as a parent-led demonstration rather than an independent hands-on craft.
The Magic Is Real — and It’s Science
There is something profound about a craft project powered by genuine, verifiable chemistry. The Magic Sugar Crystal Ball does not just look magical — it is a demonstration of some of the most elegant principles in science, made visible and tangible by a jar, some sugar, and a daisy. When a child holds up their crystal-coated flower in the morning light and watches it scatter rainbow sparks across the wall, they are not just seeing a pretty object. They are seeing molecules at work, doing something extraordinary in a pattern as old as the earth itself.
That is what the best science crafts accomplish: they give wonder a physical address. They make the invisible real, the abstract beautiful, and the complicated simple enough for a five-year-old to understand and a fifty-year-old to still be amazed by. Make this project once, and it almost certainly will not be the last time.


