Introduction to Glow-in-the-Dark Rice Krispies Treats
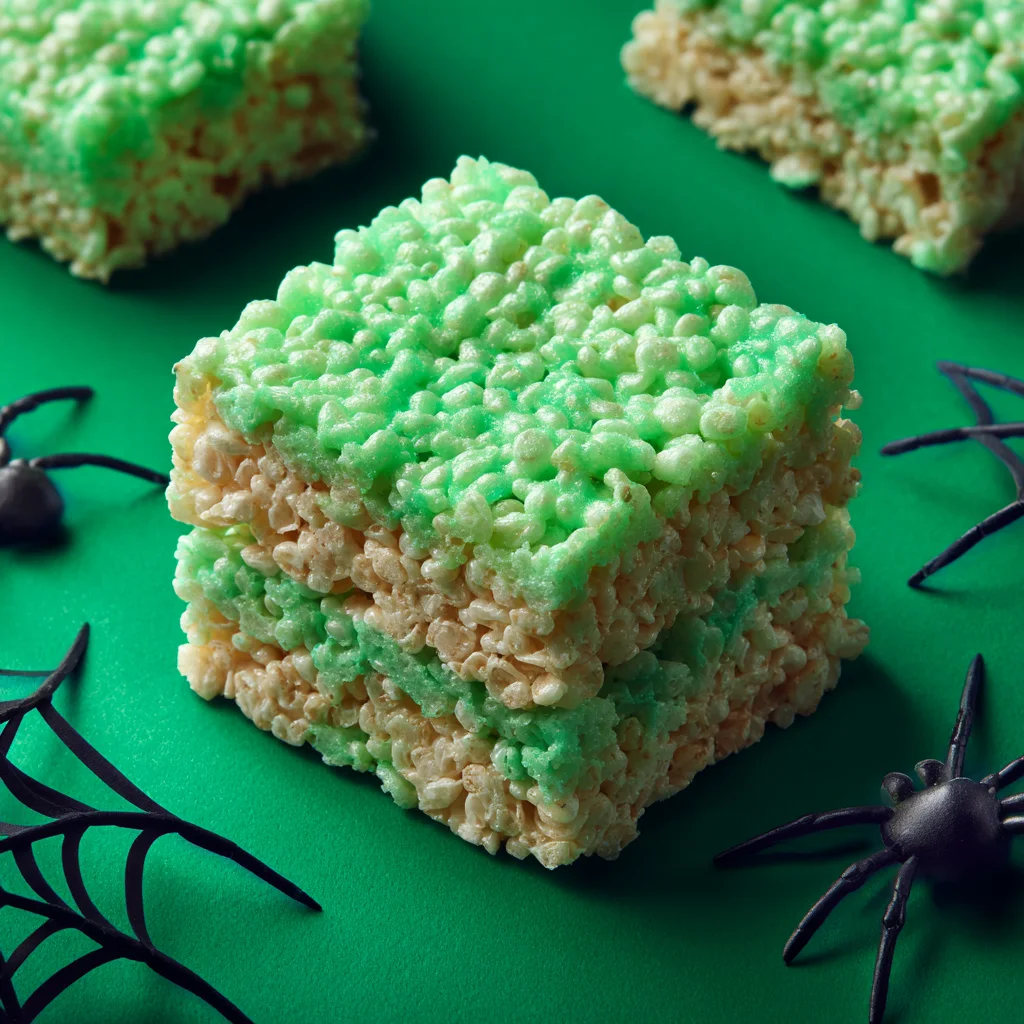
Welcome to the whimsical world of Glow-in-the-Dark Rice Krispies Treats! If you’re looking for a fun and easy Halloween DIY craft that will light up your kids’ faces, you’ve come to the right place. This delightful recipe combines the classic treat we all know and love with a spooky twist that’s perfect for any gathering. Not only is it simple to make, but it also offers a fantastic opportunity to bond with your little ones while creating something magical together. So, let’s get ready to whip up some glowing goodies that will make your Halloween celebrations unforgettable!
Why You’ll Love This Glow-in-the-Dark Rice Krispies Treats
These Glow-in-the-Dark Rice Krispies Treats are not just a treat; they’re an experience! They’re incredibly easy to make, which means less stress for busy moms like us. Plus, they’re budget-friendly, allowing you to create something special without breaking the bank. Most importantly, this fun food craft is a wonderful way to bond with your kids, sparking creativity and laughter in the kitchen. Trust me, the smiles will be worth it!
Materials and Tools Needed for Glow-in-the-Dark Rice Krispies Treats
Before we dive into the fun of making these Glow-in-the-Dark Rice Krispies Treats, let’s gather our materials! Here’s what you’ll need:
- Butter: This is the base for our gooey marshmallow mixture. You can use any type of butter, or even a dairy-free alternative if you prefer!
- Marshmallows: The star of the show! They provide that sweet, sticky goodness we all love. Mini marshmallows work just as well if you have them on hand.
- Rice Krispies cereal: This crunchy cereal gives our treats their signature texture. Feel free to experiment with other cereals for a fun twist!
- Tonic water: This is the secret ingredient that makes our treats glow! Make sure to choose tonic water that contains quinine for the best effect.
- Green food coloring: While optional, a few drops can enhance the spooky vibe of your treats. You can also try other colors for different themes!
- Large mixing bowl: A must-have for combining all your ingredients. Choose one that’s big enough to give you room to stir without making a mess.
- 9×13 inch baking pan: This is where the magic happens! A non-stick pan or one lined with parchment paper will make it easier to remove the treats later.
- Microwave-safe bowl: Perfect for melting your butter and marshmallows. Just make sure it’s big enough to hold everything as it expands!
- Spatula: This handy tool will help you mix and press the treats into the pan. A silicone spatula is great for scraping every last bit out!
Gathering these materials is part of the fun! Plus, most of them are budget-friendly and easy to find at your local grocery store. Now that we have everything ready, let’s get crafting!
How to Make Glow-in-the-Dark Rice Krispies Treats
Now comes the fun part! Making these Glow-in-the-Dark Rice Krispies Treats is not only simple but also a delightful way to bond with your kids. I remember the first time I made these with my little ones; their eyes lit up with excitement as we mixed the ingredients together. Let’s dive into the step-by-step process!
Step 1: Melt the Butter and Marshmallows
Start by grabbing a microwave-safe bowl. Add the butter and marshmallows, then pop it in the microwave for about 1-2 minutes. Make sure to stir halfway through until everything is smooth and gooey. The sweet aroma of melting marshmallows will fill your kitchen, making it feel like a cozy fall day!
Step 2: Add Tonic Water and Food Coloring
Once your marshmallow mixture is nice and melted, it’s time to add the magic! Pour in the tonic water and a few drops of green food coloring if you want that spooky glow. Stir it all together until it’s well combined. The mixture will start to shimmer, and I can’t help but feel a little giddy at this point!
Step 3: Combine with Rice Krispies
Now, gradually add the Rice Krispies cereal to your gooey mixture. Stir gently but thoroughly until every single piece of cereal is coated in that delicious marshmallow goodness. This is where the fun really begins! The crunch of the Rice Krispies mixed with the sticky sweetness is simply irresistible.
Step 4: Press into the Pan
Next, grab your greased 9×13 inch baking pan. Pour the mixture in and press it down evenly with a spatula. You want to make sure it’s packed tightly so that your treats hold their shape. I like to use a piece of parchment paper to press down; it keeps my hands clean and makes it easier to spread!
Step 5: Cool and Cut
Let your treats cool for about 30 minutes. This is the perfect time to clean up the kitchen or enjoy a cup of hot cocoa while you wait. Once they’re cool, cut them into squares. The anticipation builds as you imagine how they’ll glow in the dark!
Step 6: Enjoy the Glow
Finally, it’s time for the grand reveal! Turn off the lights and expose your treats to a black light. Watch as they glow and shimmer, creating a magical atmosphere. It’s a moment of pure joy, and I guarantee your kids will be thrilled to see their creations come to life!
Making these Glow-in-the-Dark Rice Krispies Treats is not just about the end product; it’s about the laughter, the mess, and the memories you create along the way. So gather your materials, roll up your sleeves, and let’s get crafting!
Tips for Best Results
- For an extra spooky touch, use Halloween-themed cookie cutters to shape the treats. Ghosts, bats, and pumpkins are always a hit!
- Store the treats in an airtight container to keep them fresh and chewy. This will help maintain that delightful texture!
- Experiment with different food coloring to create various glow effects. Try blue or purple for a unique twist!
- Make sure to use tonic water that contains quinine for the glow effect to work. It’s the secret ingredient that makes these treats shine!
Theme and Design Variations
One of the best parts about making Glow-in-the-Dark Rice Krispies Treats is the opportunity to get creative with themes and designs! Here are some fun ideas to inspire your crafting:
- Use orange and purple food coloring for a classic Halloween theme that will delight all the little ghouls and goblins!
- Create pastel colors for spring celebrations, perfect for Easter or a whimsical birthday party.
- Shape treats into fun characters or shapes using cookie cutters—think ghosts, pumpkins, or even friendly monsters!
- Add edible glitter for a magical touch that will make your treats sparkle and shine, enchanting everyone who sees them.
These variations not only make your treats visually appealing but also add an extra layer of fun to your Halloween DIY craft experience!
Display and Use Ideas
Once you’ve created your delightful Glow-in-the-Dark Rice Krispies Treats, it’s time to showcase them! Here are some fun and creative ways to use, display, or gift your spooky treats:
- Serve them at Halloween parties or during spooky movie nights for a fun and festive touch.
- Package them in clear bags tied with colorful ribbons as fun party favors that guests will love!
- Use them as a centerpiece for themed gatherings, adding a playful element to your decor.
- Gift them to friends or neighbors for a delightful surprise that spreads Halloween cheer!
These ideas not only make your treats shine but also create memorable moments for everyone involved!
FAQs about Glow-in-the-Dark Rice Krispies Treats
- Q: Can I use regular water instead of tonic water?A: No, tonic water contains quinine, which creates the glow effect. Regular water won’t work, so make sure to grab that tonic for the best results!
- Q: How long do these treats stay fresh?A: When stored in an airtight container, your Glow-in-the-Dark Rice Krispies Treats can stay fresh for about a week. Just be sure to keep them sealed to maintain that delightful chewiness!
- Q: Can kids help with this recipe?A: Absolutely! Kids aged 5 and up can join in on the fun, but remember that adult supervision is necessary, especially when using the microwave. It’s a great way to bond and create lasting memories!
- Q: What if I don’t have a black light?A: If you don’t have a black light, you can still enjoy your treats! They’ll look great in regular light, but the glow effect is best seen under a black light. You can often find inexpensive ones at party supply stores!
- Q: Can I make these treats ahead of time?A: Yes! You can make your Glow-in-the-Dark Rice Krispies Treats a day or two in advance. Just store them in an airtight container until you’re ready to enjoy them!
Final Thoughts
Creating these Glow-in-the-Dark Rice Krispies Treats is more than just a fun Halloween DIY craft; it’s a chance to make lasting memories with your kids. The joy of watching their faces light up as they see their treats glow is simply priceless! I encourage you to gather your materials, invite your little ones into the kitchen, and let your creativity shine. Don’t forget to share your glowing creations with friends and family—after all, the more, the merrier! Happy crafting, and may your Halloween be filled with laughter and delicious treats!
Print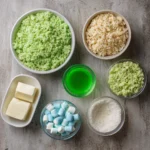
Glow-in-the-Dark Rice Krispies Treats: A Fun Recipe for Kids!
Description
Create a fun and spooky treat with these Glow-in-the-Dark Rice Krispies Treats, perfect for Halloween or any fun gathering!
Instructions
- In a microwave-safe bowl, melt the butter and marshmallows together in the microwave for about 1-2 minutes, stirring halfway through until smooth.
- Add the tonic water and a few drops of green food coloring to the melted mixture, stirring until well combined.
- Gradually add the Rice Krispies cereal to the mixture, stirring until all the cereal is evenly coated.
- Press the mixture into a greased 9×13 inch baking pan, making sure it is evenly spread out.
- Allow the treats to cool for about 30 minutes before cutting them into squares.
- To see the glow effect, turn off the lights and expose the treats to a black light!
- Category: Food Craft
Keywords: Glow-in-the-Dark, Rice Krispies Treats, Halloween Treats, Kids Recipe, Fun Food