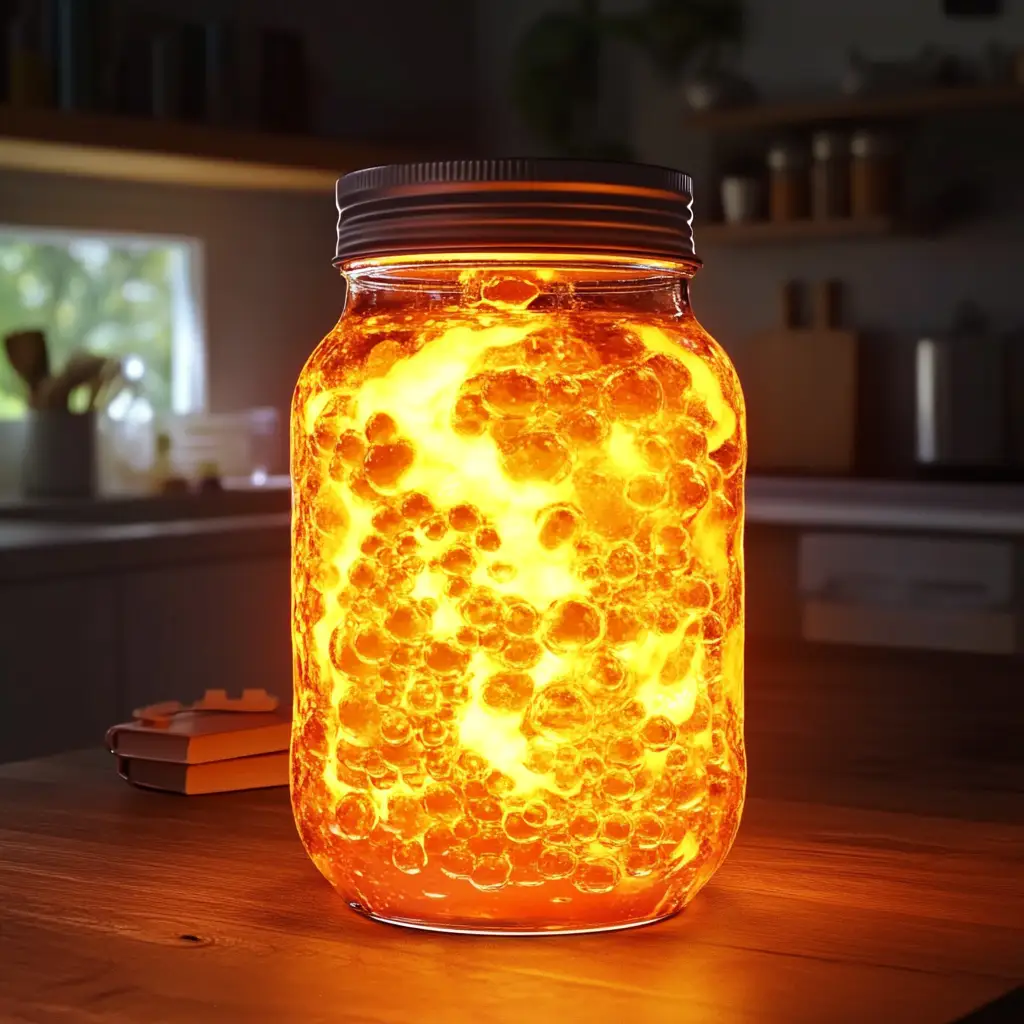
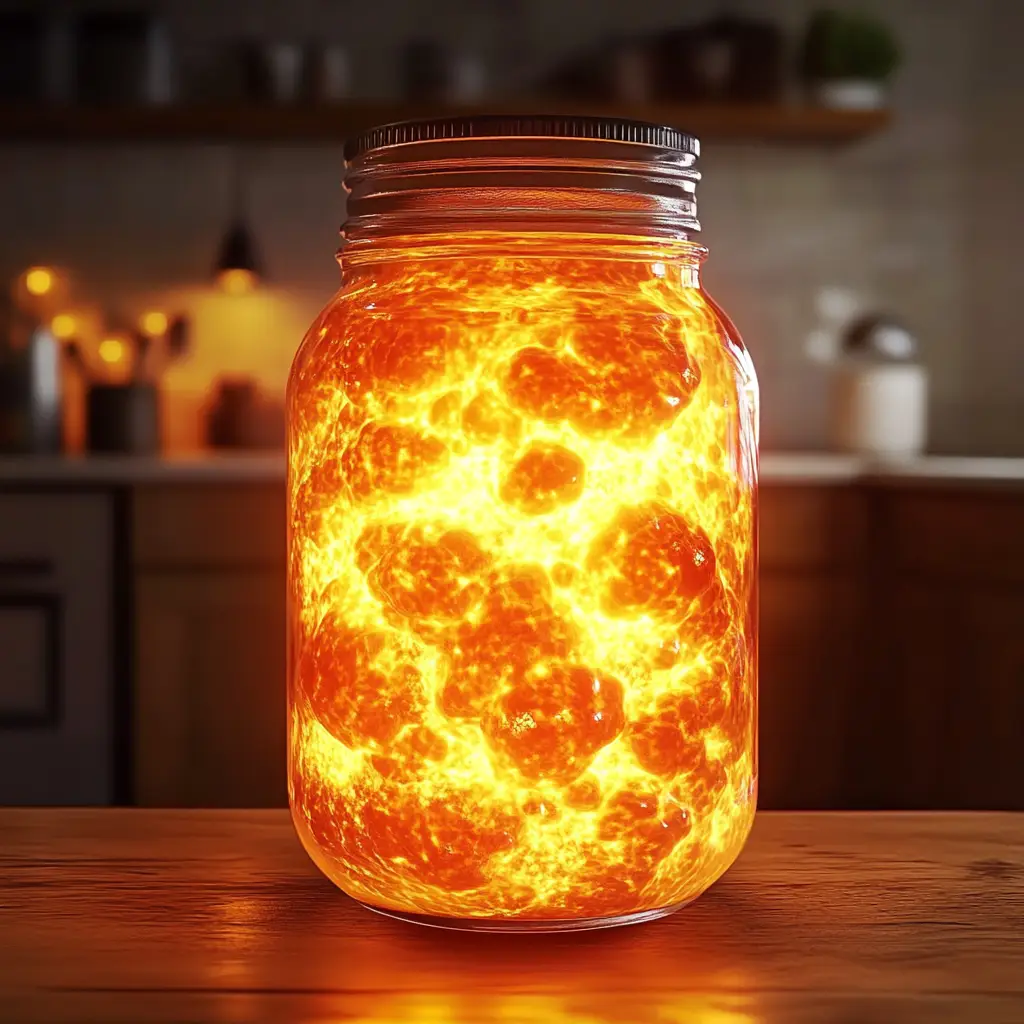
Sometimes the most captivating experiments are the simplest ones. The Boiling Lava Lamp Jar is a dazzling, hands-on activity that brings science and creativity together in a single glowing display. It’s a project that mimics the mesmerizing movement of a lava lamp—bubbling, swirling, and glowing—without the need for electricity or heat. Instead, everyday household ingredients like oil, water, and effervescent tablets combine to create an eruption of color and motion that looks just like boiling lava inside a jar.
This activity is perfect for classrooms, birthday parties, science fairs, or family craft nights. Children love the vivid colors and bubbling action, while adults are often surprised at how strikingly beautiful the effect is. Best of all, it doubles as an educational experiment, demonstrating concepts such as density, solubility, and chemical reactions in a fun and memorable way.
In this article, we’ll explore everything you need to know about creating your own Boiling Lava Lamp Jar: the materials you’ll need, step-by-step instructions, variations, the science behind the effect, and tips to ensure the most dazzling results.
Why You’ll Love This Activity
-
Mesmerizing Visuals – The bubbling colors create a soothing, hypnotic display that looks like real lava in motion.
-
Educational Value – A hands-on way to teach children about density, polarity, and chemical reactions.
-
Simple and Inexpensive – Made with common household items, no special equipment is required.
-
Safe for Kids – Since it doesn’t involve heat or open flames, children can safely participate with minimal supervision.
-
Reusable and Adaptable – You can repeat the experiment multiple times by adding more effervescent tablets and switch up the colors for new effects.
Materials Needed
To make your own Boiling Lava Lamp Jar, gather the following supplies:
-
1 clear glass jar or bottle (16 oz or larger, transparent works best)
-
Vegetable oil (enough to fill about two-thirds of the jar)
-
Water (to fill the rest of the jar)
-
Food coloring (bright colors such as red, blue, or green work beautifully)
-
Alka-Seltzer tablets (or any brand of effervescent tablets)
-
Flashlight or LED light (optional, for added glow effect under the jar)
Optional Add-Ons:
-
Glitter for sparkle
-
Glow-in-the-dark paint or tonic water for a UV blacklight effect
-
Neon food coloring for a brighter, more dramatic look
Step-by-Step Preparation Method
Step 1: Fill the Jar with Oil
Start by filling your clear glass jar about two-thirds full with vegetable oil. This will serve as the main liquid base for your lava lamp. Oil is less dense than water, so it naturally floats on top—an essential part of making the experiment work.
Step 2: Add Water
Next, carefully pour water into the jar until it is nearly full. You’ll notice that the water sinks to the bottom while the oil remains on top. This is because oil and water do not mix, and water is denser. This layering sets the stage for the bubbling effect.
Step 3: Add Food Coloring
Add a few drops of food coloring to the jar. The food coloring will sink through the oil and mix with the water layer at the bottom, creating a vibrant base color for your lava lamp. Choose bold, high-contrast colors like red, blue, or green for the best effect.
Step 4: The Boiling Lava Effect
Break an Alka-Seltzer tablet into smaller pieces and drop one into the jar. Instantly, bubbles will begin to form and rise through the oil, carrying some of the colored water upward. As the bubbles reach the surface, they release gas and sink back down, creating a mesmerizing cycle of motion. This bubbling resembles the boiling, churning flow of molten lava.
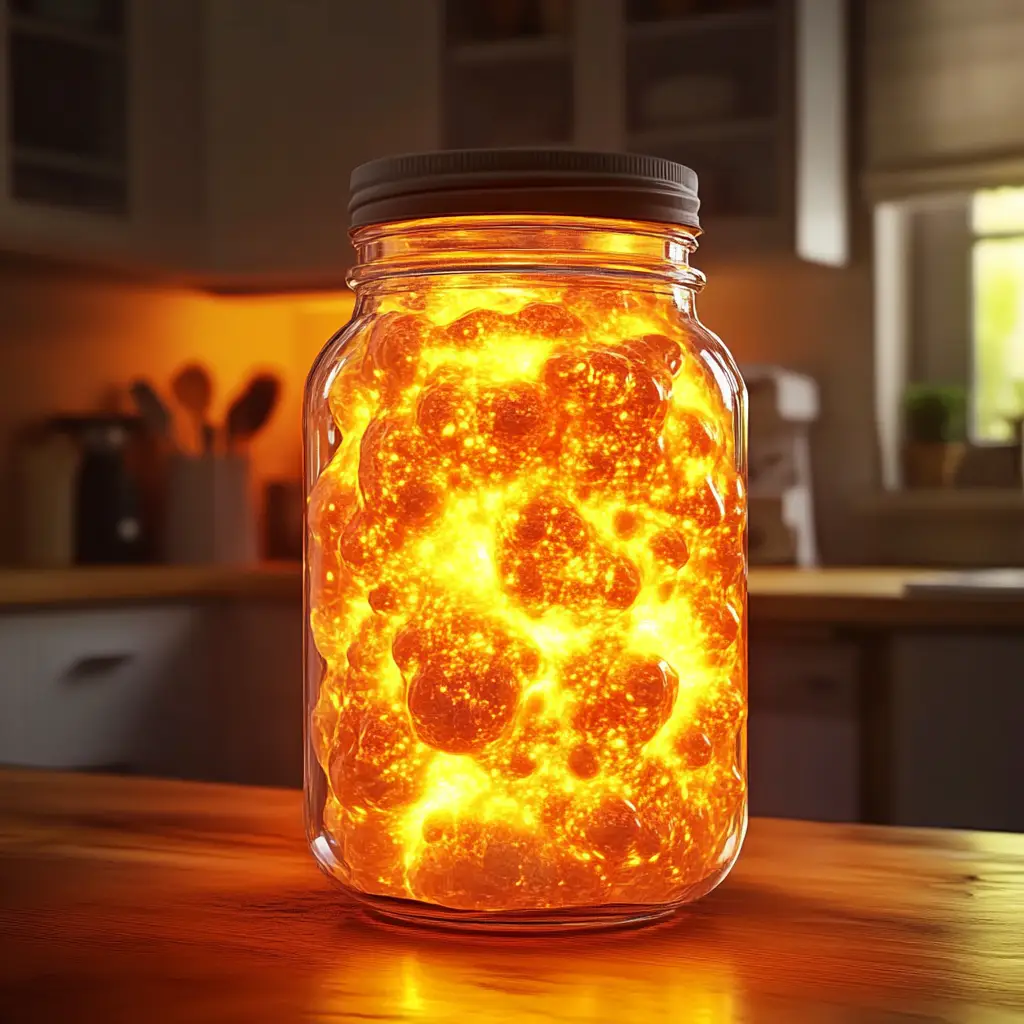
Step 5: Enhance the Glow (Optional)
For an extra dramatic effect, place a flashlight or LED light underneath the jar. The light will shine through the bubbling liquid, making the colors glow and shimmer, much like a real lava lamp.
Step 6: Continue the Fun
Once the bubbling slows down, simply add another piece of effervescent tablet to keep the lava action going. You can repeat this process as many times as you like.
The Science Behind the Boiling Lava Lamp Jar
This activity isn’t just fun—it’s also a great demonstration of basic scientific principles.
-
Density – Oil is less dense than water, which is why it floats on top. Food coloring, being water-based, sinks through the oil until it reaches the water layer.
-
Polarity – Oil and water don’t mix because they are chemically different. Water molecules are polar (they have a positive and negative side), while oil molecules are non-polar. This incompatibility is what keeps them in separate layers.
-
Chemical Reaction – When the Alka-Seltzer tablet dissolves in water, it creates a reaction that releases carbon dioxide gas. These gas bubbles attach to the colored water and carry it upward through the oil.
-
Cycle of Motion – As the bubbles pop at the surface, the gas is released, and the heavier colored water sinks back down. This cycle continues until the tablet is fully dissolved, creating the boiling lava lamp effect.
Variations to Try
-
Glitter Lava Lamp – Add glitter to the water layer before dropping in the tablet for a sparkling effect.
-
Glow-in-the-Dark Version – Replace regular water with tonic water and use a blacklight to create a glowing lava lamp.
-
Layered Colors – Use multiple jars with different food coloring to create a rainbow display.
-
Slow Motion Lava – Try using baby oil or mineral oil instead of vegetable oil for slower, more dramatic bubbling.
-
Holiday-Themed Colors – Use red and green for Christmas, orange for Halloween, or pastel colors for Easter celebrations.
Safety and Clean-Up Notes
-
Always use a clear glass or sturdy plastic jar to prevent spills.
-
Supervise young children during the activity to ensure they don’t drink or taste the mixture.
-
Once the experiment is finished, dispose of the mixture in the trash rather than pouring it down the drain, as oil can clog pipes.
Serving Suggestions (For Parties and Events)
Though this activity isn’t edible, it makes an incredible visual centerpiece at parties and events. Here are some ways to present it:
-
Science Fair Display – Label each jar with an explanation of density and chemical reactions for an educational showcase.
-
Glow Party Decoration – Line several jars along a table with LED lights underneath to create a glowing, bubbling effect all night.
-
Halloween Fun – Add neon green food coloring and glitter to create a bubbling witch’s potion jar.
-
Relaxing Décor – Use soothing colors like blue or purple and place the jar near a lamp to create a calming nightlight effect.
Tips for Success
-
Use Small Tablet Pieces – Breaking tablets into smaller chunks makes the bubbling last longer.
-
Experiment with Oils – Vegetable oil works best, but baby oil or lamp oil can create slightly different bubble speeds.
-
Try Different Containers – Tall, narrow bottles make the bubbles travel farther, while wide jars create faster eruptions.
-
Add More Color – If the base color looks too light, add extra drops of food coloring directly into the water layer.
-
Recycle Materials – You can reuse the oil multiple times. Simply pour out the water, rinse the jar, and refill with fresh water and food coloring.
Time Breakdown
-
Setup Time: 5 minutes
-
Experiment Time: 10–15 minutes per tablet
-
Repeat Time: As many times as desired with additional tablets
Frequently Asked Questions
Q: Can I drink the Boiling Lava Lamp Jar?
A: No, this activity is not edible. It uses oil, food coloring, and effervescent tablets, which should never be consumed.
Q: How long does the bubbling last?
A: Typically, each piece of Alka-Seltzer lasts about 5–10 minutes. You can restart the bubbling by adding another piece.
Q: Can I use other fizzy tablets instead of Alka-Seltzer?
A: Yes, any effervescent tablet that releases carbon dioxide when dissolved in water will work.
Q: What type of oil works best?
A: Vegetable oil is affordable and effective, but mineral oil or baby oil can also be used for slightly different effects.
Q: Will the food coloring stain the jar?
A: Most jars clean easily with soap and water, but using glass instead of plastic helps prevent staining.
Conclusion
The Boiling Lava Lamp Jar is a simple yet powerful way to combine art, science, and fun. It creates a dazzling display that captures attention, sparks curiosity, and demonstrates important scientific concepts in a hands-on, memorable way.
With just a few household ingredients—oil, water, food coloring, and effervescent tablets—you can build a mesmerizing bubbling lamp that looks like boiling lava right before your eyes. Whether you’re a parent looking for a rainy-day project, a teacher planning a classroom experiment, or a party host searching for an unforgettable decoration, this activity delivers on every front.
Best of all, the Boiling Lava Lamp Jar is endlessly customizable. From glitter and glow-in-the-dark effects to layered colors and holiday themes, every jar can become a unique creation. It’s safe, easy to make, and endlessly repeatable, making it a fantastic go-to experiment for all ages.
So the next time you want to add a little science and sparkle to your day, grab a jar and make your own Boiling Lava Lamp. Watch as the bubbles rise, fall, and glow—it’s as magical as it is educational.