Introduction to Hostess Snowball Cake
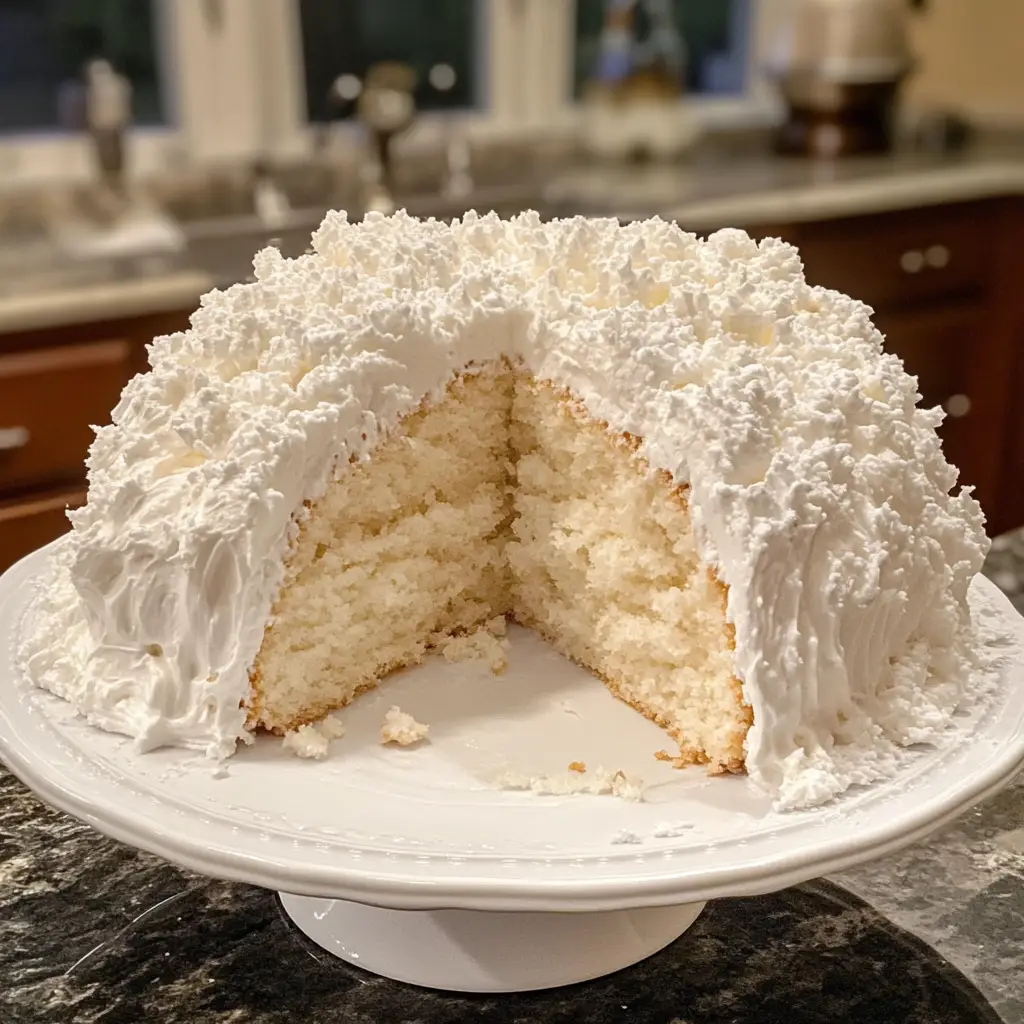
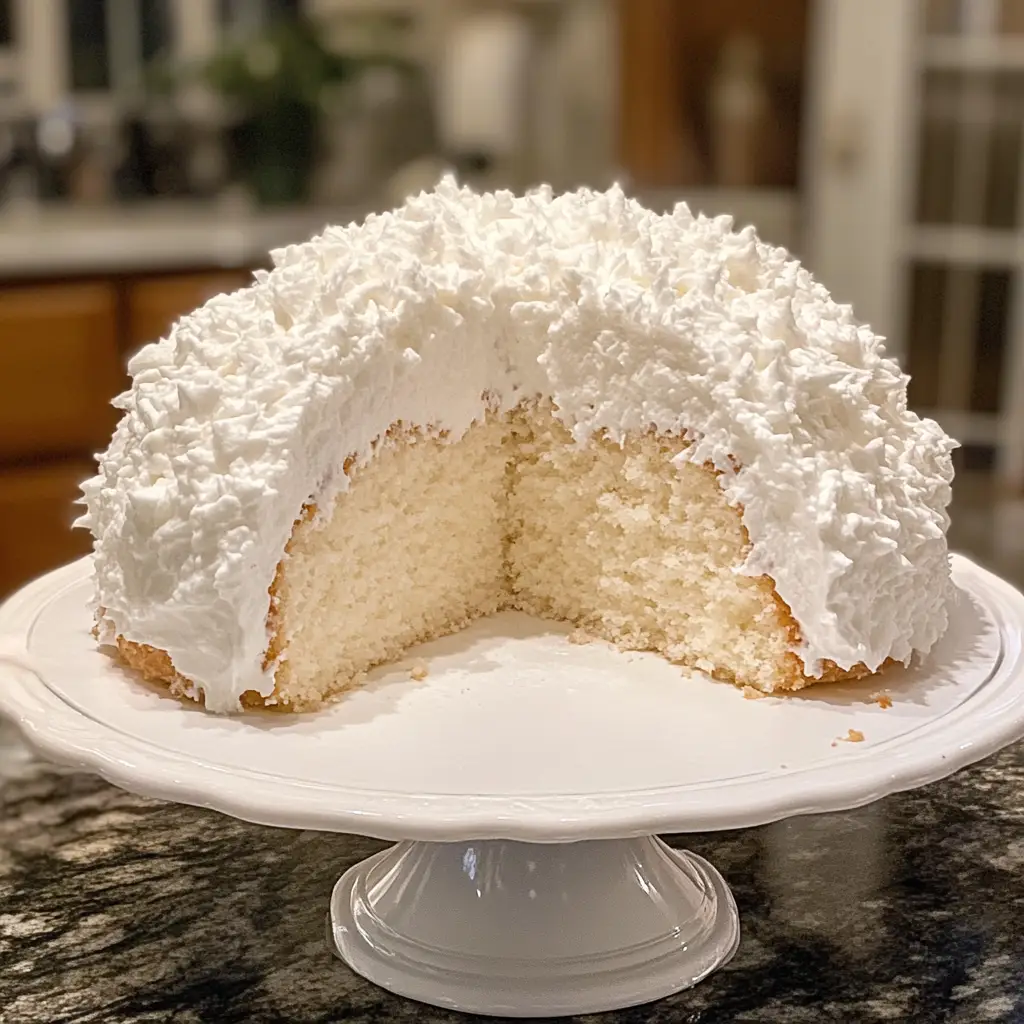
As a busy mom, I know how precious time can be, especially when it comes to whipping up something sweet. That’s why I absolutely adore the Hostess Snowball Cake! This delightful dessert combines rich chocolate cake with a creamy filling and fluffy coconut topping, making it a perfect treat for any occasion. Whether you’re looking to impress your loved ones or simply satisfy your sweet tooth, this cake is a quick solution that brings joy to the table. Trust me, once you try it, you’ll want to make it again and again!
Why You’ll Love This Hostess Snowball Cake
This Hostess Snowball Cake is a dream come true for busy lives. It’s incredibly easy to make, requiring just a few simple ingredients and minimal prep time. The rich chocolate flavor paired with the creamy marshmallow filling and fluffy coconut topping creates a taste sensation that’s hard to resist. Plus, it’s a showstopper at gatherings, making you the star of any dessert table without breaking a sweat!
Ingredients for Hostess Snowball Cake
Gathering the right ingredients is the first step to creating your Hostess Snowball Cake. Here’s what you’ll need:
- Chocolate cake mix: This is the base of your cake, providing that rich, chocolatey goodness. You can use any brand you prefer.
- Large eggs: Eggs help bind the ingredients together and add moisture. They’re essential for a fluffy texture.
- Water: This helps to hydrate the cake mix, ensuring a moist cake. You can also use milk for a richer flavor.
- Vegetable oil: Oil keeps the cake tender and adds moisture. You can substitute it with melted butter for a different taste.
- Marshmallow fluff: This sweet, gooey filling adds a delightful creaminess to the cake. It’s what makes this dessert so special!
- Shredded coconut: The fluffy topping that gives the cake its signature look and texture. You can use sweetened or unsweetened, depending on your preference.
- Heavy cream: This is whipped to create a light and airy frosting. It’s the perfect complement to the chocolate and marshmallow.
- Powdered sugar: A touch of sweetness for the whipped cream, helping it hold its shape while adding a hint of sweetness.
For exact measurements, check the bottom of the article where you can find everything listed for easy printing. Happy baking!
How to Make Hostess Snowball Cake
Now that you have all your ingredients ready, let’s dive into the fun part—making the Hostess Snowball Cake! Follow these simple steps, and you’ll have a delightful dessert that will impress everyone.
Step 1: Preheat the Oven
First things first, preheat your oven to 350°F (175°C). Preheating is crucial because it ensures that your cake bakes evenly. A hot oven helps the cake rise beautifully, giving it that perfect fluffy texture we all love.
Step 2: Prepare the Cake Batter
In a large mixing bowl, combine the chocolate cake mix, eggs, water, and vegetable oil. Use a whisk or an electric mixer to blend everything until smooth. Make sure there are no lumps! This is where the magic begins, as the rich chocolate flavor starts to come together.
Step 3: Bake the Cake
Pour the batter into a greased cake pan. Bake it in the preheated oven for 30-35 minutes. To check if it’s done, insert a toothpick into the center. If it comes out clean, your cake is ready! If not, give it a few more minutes.
Step 4: Cool the Cake
Once baked, let the cake cool completely in the pan. This step is essential because frosting a warm cake can lead to a melty mess. Patience is key here; let it cool for at least 30 minutes before removing it from the pan.
Step 5: Make the Whipped Cream
While the cake cools, it’s time to whip up some cream! In a separate bowl, beat the heavy cream with powdered sugar until stiff peaks form. This means when you lift the whisk, the cream holds its shape. It’s like magic, and it adds a lightness to your cake!
Step 6: Assemble the Cake
Once the cake is cool, slice it in half horizontally. Spread a generous layer of marshmallow fluff on the bottom half, followed by a layer of whipped cream. This combination is heavenly and adds a delightful surprise when you cut into the cake!
Step 7: Frost and Decorate
Place the top half of the cake back on and cover the entire cake with the remaining whipped cream. Don’t be shy—make it fluffy! Then, sprinkle shredded coconut on top, pressing gently to make sure it sticks. This gives your cake that signature look and texture.
Step 8: Chill Before Serving
Finally, chill your masterpiece in the refrigerator for at least 1 hour before serving. This step enhances the flavors and helps the cake set. Trust me, the wait will be worth it when you take that first bite!
Tips for Success
- Always measure your ingredients accurately for the best results.
- Use room temperature eggs for a smoother batter.
- Don’t skip the cooling step; it prevents a soggy cake.
- For a richer flavor, consider adding a splash of vanilla extract to the whipped cream.
- Feel free to customize the coconut topping with chocolate shavings or nuts!
Equipment Needed
- Mixing bowl: A large bowl for combining ingredients. A stand mixer works great too!
- Whisk or electric mixer: For whipping cream and mixing batter. A hand whisk will do in a pinch.
- Measuring cups and spoons: Essential for accurate ingredient measurements.
- Greased cake pan: A round or square pan works well for baking.
- Toothpick: For checking cake doneness. A cake tester is a good alternative.
Variations of Hostess Snowball Cake
- Chocolate Ganache Topping: For an extra layer of indulgence, drizzle chocolate ganache over the whipped cream before adding coconut. It adds a rich, decadent touch!
- Gluten-Free Option: Substitute the chocolate cake mix with a gluten-free version. This way, everyone can enjoy this delightful dessert!
- Fruit Layer: Add a layer of fresh berries, like strawberries or raspberries, between the marshmallow fluff and whipped cream for a fruity twist.
- Nutty Coconut: Mix in some chopped nuts, like almonds or pecans, with the shredded coconut for added crunch and flavor.
- Vegan Version: Use a vegan chocolate cake mix, almond milk, and coconut cream to create a delicious dairy-free Hostess Snowball Cake.
Serving Suggestions for Hostess Snowball Cake
- Pair with a scoop of vanilla ice cream for a delightful contrast in temperature and texture.
- Serve alongside fresh berries to add a pop of color and a hint of tartness.
- Drizzle with chocolate sauce for an extra indulgent touch.
- Garnish with mint leaves for a refreshing finish.
- Present on a beautiful cake stand to elevate your dessert display.
FAQs about Hostess Snowball Cake
Can I make Hostess Snowball Cake ahead of time?
Absolutely! You can prepare the cake a day in advance. Just make sure to chill it in the refrigerator. This allows the flavors to meld beautifully, making it even more delicious!
What can I substitute for marshmallow fluff?
If you can’t find marshmallow fluff, you can use a homemade version by mixing powdered sugar, corn syrup, and vanilla extract. Alternatively, whipped cream can work in a pinch, but it won’t have the same sweetness.
How do I store leftovers of Hostess Snowball Cake?
Store any leftovers in an airtight container in the refrigerator. It will stay fresh for up to three days. Just be sure to keep it covered to maintain its fluffy texture!
Can I freeze Hostess Snowball Cake?
Yes, you can freeze the cake! Wrap it tightly in plastic wrap and then in aluminum foil. It can be frozen for up to three months. Just thaw it in the fridge before serving.
What drinks pair well with Hostess Snowball Cake?
This cake pairs wonderfully with a cup of coffee or a glass of cold milk. For a fun twist, try serving it with a coconut-flavored beverage to enhance the tropical vibes!
Final Thoughts
Making the Hostess Snowball Cake is more than just baking; it’s about creating sweet memories with your loved ones. The joy of watching their faces light up as they take that first bite is priceless. This cake is a delightful blend of flavors and textures that brings a little piece of happiness to any gathering. Whether it’s a birthday, holiday, or just a Tuesday, this dessert is sure to impress. So, roll up your sleeves, gather your ingredients, and let the magic of the Hostess Snowball Cake fill your home with warmth and sweetness!
Print
Hostess Snowball Cake: Indulge in a Sweet Delight!
- Total Time: 1 hour 55 minutes
- Yield: 12 servings 1x
- Diet: Vegetarian
Description
Hostess Snowball Cake is a delightful dessert that combines a rich chocolate cake with a creamy filling and a fluffy coconut topping, perfect for satisfying your sweet tooth.
Ingredients
- 1 box chocolate cake mix
- 3 large eggs
- 1 cup water
- 1/2 cup vegetable oil
- 1 cup marshmallow fluff
- 1 cup shredded coconut
- 1 cup heavy cream
- 1/2 cup powdered sugar
Instructions
- Preheat the oven to 350°F (175°C).
- In a large bowl, combine the chocolate cake mix, eggs, water, and vegetable oil. Mix until smooth.
- Pour the batter into a greased cake pan and bake for 30-35 minutes.
- Let the cake cool completely before removing it from the pan.
- In a separate bowl, whip the heavy cream with powdered sugar until stiff peaks form.
- Once the cake is cooled, slice it in half horizontally.
- Spread marshmallow fluff on the bottom half of the cake, then add a layer of whipped cream.
- Place the top half of the cake back on and cover the entire cake with the remaining whipped cream.
- Sprinkle shredded coconut on top of the cake, pressing gently to adhere.
- Chill in the refrigerator for at least 1 hour before serving.
Notes
- For a richer flavor, you can add chocolate ganache on top of the whipped cream before adding coconut.
- Store leftovers in an airtight container in the refrigerator for up to 3 days.
- Prep Time: 20 minutes
- Cook Time: 35 minutes
- Category: Dessert
- Method: Baking
- Cuisine: American
Nutrition
- Serving Size: 1 slice
- Calories: 350
- Sugar: 25g
- Sodium: 200mg
- Fat: 18g
- Saturated Fat: 10g
- Unsaturated Fat: 5g
- Trans Fat: 0g
- Carbohydrates: 45g
- Fiber: 2g
- Protein: 4g
- Cholesterol: 50mg
Keywords: Hostess Snowball Cake, chocolate cake, dessert, coconut, marshmallow