Introduction to Silly Celebration Cake
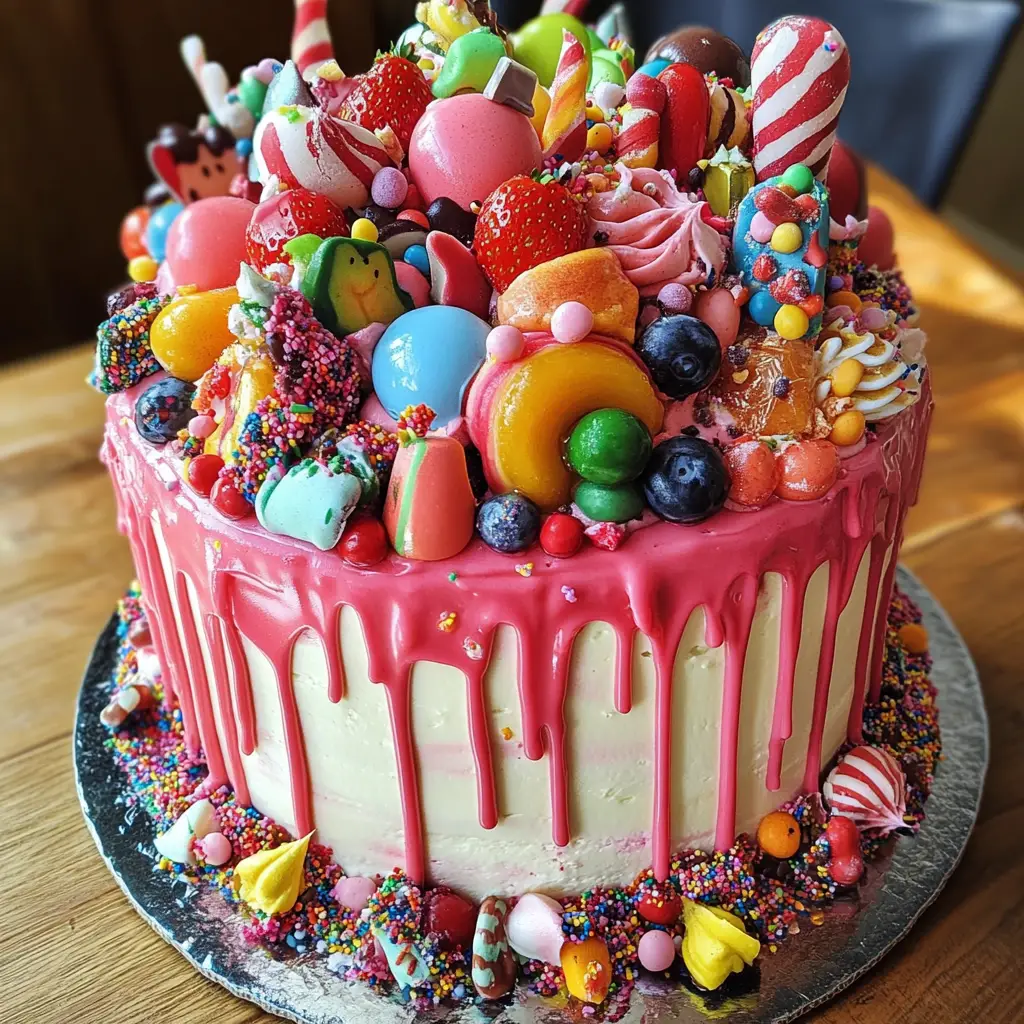
Life is full of moments worth celebrating, and what better way to mark those occasions than with a Silly Celebration Cake? This delightful and whimsical cake is not just a treat for the taste buds; it’s a canvas for creativity and joy. As a busy mom, I know how precious time is, and this recipe is a quick solution for those last-minute celebrations. Whether it’s a birthday, an anniversary, or just a Tuesday that needs a sprinkle of fun, this cake will bring smiles and laughter to your loved ones. Let’s dive into the magic of baking!
Why You’ll Love This Silly Celebration Cake
This Silly Celebration Cake is a game-changer for busy moms and professionals alike. It’s easy to whip up, taking just an hour from start to finish. The vibrant colors and playful design make it a hit with kids and adults. Plus, the taste? Absolutely delightful! You’ll find that it’s not just a cake; it’s a joyful experience that brings everyone together, making memories that last a lifetime.
Ingredients for Silly Celebration Cake
Gathering the right ingredients is the first step to creating your Silly Celebration Cake. Here’s what you’ll need:
- All-purpose flour: This is the backbone of your cake, providing structure and texture.
- Granulated sugar: Sweetness is key! It helps create that delightful, tender crumb.
- Unsalted butter: Softened butter adds richness and flavor, making your cake moist and delicious.
- Large eggs: Eggs bind the ingredients together and contribute to the cake’s fluffiness.
- Milk: This adds moisture and helps create a tender cake. You can use whole or low-fat milk.
- Baking powder: A leavening agent that helps your cake rise, giving it that light texture.
- Vanilla extract: A splash of vanilla enhances the flavor, making every bite more enjoyable.
- Salt: Just a pinch balances the sweetness and enhances the overall flavor.
- Food coloring: This is where the fun begins! Use various colors to create a vibrant, eye-catching cake.
- Frosting of choice: Whether it’s buttercream, cream cheese, or whipped cream, choose your favorite to top off the cake.
- Sprinkles: These are the finishing touch! They add a festive flair and make the cake even more fun.
For exact measurements, check the bottom of the article where you can find everything listed for easy printing. Feel free to get creative with flavors or even substitute ingredients based on what you have at home. Baking should be fun, after all!
How to Make Silly Celebration Cake
Now that we have our ingredients ready, let’s get baking! Follow these simple steps to create your Silly Celebration Cake. Each step is designed to be straightforward, ensuring that even the busiest of moms can whip this up with ease.
Step 1: Preheat the Oven
First things first, preheat your oven to 350°F (175°C). This step is crucial because it ensures that your cake bakes evenly. If you skip this, your cake might not rise properly, leading to a dense texture. Trust me, a well-preheated oven is the secret to a fluffy cake!
Step 2: Cream Butter and Sugar
In a large bowl, cream together the softened butter and granulated sugar until the mixture is light and fluffy. This process is essential as it incorporates air into the batter, giving your cake that delightful texture. Use a hand mixer or stand mixer for the best results. It should take about 3-5 minutes.
Step 3: Add Eggs and Mix
Next, add the eggs one at a time, mixing well after each addition. Eggs are the binding agents in this recipe, helping to hold everything together. They also contribute to the cake’s moisture and fluffiness. Make sure to mix until fully incorporated, but don’t overdo it!
Step 4: Combine Wet Ingredients
Now, stir in the milk and vanilla extract. This combination adds moisture and flavor to your batter. Mix until everything is well combined. The batter should be smooth and creamy, making it a joy to work with.
Step 5: Mix Dry Ingredients
In a separate bowl, combine the all-purpose flour, baking powder, and salt. Mixing these dry ingredients separately is important to ensure that the baking powder is evenly distributed throughout the flour. This step helps your cake rise beautifully and prevents any clumps.
Step 6: Combine Wet and Dry Mixtures
Gradually add the dry mixture to the wet ingredients, mixing until just combined. Be careful not to overmix, as this can lead to a tough cake. A few lumps are perfectly fine! The goal is to create a batter that’s smooth but still has a bit of texture.
Step 7: Color the Batter
Here comes the fun part! Divide the batter into separate bowls and add food coloring to each. You can create vibrant colors that will make your cake pop! Use gel food coloring for the best results, as it provides a more intense hue without adding too much liquid.
Step 8: Pour and Bake
Pour the colored batter into greased cake pans, alternating colors for a fun effect. This layering creates a beautiful, whimsical design when sliced. Bake for 25-30 minutes, or until a toothpick inserted in the center comes out clean. Keep an eye on them, as oven temperatures can vary!
Step 9: Cool and Frost
Once baked, let the cakes cool completely in the pans for about 10 minutes before transferring them to a wire rack. Cooling is essential; if you frost too soon, the frosting will melt! Once cooled, frost with your favorite frosting and sprinkle with colorful sprinkles for that festive touch.
Tips for Success
- Always measure your ingredients accurately for the best results.
- Use room temperature eggs and butter for easier mixing.
- Don’t skip the cooling step; it prevents melting frosting.
- Experiment with different food coloring combinations for unique designs.
- For a moist cake, avoid overbaking; check with a toothpick.
- Have fun decorating! Let your creativity shine with sprinkles.
Equipment Needed
- Mixing bowls: Use any size you have; just ensure they’re large enough for mixing.
- Hand mixer or stand mixer: A whisk works too, but mixers save time and effort.
- Measuring cups and spoons: Essential for accuracy; consider a kitchen scale for precision.
- Cake pans: Round or square, whatever you have on hand will work!
- Cooling rack: If you don’t have one, a plate will do for cooling the cakes.
Variations of Silly Celebration Cake
- Chocolate Silly Celebration Cake: Substitute half of the all-purpose flour with cocoa powder for a rich chocolate flavor.
- Gluten-Free Option: Use a gluten-free all-purpose flour blend to make this cake gluten-free without sacrificing taste.
- Fruit-Infused Cake: Add mashed bananas or applesauce to the batter for a fruity twist and extra moisture.
- Vegan Version: Replace eggs with flaxseed meal mixed with water and use plant-based milk and butter alternatives.
- Nutty Delight: Fold in chopped nuts like walnuts or pecans for added texture and flavor.
- Citrus Zing: Add lemon or orange zest to the batter for a refreshing citrus flavor that brightens the cake.
Serving Suggestions for Silly Celebration Cake
- Pair with Ice Cream: A scoop of vanilla or rainbow sherbet complements the cake’s sweetness perfectly.
- Fresh Berries: Serve with strawberries or blueberries for a refreshing contrast.
- Fun Plates: Use colorful, themed plates to enhance the festive vibe.
- Creative Drinks: Offer fruity punch or sparkling lemonade for a cheerful drink option.
- Slice with Style: Use a fun cake server to make serving even more enjoyable!
FAQs about Silly Celebration Cake
Can I make the Silly Celebration Cake ahead of time?
Absolutely! This cake can be made a day in advance. Just store it in the refrigerator after it cools completely. It’ll be just as delightful the next day!
What type of frosting works best for this cake?
While any frosting can work, I recommend buttercream for its creamy texture and ability to hold up well. Cream cheese frosting also adds a delicious tang!
Can I use different flavors of cake mix?
Yes! Feel free to experiment with different cake flavors. A chocolate or lemon cake mix can add a fun twist to your Silly Celebration Cake.
How do I store leftover cake?
Store any leftover cake in an airtight container at room temperature for up to three days. If you want to keep it longer, refrigerate it for up to a week.
Can I make this cake gluten-free?
Definitely! Just swap the all-purpose flour for a gluten-free flour blend. It’s a great way to enjoy this Silly Celebration Cake without gluten!
Final Thoughts
Baking this Silly Celebration Cake is more than just a recipe; it’s an opportunity to create joyful memories with your loved ones. The vibrant colors and playful design bring smiles to faces, making every slice a celebration in itself. As a busy mom, I cherish these moments of laughter and togetherness, and this cake is the perfect centerpiece for any occasion. So, roll up your sleeves, gather your family, and let the fun begin! With each bite, you’ll taste the love and happiness that comes from sharing delicious moments together.
Print
Silly Celebration Cake: Create Fun Memories Today!
- Total Time: 1 hour
- Yield: 12 servings 1x
- Diet: Vegetarian
Description
A delightful and whimsical cake perfect for any celebration, designed to bring joy and laughter to your special occasions.
Ingredients
- 2 cups all-purpose flour
- 1 ½ cups granulated sugar
- 1 cup unsalted butter, softened
- 4 large eggs
- 1 cup milk
- 2 tsp baking powder
- 1 tsp vanilla extract
- 1/2 tsp salt
- Food coloring (various colors)
- Frosting of choice
- Sprinkles for decoration
Instructions
- Preheat your oven to 350°F (175°C).
- In a large bowl, cream together the butter and sugar until light and fluffy.
- Add the eggs one at a time, mixing well after each addition.
- Stir in the milk and vanilla extract.
- In a separate bowl, combine the flour, baking powder, and salt.
- Gradually add the dry ingredients to the wet mixture, mixing until just combined.
- Divide the batter into separate bowls and add food coloring to each to create different colors.
- Pour the colored batter into greased cake pans, alternating colors for a fun effect.
- Bake for 25-30 minutes or until a toothpick inserted in the center comes out clean.
- Let the cakes cool completely before frosting.
- Decorate with frosting and sprinkles to create a festive look.
Notes
- Feel free to use any flavor of frosting you prefer.
- For a more vibrant cake, use gel food coloring.
- This cake can be made a day in advance and stored in the refrigerator.
- Prep Time: 30 minutes
- Cook Time: 30 minutes
- Category: Dessert
- Method: Baking
- Cuisine: American
Nutrition
- Serving Size: 1 slice
- Calories: 350
- Sugar: 25g
- Sodium: 200mg
- Fat: 15g
- Saturated Fat: 9g
- Unsaturated Fat: 4g
- Trans Fat: 0g
- Carbohydrates: 50g
- Fiber: 1g
- Protein: 4g
- Cholesterol: 60mg
Keywords: Silly Celebration Cake, Fun Cake, Celebration Dessert, Whimsical Cake