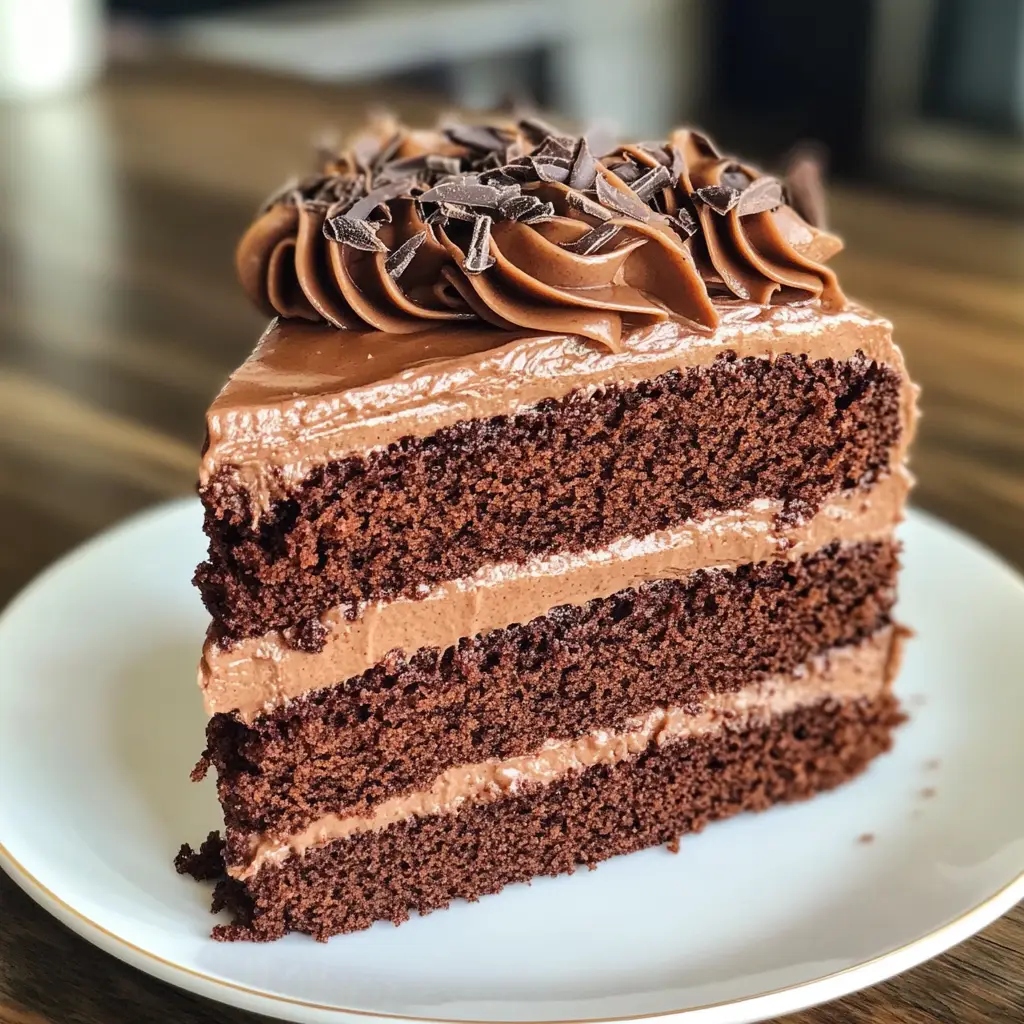
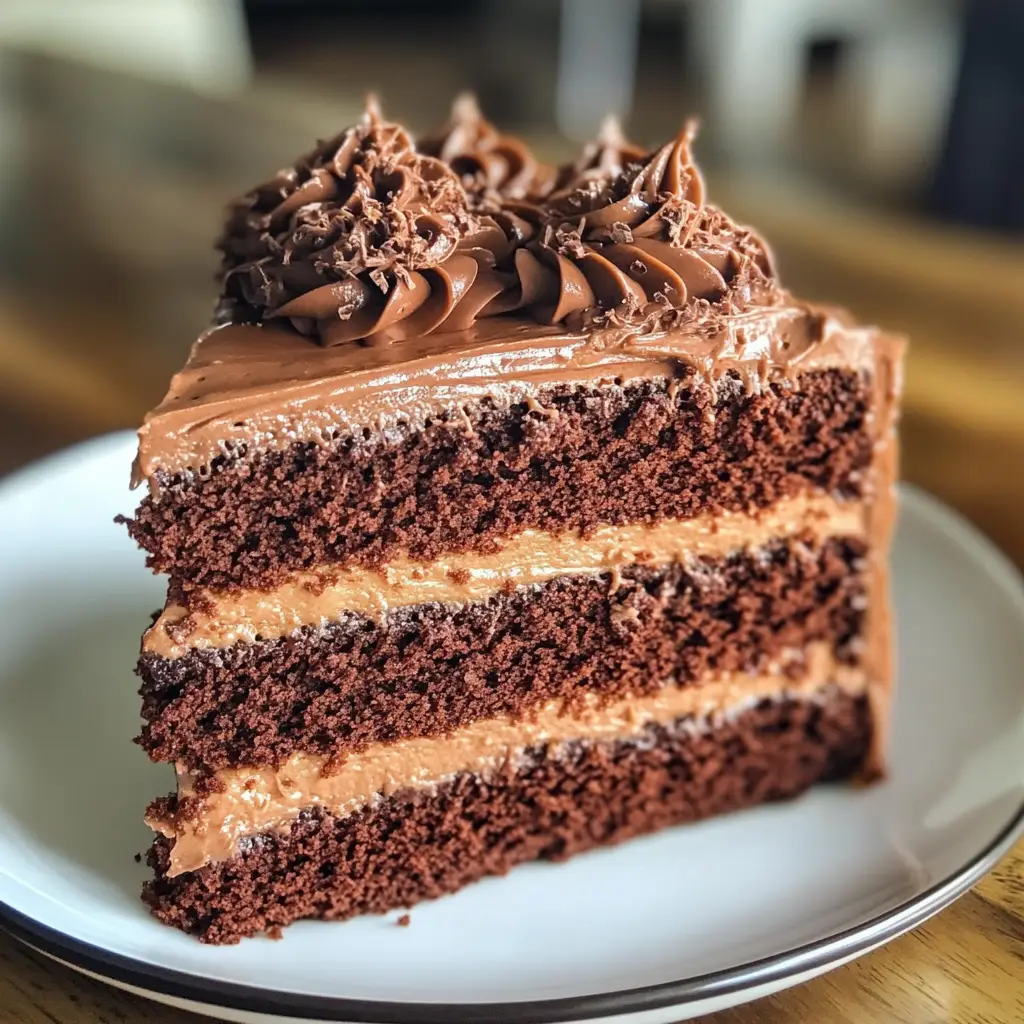
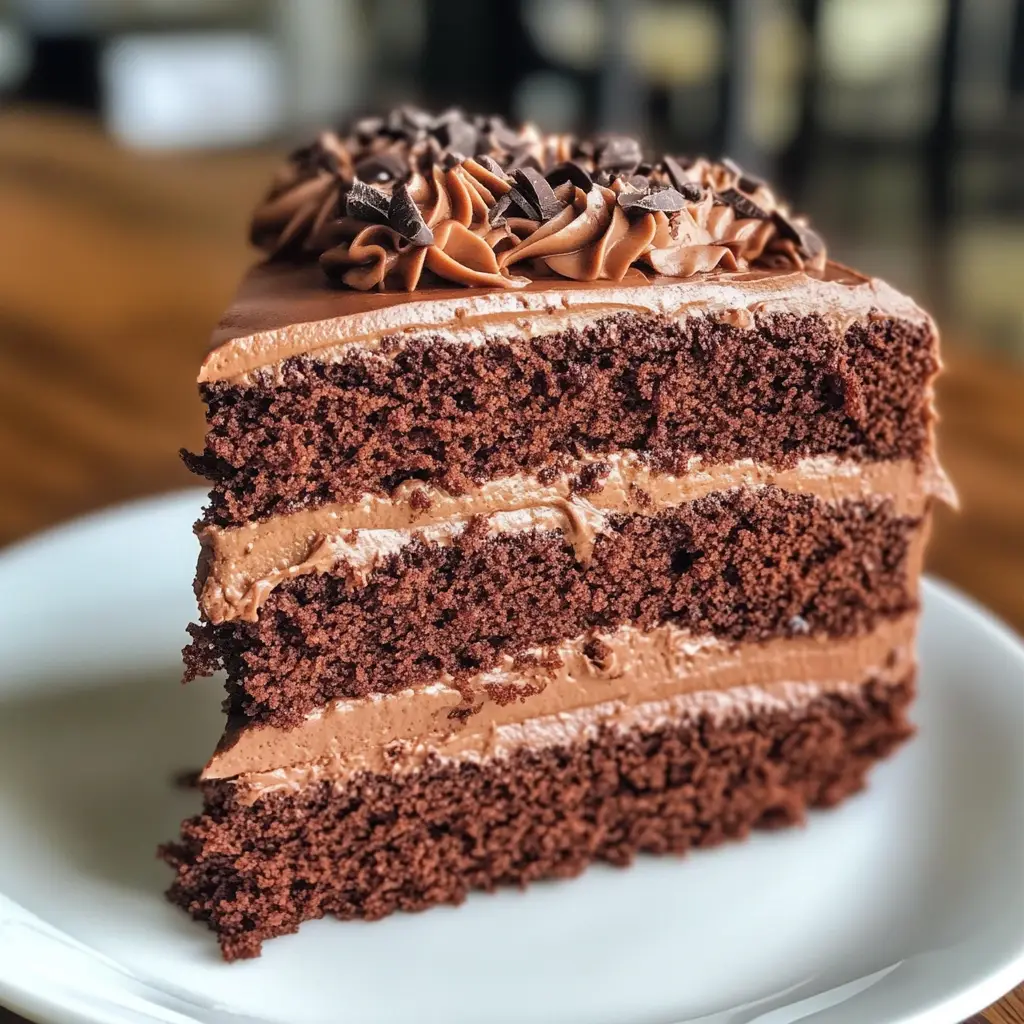
Introduction to Tiny Rococo Layer Cakes
Welcome to the delightful world of Tiny Rococo Layer Cakes! These mini treats are not just desserts; they’re little bites of joy that can brighten any day. As a busy mom, I know how precious time is, and these cakes are a quick solution for those moments when you want to impress your loved ones without spending hours in the kitchen. With their elegant layers and rich flavors, Tiny Rococo Layer Cakes are perfect for celebrations or simply to indulge yourself. Let’s dive into this charming recipe that’s sure to become a favorite in your home!
Why You’ll Love This Tiny Rococo Layer Cakes
These Tiny Rococo Layer Cakes are a dream come true for busy lives! They’re quick to whip up, taking just 40 minutes from start to finish. Each bite is a delightful explosion of flavor, making them perfect for any occasion. Plus, their mini size means you can enjoy a sweet treat without the guilt. Trust me, once you try these, they’ll become your go-to dessert for gatherings and cozy nights in!
Ingredients for Tiny Rococo Layer Cakes
Gathering the right ingredients is the first step to creating these delightful Tiny Rococo Layer Cakes. Here’s what you’ll need:
- All-purpose flour: The backbone of any cake, it provides structure and texture.
- Unsweetened cocoa powder: This adds a rich chocolate flavor, making each bite heavenly.
- Granulated sugar: Sweetness is essential, and this helps balance the cocoa’s bitterness.
- Unsalted butter: Softened butter creates a tender crumb and adds richness.
- Large eggs: They bind the ingredients together and help the cakes rise.
- Milk: This adds moisture and helps create a soft, fluffy texture.
- Vanilla extract: A splash of vanilla enhances the overall flavor, making it more aromatic.
- Baking powder: This leavening agent helps the cakes rise, giving them that perfect fluffiness.
- Salt: Just a pinch enhances the flavors and balances the sweetness.
- Frosting of choice: Whether it’s chocolate, vanilla, or cream cheese, frosting adds the finishing touch!
For those looking to elevate the flavor, consider adding a bit of espresso powder to the batter. It intensifies the chocolate taste beautifully. You can find all the exact measurements at the bottom of the article, ready for printing!
How to Make Tiny Rococo Layer Cakes
Now that we have our ingredients ready, let’s dive into the fun part—making these delightful Tiny Rococo Layer Cakes! Follow these simple steps, and you’ll have a batch of mini cakes that are sure to impress.
Step 1: Preheat and Prepare
First things first, preheat your oven to 350°F (175°C). This ensures that your cakes bake evenly. While the oven warms up, grease your mini cake pans. I like to use a bit of butter or non-stick spray to make sure the cakes slide out easily later. Trust me, you don’t want to lose any of that deliciousness!
Step 2: Cream Butter and Sugar
In a mixing bowl, cream together the softened unsalted butter and granulated sugar. Use an electric mixer on medium speed until the mixture is light and fluffy. This step is crucial because it incorporates air into the batter, giving your cakes that lovely rise. It should take about 3-5 minutes. Don’t rush this part; it’s where the magic begins!
Step 3: Add Eggs and Vanilla
Next, add the large eggs one at a time, mixing well after each addition. This helps to create a smooth batter. Then, stir in the vanilla extract. The aroma of vanilla wafting through your kitchen is simply heavenly! It’s like a warm hug for your senses.
Step 4: Combine Dry Ingredients
In a separate bowl, whisk together the all-purpose flour, unsweetened cocoa powder, baking powder, and salt. This step ensures that the dry ingredients are evenly distributed. It’s like giving your cakes a solid foundation to build on. Make sure there are no lumps; we want a smooth batter!
Step 5: Mix Wet and Dry Ingredients
Now, it’s time to combine the wet and dry ingredients. Gradually add the dry mixture to the butter mixture, alternating with the milk. Start and end with the dry ingredients. This method helps to keep the batter smooth and prevents overmixing. Mix until just combined; a few lumps are okay!
Step 6: Bake the Cakes
Pour the batter into your prepared mini cake pans, filling each about two-thirds full. This allows room for the cakes to rise without overflowing. Bake in the preheated oven for 15-20 minutes. To check for doneness, insert a toothpick into the center of a cake. If it comes out clean, they’re ready!
Step 7: Cool and Frost
Once baked, let the cakes cool in the pans for about 10 minutes. Then, transfer them to a wire rack to cool completely. This step is essential; frosting warm cakes can lead to a melty mess! Once cooled, layer the cakes with your frosting of choice. Don’t be shy—add a generous amount between each layer for that extra indulgence!
Tips for Success
- Make sure your butter is softened for easy creaming.
- Use room temperature eggs for better mixing.
- Don’t overmix the batter; it can make the cakes dense.
- Check for doneness a minute or two early to avoid overbaking.
- Let the cakes cool completely before frosting for the best results.
Equipment Needed
- Mini cake pans: If you don’t have these, use a muffin tin for a similar effect.
- Mixing bowls: A large bowl for wet ingredients and a medium bowl for dry.
- Electric mixer: A whisk works too, but it’ll take a bit more elbow grease!
- Measuring cups and spoons: Essential for accuracy in baking.
- Wire rack: If you don’t have one, a plate will do for cooling the cakes.
Variations of Tiny Rococo Layer Cakes
- Gluten-Free: Substitute all-purpose flour with a gluten-free blend for a delicious alternative.
- Vegan: Replace eggs with flaxseed meal and use plant-based butter and milk for a vegan-friendly version.
- Flavor Infusions: Add a teaspoon of peppermint extract for a refreshing twist or orange zest for a citrusy kick.
- Nutty Delight: Fold in chopped nuts like walnuts or hazelnuts for added texture and flavor.
- Fruity Layers: Incorporate fresh fruit like raspberries or strawberries between the layers for a burst of freshness.
Serving Suggestions for Tiny Rococo Layer Cakes
- Pair with a scoop of vanilla ice cream for a delightful contrast.
- Serve alongside a cup of freshly brewed coffee or tea for a cozy treat.
- Garnish with fresh berries or edible flowers for a stunning presentation.
- Drizzle with chocolate sauce for an extra indulgent touch.
FAQs about Tiny Rococo Layer Cakes
As you embark on your baking adventure with Tiny Rococo Layer Cakes, you might have a few questions. Here are some common queries that can help you along the way:
Can I make Tiny Rococo Layer Cakes ahead of time?
Absolutely! These mini cakes can be made a day in advance. Just store them in an airtight container to keep them fresh. This makes them perfect for parties or last-minute gatherings!
What frosting works best for these cakes?
While any frosting can work, I recommend chocolate or cream cheese frosting for a delightful pairing. You can also try whipped cream for a lighter option. The choice is yours!
Can I freeze Tiny Rococo Layer Cakes?
Yes, you can freeze these cakes! Just wrap them tightly in plastic wrap and place them in a freezer-safe container. They’ll stay fresh for up to three months. Thaw them in the fridge before serving.
How do I prevent my cakes from sticking to the pans?
Greasing your mini cake pans well is key! You can use butter or non-stick spray. For extra assurance, line the bottoms with parchment paper. This will help your cakes slide out effortlessly!
What can I do if my cakes turn out dry?
If your cakes are dry, it might be due to overbaking. Always check for doneness a minute or two early. You can also add a simple syrup to moisten them before frosting!
Final Thoughts
Creating Tiny Rococo Layer Cakes is more than just baking; it’s about crafting moments of joy. Each mini cake is a celebration of flavor and elegance, perfect for sharing with family or enjoying during a quiet evening. I love how these delightful treats can transform an ordinary day into something special. Whether you’re celebrating a birthday or simply treating yourself, these cakes are sure to bring smiles. So, roll up your sleeves, embrace the process, and let the sweet aroma fill your kitchen. You’ll find that these tiny cakes hold big memories!
Print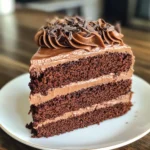
Tiny Rococo Layer Cakes: Discover Delightful Mini Treats!
- Total Time: 40 minutes
- Yield: 12 mini cakes 1x
- Diet: Vegetarian
Description
Tiny Rococo Layer Cakes are delightful mini treats that combine elegance and flavor in a perfect bite-sized dessert.
Ingredients
- 1 cup all-purpose flour
- 1/2 cup unsweetened cocoa powder
- 1/2 cup granulated sugar
- 1/2 cup unsalted butter, softened
- 2 large eggs
- 1/2 cup milk
- 1 teaspoon vanilla extract
- 1/2 teaspoon baking powder
- 1/4 teaspoon salt
- 1 cup frosting of choice
Instructions
- Preheat the oven to 350°F (175°C) and grease mini cake pans.
- In a bowl, cream together the butter and sugar until light and fluffy.
- Add the eggs one at a time, mixing well after each addition.
- Stir in the vanilla extract.
- In another bowl, whisk together the flour, cocoa powder, baking powder, and salt.
- Gradually add the dry ingredients to the wet mixture, alternating with the milk.
- Pour the batter into the prepared mini cake pans.
- Bake for 15-20 minutes or until a toothpick inserted comes out clean.
- Let the cakes cool completely before frosting.
- Assemble the cakes by layering them with frosting in between each layer.
Notes
- For a richer flavor, consider adding espresso powder to the batter.
- These cakes can be made a day in advance and stored in an airtight container.
- Decorate with fresh berries or edible flowers for a beautiful presentation.
- Prep Time: 20 minutes
- Cook Time: 20 minutes
- Category: Dessert
- Method: Baking
- Cuisine: American
Nutrition
- Serving Size: 1 mini cake
- Calories: 150
- Sugar: 10g
- Sodium: 100mg
- Fat: 7g
- Saturated Fat: 4g
- Unsaturated Fat: 2g
- Trans Fat: 0g
- Carbohydrates: 20g
- Fiber: 1g
- Protein: 2g
- Cholesterol: 30mg
Keywords: Tiny Rococo Layer Cakes, mini cakes, dessert, baking, elegant treats


