As winter draws near and the first flakes begin to drift from the sky, we often find ourselves enchanted by the peaceful dance of snow in the air. There’s something magical about a snowstorm—the quiet, the sparkle, and the wonder. Now imagine bottling that magic into a jar, bringing it indoors where you can shake, watch, and relive a snowy flurry whenever you please. That’s exactly what the Snowstorm in a Jar offers: a sensory-rich, visually mesmerizing DIY craft that blends science, creativity, and seasonal charm.
Whether you’re a parent looking for a hands-on winter craft for your child, an educator planning a sensory science lesson, or someone who simply wants a stress-relieving décor piece, this project has universal appeal. With minimal materials and just a few minutes of your time, you’ll create a swirling mini snowstorm full of shimmer, movement, and calming vibes.
This article will guide you through every detail: how to make it, why it works, how to customize it, and how to use it as décor, a gift, or even a learning tool.
Why Is This Recipe So Popular?
The “Snowstorm in a Jar” DIY craft is popular for several compelling reasons—it strikes the perfect balance between visual appeal, educational value, and emotional resonance. Here’s why this craft is loved by so many:
🧊 1. Visually Mesmerizing
The swirling glitter and soft blue hue perfectly mimic a miniature snowstorm, offering a beautiful and calming visual. It’s like having a snow globe you can reset with every shake—entrancing for kids and adults alike.
🧠 2. Educational and STEM-Friendly
This project effortlessly introduces scientific concepts like:
-
Density (oil vs. water),
-
Immiscibility (why oil and water don’t mix), and
-
Viscosity (how glue affects water flow).
It’s a tactile, engaging way to explore basic science without needing any prior knowledge or experience.
🧒 3. Kid-Friendly and Safe
With easy-to-find, non-toxic materials (like school glue, baby oil, and glitter), it’s safe for children when properly supervised. Plus, it helps develop:
-
Fine motor skills,
-
Sensory awareness, and
-
Emotional regulation.
🎨 4. Customizable and Creative
From glitter color to food dye to added figurines or seasonal touches, it can be personalized for:
-
Winter holidays (Christmas, Hanukkah, etc.),
-
Character themes (Frozen, Disney),
-
Sensory preferences (scented, glow-in-the-dark), and more.
🎁 5. Versatile Gift or Decor
It doubles as:
-
A thoughtful homemade holiday gift,
-
A calming nightlight or desk decoration,
-
A sensory bottle for children or individuals with anxiety or sensory processing needs.
🕒 6. Quick and Budget-Friendly
Takes less than 10 minutes and costs very little to make. No special tools required—just household items and a touch of imagination.
🌍 7. Therapeutic and Relaxing
Much like sensory bottles or lava lamps, it promotes:
-
Relaxation,
-
Mindfulness,
-
Focus, and
-
Emotional decompression.
It’s particularly helpful for:
-
Children who need sensory stimulation,
-
Adults looking for a calming visual break,
-
Individuals with anxiety or ADHD.
Why You’ll Love This DIY Project
✔ Therapeutic and Relaxing: Watching glitter slowly drift in water is incredibly soothing—perfect for stress relief.
✔ Easy and Affordable: Made with basic household or craft-store materials. No fancy tools required.
✔ Educational: Teaches kids basic science concepts like density, immiscibility, and viscosity in a hands-on way.
✔ Safe and Kid-Friendly: With supervision, it’s suitable for most age groups and can be made more child-safe using plastic jars.
✔ Beautiful to Display: Works as a winter-themed decorative item, sensory bottle, or nightstand calming aid.
✔ Customizable: From food coloring to glitter to add-ins, you can create your own signature winter storm.
Materials and Ingredients
To make one standard-sized Snowstorm in a Jar, you’ll need the following items:
-
1 clear glass jar (12–16 oz) with a secure, tight-fitting lid. (Plastic jars are also acceptable.)
-
1 cup clean water (room temperature or slightly warm).
-
2 tablespoons baby oil or vegetable oil (baby oil is clearer).
-
1 teaspoon white school glue (such as Elmer’s).
-
1 tablespoon aluminum powder or fine white glitter (the finer, the better for snow effect).
-
1 drop blue food coloring (optional, for tint).
Optional Add-ins:
-
Miniature pine cones
-
Artificial snowflakes
-
Mini holiday figurines (e.g., snowmen, reindeer)
-
Glow-in-the-dark glitter
-
Silver confetti
Step-by-Step Instructions
Step 1: Prepare the Base
Fill your clear jar about ¾ full with clean water. This will act as the base of your snowstorm. Leave space at the top for glue, oil, and movement.
Step 2: Add Color (Optional)
Add a single drop of blue food coloring if you want a frosty look. Stir gently until the color is evenly distributed. You can skip this step if you prefer a pure white “blizzard” appearance.
Step 3: Mix in the Glue
Add 1 teaspoon of white school glue to the jar and stir gently. The glue increases the water’s viscosity, allowing the glitter to fall more slowly and simulate drifting snowflakes.
Step 4: Add Glitter or Aluminum Powder
Now, sprinkle in 1 tablespoon of glitter or aluminum powder. Stir gently so the glitter is suspended throughout the mixture. Too much stirring may create bubbles, so be light-handed here.
Step 5: Add Oil Slowly
Using a spoon or by gently pouring against the inner wall of the jar, add 2 tablespoons of baby oil (or vegetable oil). The oil should form a separate layer on top of the water.
Step 6: Seal the Jar Tightly
Screw on the lid securely. If children will handle the jar, seal it permanently with hot glue or strong epoxy to prevent leaks.
Step 7: Shake to Activate
Give the jar a good shake and observe as your homemade blizzard dances, drifts, and slowly settles. Once the glitter rests, shake again to relive the magic.
Scientific Explanation: The Magic Behind the Snowstorm
This charming winter craft is also a miniature science experiment in disguise. Here’s what’s happening:
1. Density Differences
-
Water vs. Oil: Water is denser than oil, which is why oil floats on top.
-
Glitter Suspension: When shaken, glitter moves through both layers. The glue slows its descent due to increased water viscosity.
2. Immiscible Liquids
Oil and water don’t mix—this creates distinct layers and allows for movement that mimics snowfall.
3. Viscosity
The glue thickens the water slightly. Higher viscosity means glitter falls slower, creating a more natural “snowfall” effect.
Decorative and Thematic Variations
❄ Color Variations
-
Frosted Snowstorm: White glitter + no food coloring.
-
Aurora Borealis Jar: Use iridescent glitter and purple/blue/green food coloring.
-
Holiday Storm: Use red and green glitter with silver confetti for a Christmas vibe.
-
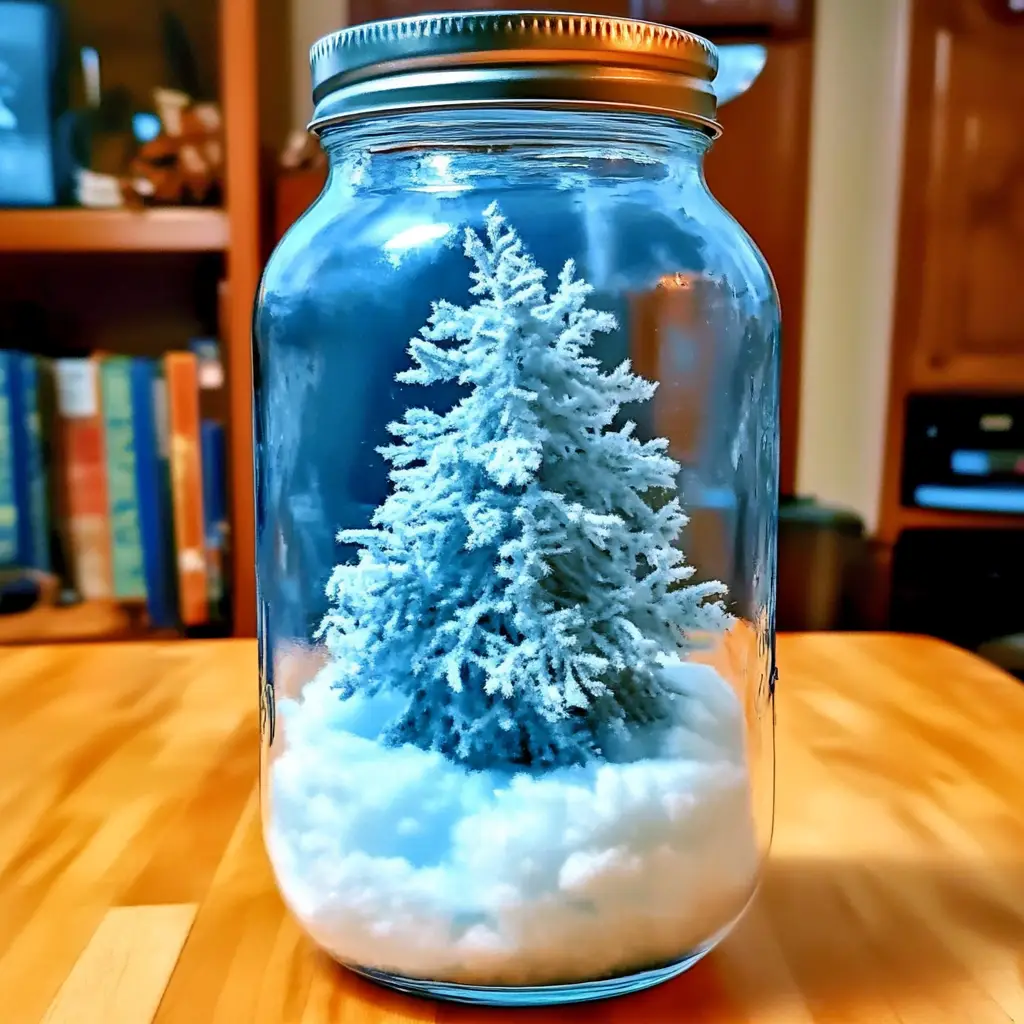
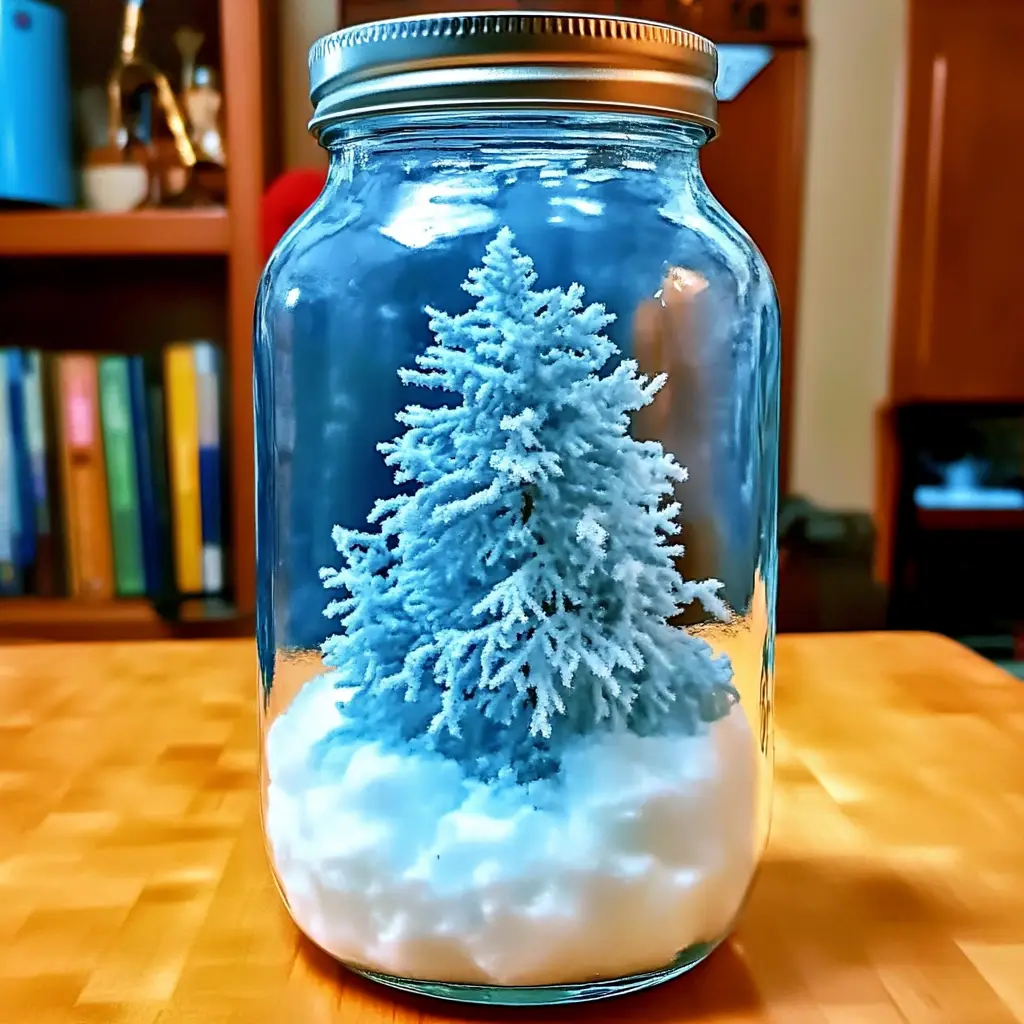
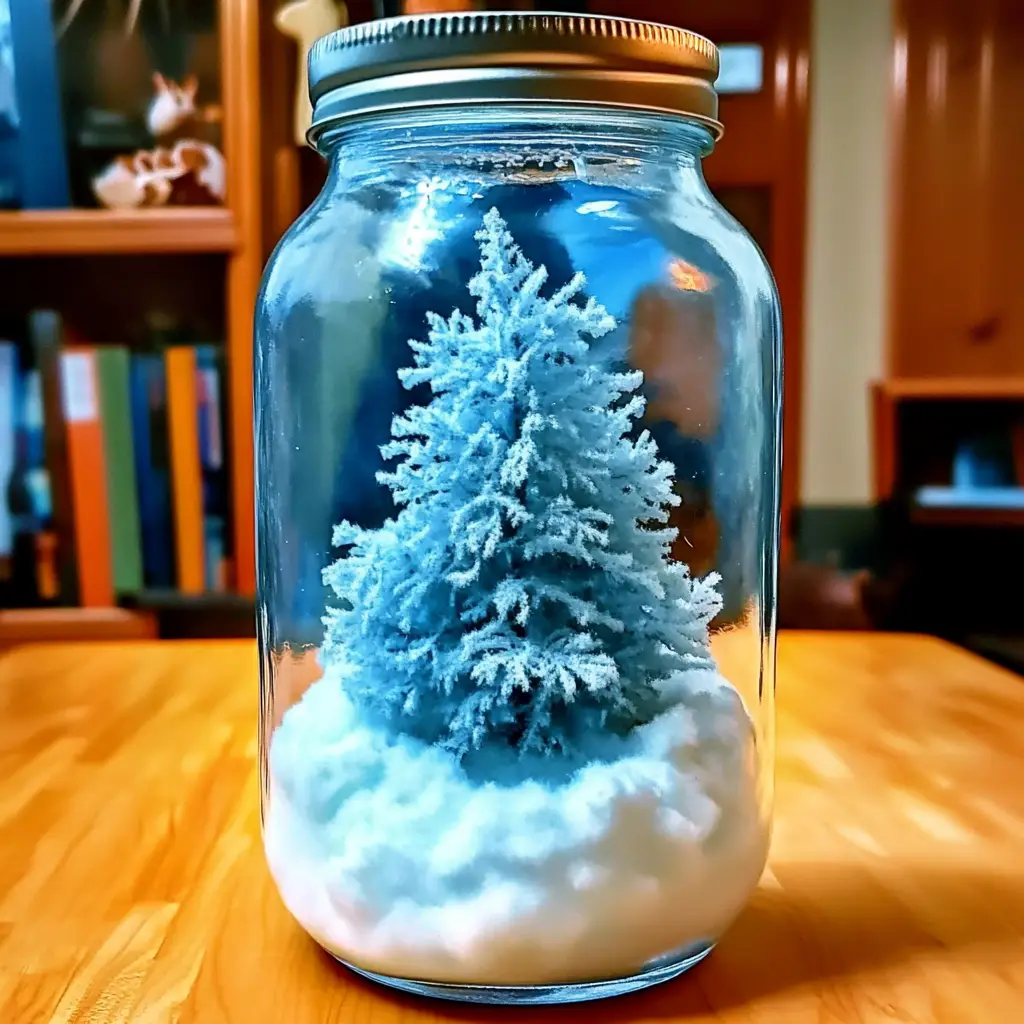
Frozen-Inspired: Use blue glitter, snowflake confetti, and mini Elsa figurines.
🧊 Glitter Styles
-
Use a mix of fine glitter and chunky glitter for depth.
-
Glow-in-the-dark glitter adds magic at night.
-
Holographic glitter catches light from all angles.
🎄 Add-ins and Embellishments
-
Add a small Christmas tree or plastic snowman inside.
-
Glue a ribbon or twine around the jar for gift-giving.
-
Paint the jar lid with metallic paint or snowflake designs.
-
Use mini LED base lights for a nightlight effect.
Sensory and Therapeutic Uses
🌙 Stress Relief Tool
The gentle, swirling motion is incredibly calming—ideal for meditation or anxiety relief.
👶 Child Sensory Bottle
Used in early childhood development, these bottles promote sensory exploration and visual tracking.
📚 STEM Learning Aid
In classrooms, it’s a fun experiment to teach density, fluid behavior, and molecular interactions.
Safety Tips
-
Always supervise young children during assembly.
-
Use plastic jars for toddlers to prevent breakage.
-
Secure the jar lid tightly, especially if using glass.
-
If sealing permanently, use hot glue or epoxy.
Prep Time & Total Time
| Activity | Duration |
|---|---|
| Prep Time | 5–7 minutes |
| Assembly Time | 3–5 minutes |
| Total Time | ~10–12 minutes |
Educational Application Ideas
🧪 For Teachers:
-
Use this as a science demonstration during winter months.
-
Teach concepts of immiscibility, density, and viscosity.
-
Discuss why oil and water don’t mix and how different liquids behave together.
🎨 For Art Instructors:
-
Combine with a creative writing activity—have students write stories about the “snowstorm in the jar.”
-
Use as a base for winter diorama displays.
FAQs
Q: Can I use other types of glue besides school glue?
A: Stick with white school glue. Hot glue won’t mix, and clear glues may not provide the same viscosity.
Q: My glitter clumps—what’s wrong?
A: Over-stirring can cause clumping. Try using less glue or finer glitter. Avoid pouring glitter directly onto the glue.
Q: What happens if I add too much oil?
A: Too much oil creates a thick layer on top, which can trap glitter and reduce the storm effect. Stick to 1–2 tablespoons.
Q: Can I store and reuse this jar?
A: Absolutely! Just shake and reuse. Store in a cool place and avoid excessive heat.
Q: How long will it last?
A: If sealed well, it can last months or even years. Just give it a shake when you want to relive the snowstorm.
Q: Can I make these in bulk for a classroom or party?
A: Yes! This project is easily scalable. Use smaller jars (like 4 oz mason jars) for party favors.
Q: Can I use something besides glitter?
A: Yes. Try aluminum powder, sequins, or artificial snowflakes. Just ensure they’re lightweight enough to float or drift.
Storage and Maintenance
-
Store upright to prevent leaks.
-
If glitter settles too much over time, shake it again or add a tiny bit more glue.
-
Avoid extreme heat or direct sunlight, which may cause the glue to degrade.
Creative Extensions
-
Snowstorm Story Time: Use the jar as a visual aid during winter-themed storytelling.
-
Frozen-Themed Party Favors: Customize with themed tags and characters.
-
Mindfulness Tool: Incorporate it into breathing exercises—inhale while shaking, exhale while watching glitter fall.
-
Instagram Craft Reel: Share a video of making or shaking the jar—it’s visually stunning and trendy!
Conclusion
The Snowstorm in a Jar is more than a cute winter craft—it’s a hands-on sensory experience, a scientific exploration, a relaxing decor item, and a customizable gift all in one. It captures the beauty and serenity of snowfall in a safe, compact, and endlessly reusable way. Whether you’re making one for yourself, your child, your classroom, or a holiday gathering, this jar brings a touch of frosty enchantment wherever it goes.
So the next time winter winds howl outside or you simply want to bring a moment of magic into your day, reach for your Snowstorm in a Jar—and let the gentle swirl carry you into a quiet winter wonderland.


