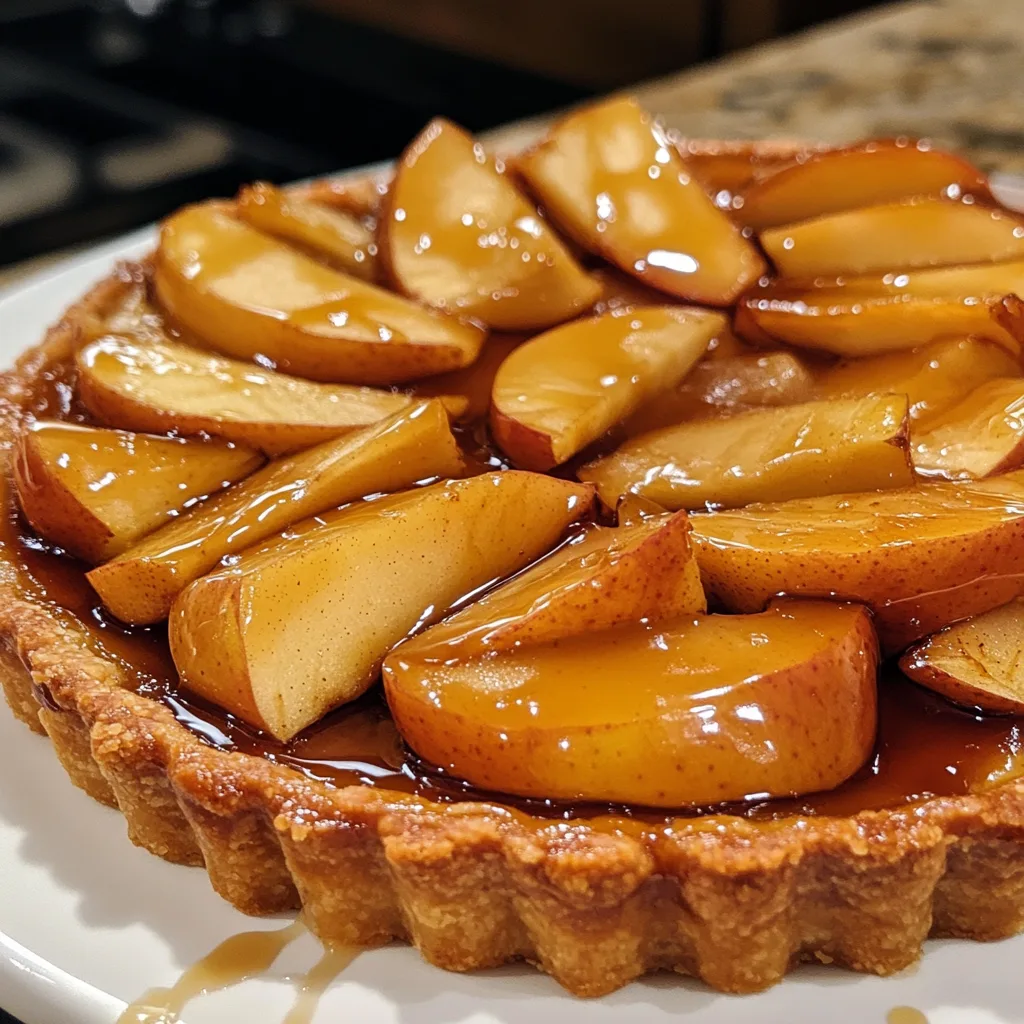
Introduction to Salted Caramel Apple Tart
As a busy mom, I know how precious time can be, especially when it comes to whipping up something special in the kitchen. That’s why I absolutely adore this Salted Caramel Apple Tart! It’s a delightful dessert that combines a buttery tart crust with sweet, tender apples, all drizzled with rich salted caramel. Whether you’re looking to impress your loved ones or simply treat yourself after a long day, this recipe is a quick solution that brings warmth and joy to any table. Trust me, your family will be asking for seconds!
Why You’ll Love This Salted Caramel Apple Tart
This Salted Caramel Apple Tart is a game-changer for busy days. It’s incredibly easy to make, requiring just a handful of ingredients and minimal prep time. The combination of sweet apples and rich caramel creates a flavor explosion that will have everyone raving. Plus, it’s versatile enough to serve at family gatherings or cozy nights in. You’ll love how it transforms simple moments into something truly special!
Ingredients for Salted Caramel Apple Tart
Gathering the right ingredients is the first step to creating this mouthwatering Salted Caramel Apple Tart. Here’s what you’ll need:
- Pre-made tart crust: A buttery crust saves time and adds a delicious base. You can find these in the freezer section of your grocery store.
- Medium apples: Choose sweet varieties like Fuji or Honeycrisp for the best flavor. They hold up well during baking and provide that perfect sweetness.
- Sugar: This sweetener enhances the natural sweetness of the apples and helps create that lovely caramel sauce.
- Unsalted butter: Using unsalted butter allows you to control the saltiness of the caramel. It adds richness to the tart.
- Heavy cream: This ingredient is essential for making the caramel creamy and luscious. You can substitute with half-and-half for a lighter version.
- Sea salt: A sprinkle of sea salt elevates the flavor of the caramel, creating that irresistible sweet-and-salty combination.
- Cinnamon: This warm spice adds depth and a cozy aroma to the tart. It’s a must for that comforting fall flavor.
- Lemon juice: A splash of lemon juice brightens the apples and prevents them from browning too quickly.
For exact measurements, check the bottom of the article where you can find everything listed for easy printing. Happy baking!
How to Make Salted Caramel Apple Tart
Now that you have all your ingredients ready, let’s dive into the fun part—making this Salted Caramel Apple Tart! Follow these simple steps, and you’ll have a stunning dessert that’s sure to impress.
Step 1: Preheat the Oven
First things first, preheat your oven to 350°F (175°C). Preheating is crucial because it ensures that your tart bakes evenly. A hot oven helps the crust become golden and flaky while the apples soften perfectly. Trust me, you don’t want to skip this step!
Step 2: Prepare the Tart Crust
Next, take your pre-made tart crust and gently place it in a tart pan. Make sure it fits snugly against the edges. If it’s too big, you can trim the excess. Press the crust down lightly to avoid any air pockets. This will give you a beautiful base for your delicious filling.
Step 3: Toss the Apples
Now, let’s get to those apples! In a large bowl, toss your sliced apples with lemon juice, sugar, and cinnamon. The lemon juice brightens the flavor and keeps the apples from browning. The sugar and cinnamon will enhance their natural sweetness, making every bite a delight!
Step 4: Arrange the Apples
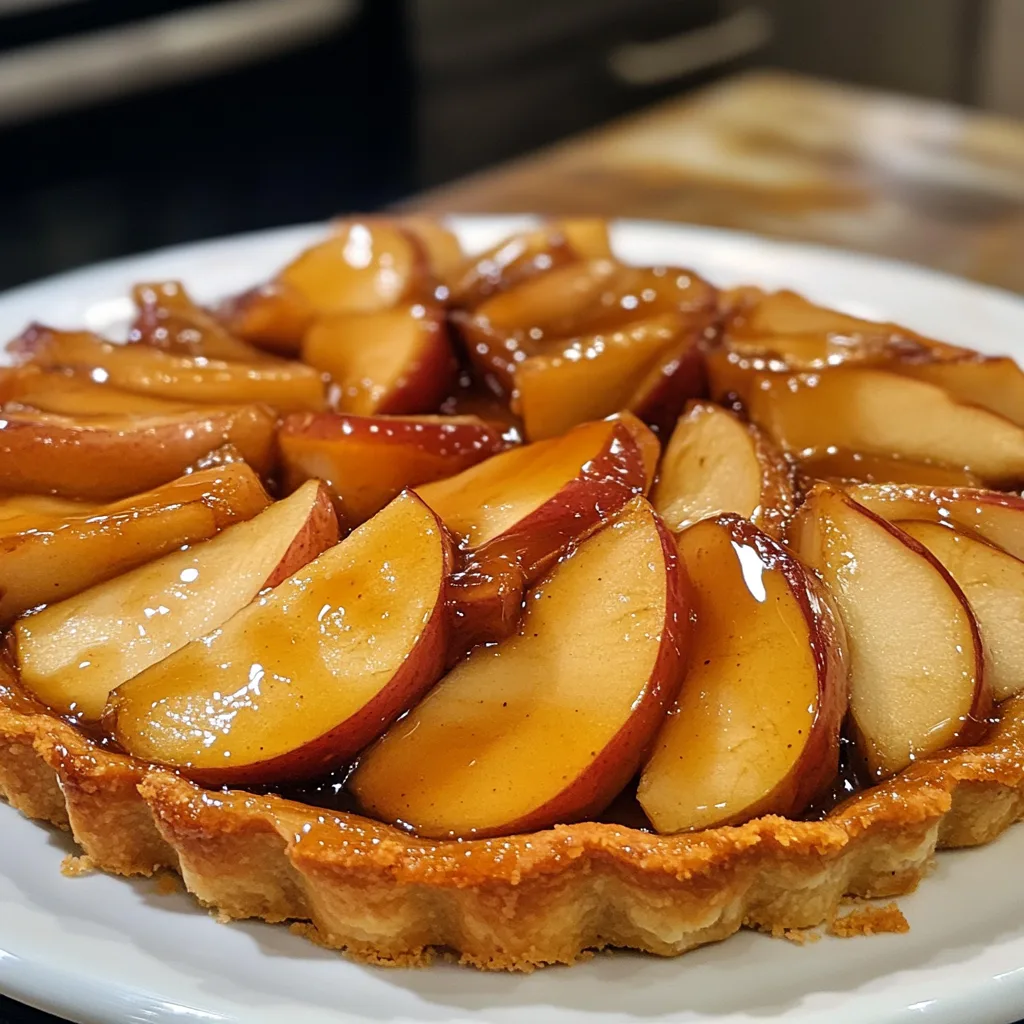
Carefully arrange the apple mixture in the tart crust. Start from the outer edge and work your way in, overlapping the slices slightly. This not only looks beautiful but also ensures even baking. You want every slice to be tender and flavorful!
Step 5: Make the Salted Caramel
In a saucepan over medium heat, melt the unsalted butter. Once melted, add the sugar and stir until it dissolves completely. This is where the magic happens! Slowly pour in the heavy cream while stirring continuously. Keep stirring until the mixture is smooth and creamy. Finally, remove it from the heat and stir in the sea salt. Your salted caramel is ready!
Step 6: Pour the Caramel
Now, it’s time to pour that luscious salted caramel over the arranged apples. Drizzle it evenly, making sure every apple slice gets a taste of that sweet-and-salty goodness. This step is where the tart truly comes to life!
Step 7: Bake the Tart
Place your tart in the preheated oven and bake for 30-35 minutes. Keep an eye on it! You’ll know it’s done when the apples are tender and the crust is golden brown. A little bubbling caramel is a good sign too!
Step 8: Cool Before Serving
Once baked, remove the tart from the oven and let it cool for a bit. Cooling is essential as it allows the caramel to set, making it easier to slice. Plus, it enhances the flavors, giving you that perfect bite when you serve it!
Tips for Success
- Use a mix of sweet and tart apples for a balanced flavor.
- Don’t rush the caramel; stir continuously to avoid burning.
- Let the tart cool completely before slicing for cleaner pieces.
- For extra flair, sprinkle chopped nuts on top before serving.
- Pair with vanilla ice cream for a delightful contrast!
Equipment Needed
- Tart pan: A standard tart pan works best, but a pie dish can be a great alternative.
- Mixing bowl: Any large bowl will do for tossing the apples.
- Saucepan: A medium-sized saucepan is perfect for making the caramel.
- Spatula: Use a silicone spatula for easy mixing and scraping.
- Oven mitts: Essential for safely handling hot pans!
Variations
- Nutty Delight: Add chopped pecans or walnuts to the apple mixture for a crunchy texture.
- Spiced Up: Incorporate a pinch of nutmeg or ginger along with the cinnamon for an extra layer of warmth.
- Gluten-Free Option: Use a gluten-free tart crust to make this dessert suitable for gluten-sensitive friends.
- Vegan Twist: Substitute the butter with coconut oil and use a plant-based cream for a vegan-friendly version.
- Fruit Fusion: Mix in some sliced pears or berries with the apples for a delightful fruit medley.
Serving Suggestions
- Serve warm with a scoop of vanilla ice cream for a delightful contrast.
- Pair with a dollop of whipped cream for added creaminess.
- Drizzle extra salted caramel on top for an indulgent touch.
- Garnish with fresh mint leaves for a pop of color.
- Enjoy with a cup of spiced chai or hot cider for a cozy experience.
FAQs about Salted Caramel Apple Tart
Can I use different types of apples for this tart?
Absolutely! While I recommend sweet varieties like Fuji or Honeycrisp, you can mix in tart apples like Granny Smith for a delightful contrast. The combination adds depth to your Salted Caramel Apple Tart.
How do I store leftovers?
Store any leftover Salted Caramel Apple Tart in the refrigerator for up to three days. Just cover it with plastic wrap or place it in an airtight container to keep it fresh. Reheat slices in the microwave for a few seconds before serving!
Can I make the caramel ahead of time?
Yes, you can prepare the salted caramel in advance! Just store it in a jar in the fridge. When you’re ready to use it, gently reheat it in the microwave or on the stove until it’s pourable again.
Is this recipe suitable for special diets?
This Salted Caramel Apple Tart can be adapted for various diets. Use a gluten-free crust for those avoiding gluten, or substitute the butter and cream for vegan alternatives to make it plant-based. Everyone can enjoy this delicious dessert!
What can I serve with the tart?
Pair your Salted Caramel Apple Tart with a scoop of vanilla ice cream or a dollop of whipped cream for a delightful treat. A drizzle of extra salted caramel on top adds an indulgent touch that everyone will love!
Final Thoughts
Creating this Salted Caramel Apple Tart is more than just baking; it’s about crafting memories in the kitchen. The aroma of sweet apples mingling with rich caramel fills your home with warmth, inviting everyone to gather around the table. Each slice is a delightful blend of flavors that brings smiles and satisfaction. Whether it’s a family gathering or a quiet evening, this tart transforms ordinary moments into something special. I hope you enjoy making it as much as I do, and may it become a cherished recipe in your home, bringing joy to your loved ones for years to come!
Print
Salted Caramel Apple Tart: A Deliciously Simple Recipe!
- Total Time: 55 minutes
- Yield: 8 servings 1x
- Diet: Vegetarian
Description
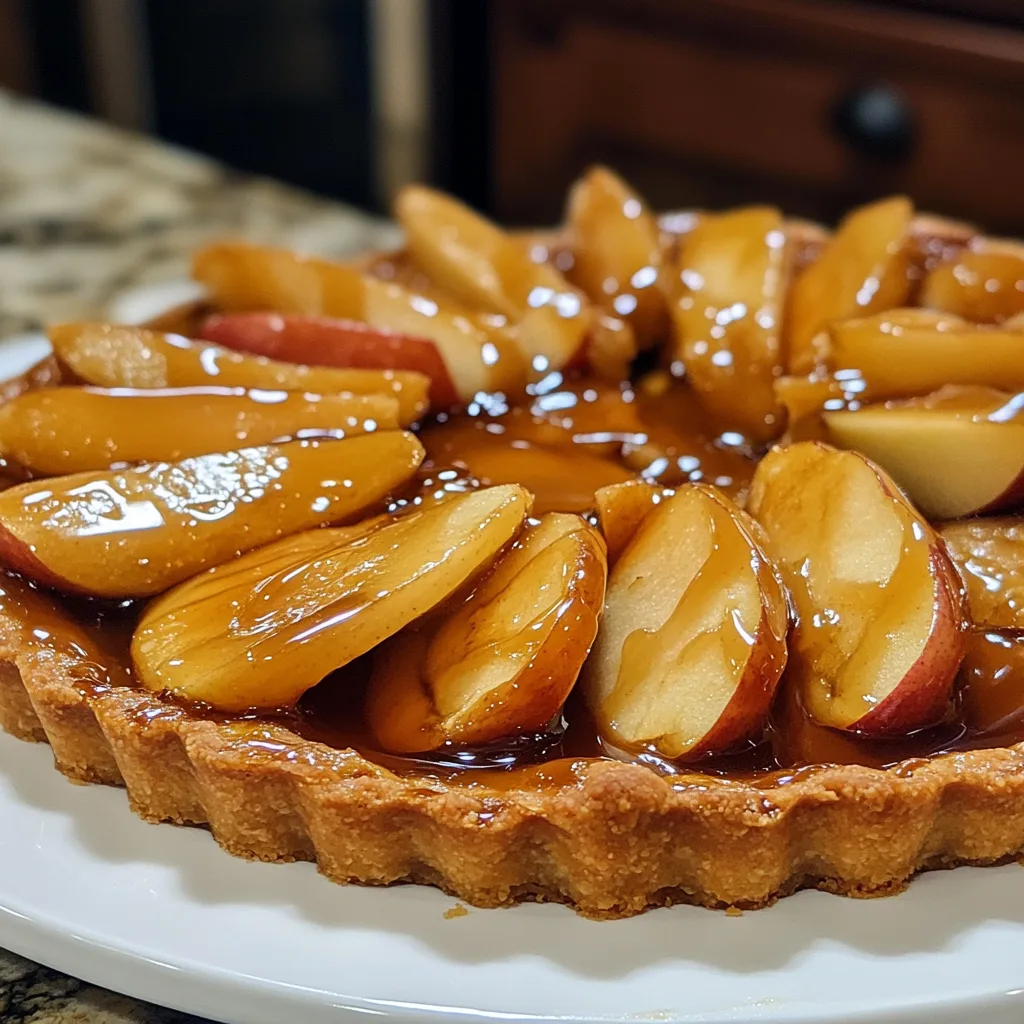
A delightful dessert featuring a buttery tart crust filled with sweet apples and topped with rich salted caramel.
Ingredients
- 1 pre-made tart crust
- 4 medium apples, peeled and sliced
- 1/2 cup sugar
- 1/4 cup unsalted butter
- 1/2 cup heavy cream
- 1 teaspoon sea salt
- 1 teaspoon cinnamon
- 1 tablespoon lemon juice
Instructions
- Preheat the oven to 350°F (175°C).
- Place the tart crust in a tart pan and set aside.
- In a bowl, toss the sliced apples with lemon juice, sugar, and cinnamon.
- Arrange the apple mixture in the tart crust.
- In a saucepan, melt the butter over medium heat, then add the sugar and stir until dissolved.
- Slowly add the heavy cream while stirring continuously until smooth.
- Remove from heat and stir in the sea salt.
- Pour the salted caramel over the apples in the tart.
- Bake for 30-35 minutes or until the apples are tender.
- Let cool before serving.
Notes
- Serve warm or at room temperature.
- Can be topped with whipped cream or vanilla ice cream.
- Store leftovers in the refrigerator for up to 3 days.
- Prep Time: 20 minutes
- Cook Time: 35 minutes
- Category: Dessert
- Method: Baking
- Cuisine: American
Nutrition
- Serving Size: 1 slice
- Calories: 320
- Sugar: 25g
- Sodium: 150mg
- Fat: 15g
- Saturated Fat: 9g
- Unsaturated Fat: 4g
- Trans Fat: 0g
- Carbohydrates: 45g
- Fiber: 2g
- Protein: 2g
- Cholesterol: 40mg
Keywords: Salted Caramel Apple Tart, dessert, apple tart, salted caramel