Introduction to Pickled Vegetable Flight (mini jars tasting)
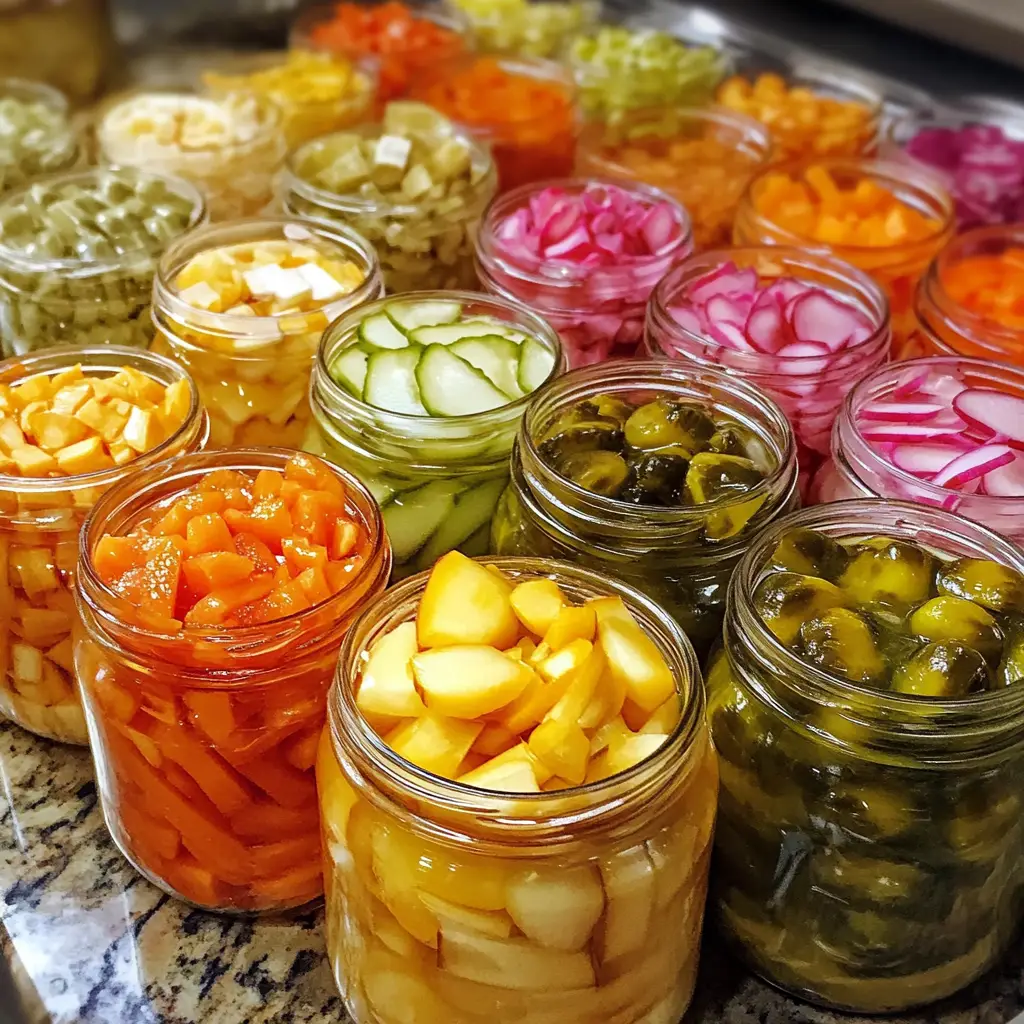
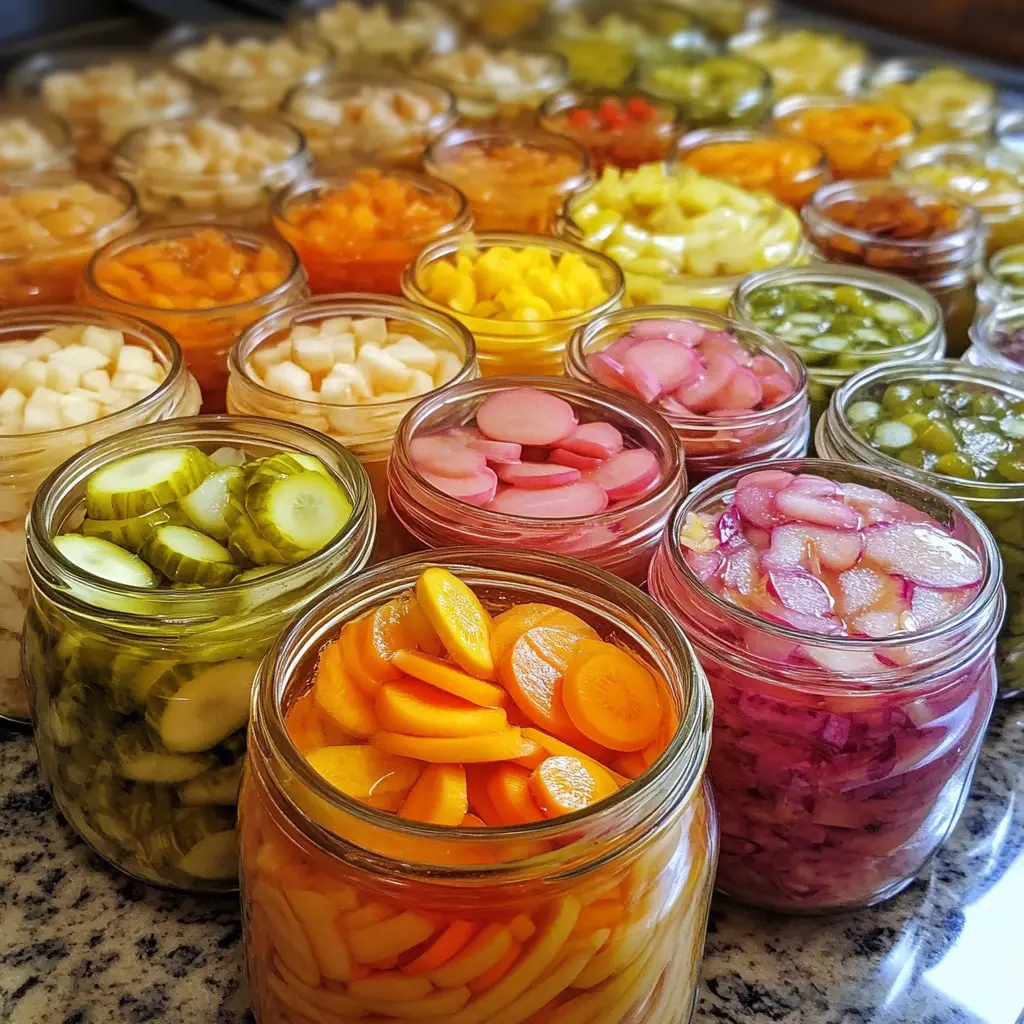
Welcome to the delightful world of pickled vegetables! If you’re like me, juggling a busy schedule while trying to whip up something special can feel overwhelming. That’s where this Pickled Vegetable Flight comes in. These charming mini jars are not just a feast for the eyes; they’re a quick solution for a busy day or a fun appetizer to impress your loved ones. Imagine the crunch of fresh veggies, bursting with flavor, all neatly packed in adorable jars. It’s a simple yet elegant way to elevate any meal or gathering!
Why You’ll Love This Pickled Vegetable Flight (mini jars tasting)
This Pickled Vegetable Flight is a game-changer for busy moms and professionals alike. It’s incredibly easy to make, taking just 30 minutes plus some chill time in the fridge. The vibrant flavors and crunchy textures will have your taste buds dancing! Plus, these mini jars are perfect for sharing at gatherings or enjoying as a quick snack. You’ll love how they brighten up your meals and make healthy eating a breeze!
Ingredients for Pickled Vegetable Flight (mini jars tasting)
Gathering the right ingredients is the first step to creating your Pickled Vegetable Flight. Here’s what you’ll need:
- Carrots: Fresh and crunchy, they add a sweet flavor and vibrant color.
- Cucumbers: Perfect for pickling, they bring a refreshing crunch to the mix.
- Radishes: These little gems add a peppery kick and a beautiful pop of color.
- Cauliflower: Its unique texture absorbs flavors beautifully, making it a great addition.
- Red onion: Sweet and tangy, they enhance the overall flavor profile.
- Vinegar: White or apple cider vinegar works wonders for that tangy taste.
- Water: Helps balance the acidity of the vinegar for a perfect brine.
- Salt: Essential for flavor and preservation, it brings everything together.
- Sugar: Just a touch to balance the acidity and enhance the sweetness of the veggies.
- Spices: Dill, mustard seeds, and peppercorns add depth and complexity to your pickles.
Feel free to mix and match vegetables based on your preferences! You can even swap in some bell peppers or green beans if you’re feeling adventurous. The exact quantities for each ingredient are listed at the bottom of the article for your convenience, ready for printing!
How to Make Pickled Vegetable Flight (mini jars tasting)
Step 1: Prepare the Vegetables
Start by washing all your vegetables thoroughly. This step is crucial to remove any dirt or pesticides. Once clean, slice the carrots, cucumbers, radishes, and red onion into thin pieces. For the cauliflower, break it into small florets. The key is to keep everything uniform in size, so they pickle evenly. Trust me, the prettier they look, the more fun they are to eat!
Step 2: Make the Pickling Liquid
In a medium saucepan, combine the vinegar, water, salt, and sugar. Stir the mixture well to dissolve the salt and sugar completely. Place the saucepan over medium heat and bring it to a gentle boil. As it heats, the aroma of the vinegar will fill your kitchen, hinting at the deliciousness to come. This pickling liquid is the heart of your Pickled Vegetable Flight!
Step 3: Add Spices
Once your pickling liquid is boiling, it’s time to add the spices. Toss in your dill, mustard seeds, and peppercorns. Stir the mixture well to ensure the spices are evenly distributed. This step is where the magic happens, as the spices infuse the liquid with flavor. Your kitchen will smell divine!
Step 4: Pack the Jars
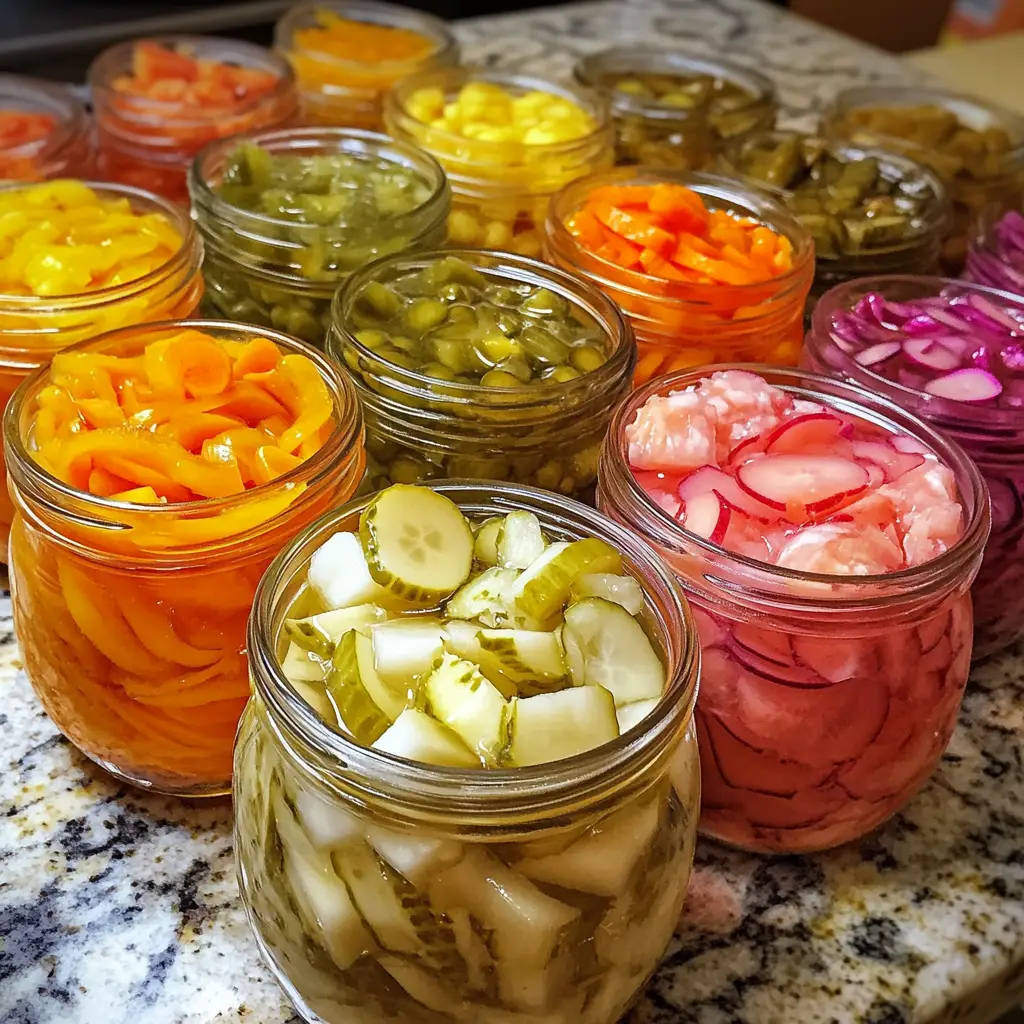
Now, grab your mini jars and start packing them with the sliced vegetables. Tightly pack each jar, layering the veggies for a colorful display. Don’t be shy—fill them up! The more veggies you pack, the more flavor they’ll absorb. Plus, it makes for a stunning presentation when you serve them!
Step 5: Pour the Pickling Liquid
Carefully pour the hot pickling liquid over the packed vegetables in each jar. Make sure the liquid fully submerges the veggies; this ensures they pickle properly. If you notice any air bubbles, gently tap the jars on the counter to release them. This step is crucial for achieving that perfect crunch!
Step 6: Seal and Cool
Once the jars are filled, seal them tightly with their lids. Let them cool at room temperature for about an hour. This cooling period allows the flavors to meld together beautifully. You’ll be tempted to sneak a taste, but patience is key for the best results!
Step 7: Refrigerate
Finally, place the sealed jars in the refrigerator. For the best flavor, let them chill for at least 24 hours before tasting. This waiting game is worth it! The longer they sit, the more deliciously tangy and flavorful they become. Your Pickled Vegetable Flight will be ready to impress!
Tips for Success
- Use fresh, seasonal vegetables for the best flavor and crunch.
- Experiment with different spices to create your unique flavor profile.
- Make a double batch to have extra jars on hand for snacking or sharing.
- Label your jars with the date to keep track of freshness.
- For a spicy kick, add a pinch of red pepper flakes to the pickling liquid.
Equipment Needed
- Medium saucepan: A regular pot works just as well for boiling the pickling liquid.
- Mini jars: Use any small glass jars; mason jars are perfect!
- Cutting board and knife: Essential for slicing your veggies.
- Measuring cups: Handy for accurate ingredient measurements.
- Mixing spoon: A wooden or silicone spoon is great for stirring.
Variations of Pickled Vegetable Flight (mini jars tasting)
- Spicy Pickled Veggies: Add sliced jalapeños or a pinch of red pepper flakes to the pickling liquid for a fiery twist.
- Herb-Infused: Experiment with fresh herbs like thyme or basil for a fragrant touch.
- Sweet and Sour: Increase the sugar for a sweeter profile, perfect for those who enjoy a balance of flavors.
- Asian-Inspired: Use rice vinegar and add sesame seeds or ginger for an Asian flair.
- Low-Sodium Option: Reduce the salt or use a salt substitute for a healthier version.
Serving Suggestions for Pickled Vegetable Flight (mini jars tasting)
- Serve alongside grilled meats or fish for a refreshing contrast.
- Pair with cheese and crackers for a delightful appetizer platter.
- Enjoy as a tangy topping on sandwiches or burgers.
- Offer with a light, crisp white wine for a perfect pairing.
- Display the mini jars on a colorful platter for an eye-catching presentation.
FAQs about Pickled Vegetable Flight (mini jars tasting)
Can I use other vegetables for my Pickled Vegetable Flight?
Absolutely! Feel free to mix and match your favorite veggies. Bell peppers, green beans, or even asparagus can add a delightful twist to your mini jars. The key is to choose vegetables that pickle well and have a nice crunch.
How long do these pickled vegetables last in the fridge?
Your Pickled Vegetable Flight can last for several weeks in the refrigerator. Just make sure the jars are sealed tightly. Over time, the flavors will deepen, making them even more delicious!
Can I adjust the sweetness in the pickling liquid?
Yes! If you prefer a sweeter taste, feel free to increase the sugar. Just remember to balance it with the vinegar to maintain that tangy flavor. It’s all about finding the perfect harmony for your palate!
What’s the best way to serve these pickled vegetables?
These mini jars are perfect for snacking, but they also shine as a side dish. Serve them alongside grilled meats, on a charcuterie board, or as a zesty topping for sandwiches. The possibilities are endless!
Can I make these pickled vegetables ahead of time?
Definitely! In fact, making them a day or two in advance allows the flavors to meld beautifully. Just remember to refrigerate them for at least 24 hours before serving for the best taste!
Final Thoughts
Creating a Pickled Vegetable Flight is more than just a cooking project; it’s a joyful experience that brings a burst of color and flavor to your table. Each mini jar tells a story, inviting you to savor the crunch and tang of fresh veggies. Whether you’re sharing them at a gathering or enjoying them solo, these pickles are a delightful way to elevate your meals. Plus, the satisfaction of making something so vibrant and tasty is truly rewarding. So, roll up your sleeves, gather your ingredients, and let the pickling adventure begin!
Print
Pickled Vegetable Flight: Discover Tasty Mini Jars!
- Total Time: 30 minutes plus refrigeration time
- Yield: 5 mini jars
- Diet: Vegetarian
Description
A delightful assortment of pickled vegetables served in mini jars, perfect for tasting and sharing.
Ingredients
- Carrots – 2 cups, sliced
- Cucumbers – 2 cups, sliced
- Radishes – 1 cup, sliced
- Cauliflower – 1 cup, florets
- Red onion – 1 cup, sliced
- Vinegar – 2 cups (white or apple cider)
- Water – 1 cup
- Salt – 2 tablespoons
- Sugar – 1 tablespoon
- Spices (dill, mustard seeds, peppercorns) – to taste
Instructions
- Prepare the vegetables by washing and slicing them as needed.
- In a saucepan, combine vinegar, water, salt, and sugar. Bring to a boil.
- Add spices to the boiling mixture and stir well.
- Pack the sliced vegetables into mini jars tightly.
- Pour the hot pickling liquid over the vegetables, ensuring they are fully submerged.
- Seal the jars and let them cool to room temperature.
- Refrigerate the jars for at least 24 hours before tasting for best flavor.
Notes
- Feel free to mix and match vegetables based on your preference.
- These pickled vegetables can last for several weeks in the refrigerator.
- Adjust the sugar and salt levels according to your taste.
- Prep Time: 20 minutes
- Cook Time: 10 minutes
- Category: Appetizer
- Method: Pickling
- Cuisine: Various
Nutrition
- Serving Size: 1 jar
- Calories: 50
- Sugar: 2g
- Sodium: 300mg
- Fat: 0g
- Saturated Fat: 0g
- Unsaturated Fat: 0g
- Trans Fat: 0g
- Carbohydrates: 12g
- Fiber: 2g
- Protein: 1g
- Cholesterol: 0mg
Keywords: Pickled vegetables, mini jars, tasting, appetizer


