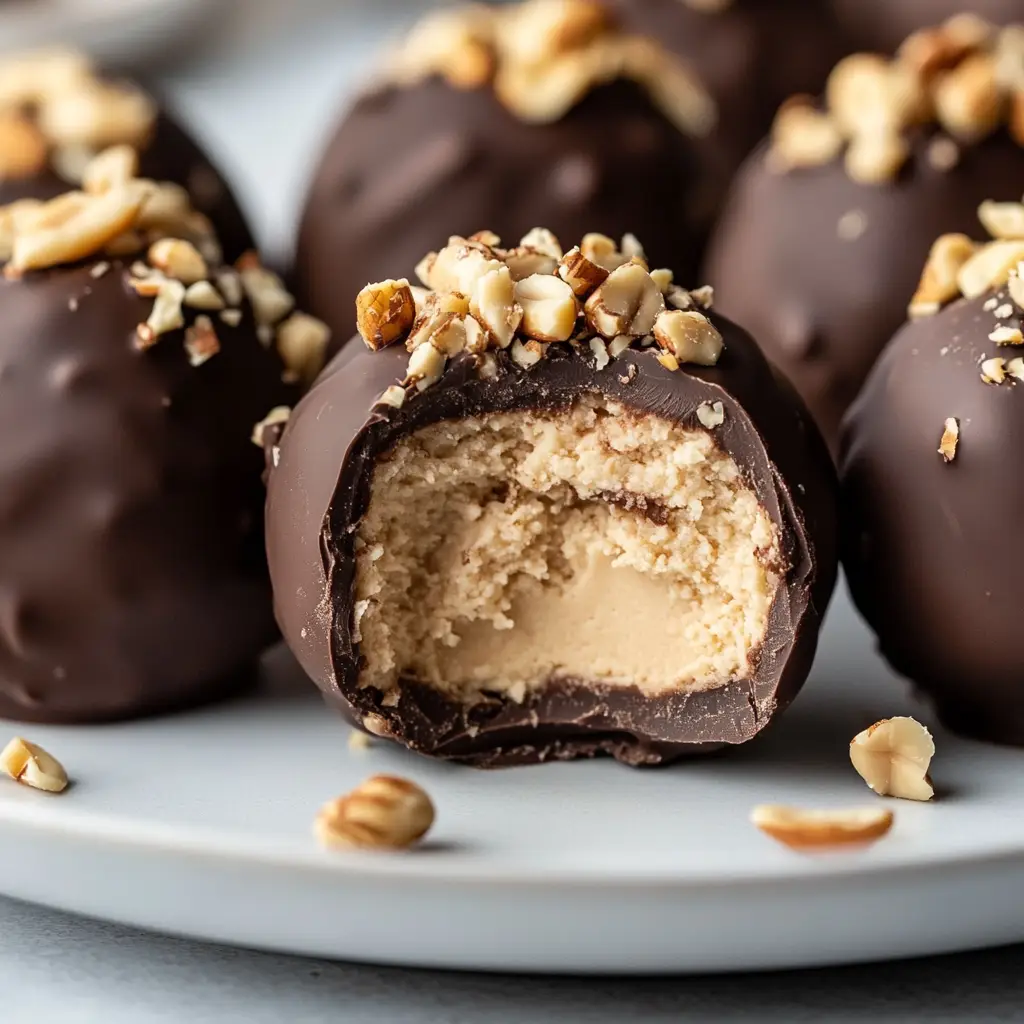
Desserts don’t need to be complicated to be decadent — and these No-Bake Peanut Butter Cheesecake Balls are the perfect proof. These heavenly bite-sized treats combine rich, creamy cheesecake with the nutty sweetness of peanut butter, dipped in silky melted chocolate for a luscious finish.
Ready in under 30 minutes (plus chilling), these truffle-like confections are effortless, delicious, and freezer-friendly. Whether you’re prepping for a party, gifting a homemade treat, or simply craving something sweet without turning on the oven, this recipe will become a go-to in your kitchen.
Why Is This Recipe So Popular?
1. No Baking Required
In an age where convenience is king, a no-bake dessert that delivers full flavor without turning on the oven is pure gold. Especially during hot months or for those with limited kitchen setups, this is a lifesaver.
2. Simple, Accessible Ingredients
Most people already have the essentials—peanut butter, cream cheese, chocolate chips—right in their pantry or fridge. There’s no need for specialty items, which makes it incredibly beginner-friendly.
3. Quick and Easy to Prepare
From start to finish, this recipe takes about 30 minutes or less (plus chilling). No long prep. No complicated steps. Just mix, roll, dip, and chill.
4. Deliciously Addictive Flavor
The rich, nutty peanut butter combined with tangy cream cheese and sweet chocolate is a dreamy trifecta of flavors. It satisfies multiple cravings in one bite — creamy, sweet, salty, and chocolatey.
5. Perfect for Any Occasion
Whether you’re throwing a party, hosting a holiday gathering, meal-prepping snacks for the week, or just looking for a sweet late-night treat, these cheesecake balls work for it all.
6. Customizable and Kid-Friendly
You can:
-
Use almond butter or Nutella instead of peanut butter.
-
Try dark chocolate or white chocolate for the coating.
-
Involve kids in the rolling and dipping — a fun and safe kitchen activity.
7. Freezer-Friendly
These are perfect for make-ahead treats. Store them in the freezer and enjoy a creamy, indulgent bite any time the craving hits.
8. They Look Fancy Without the Effort
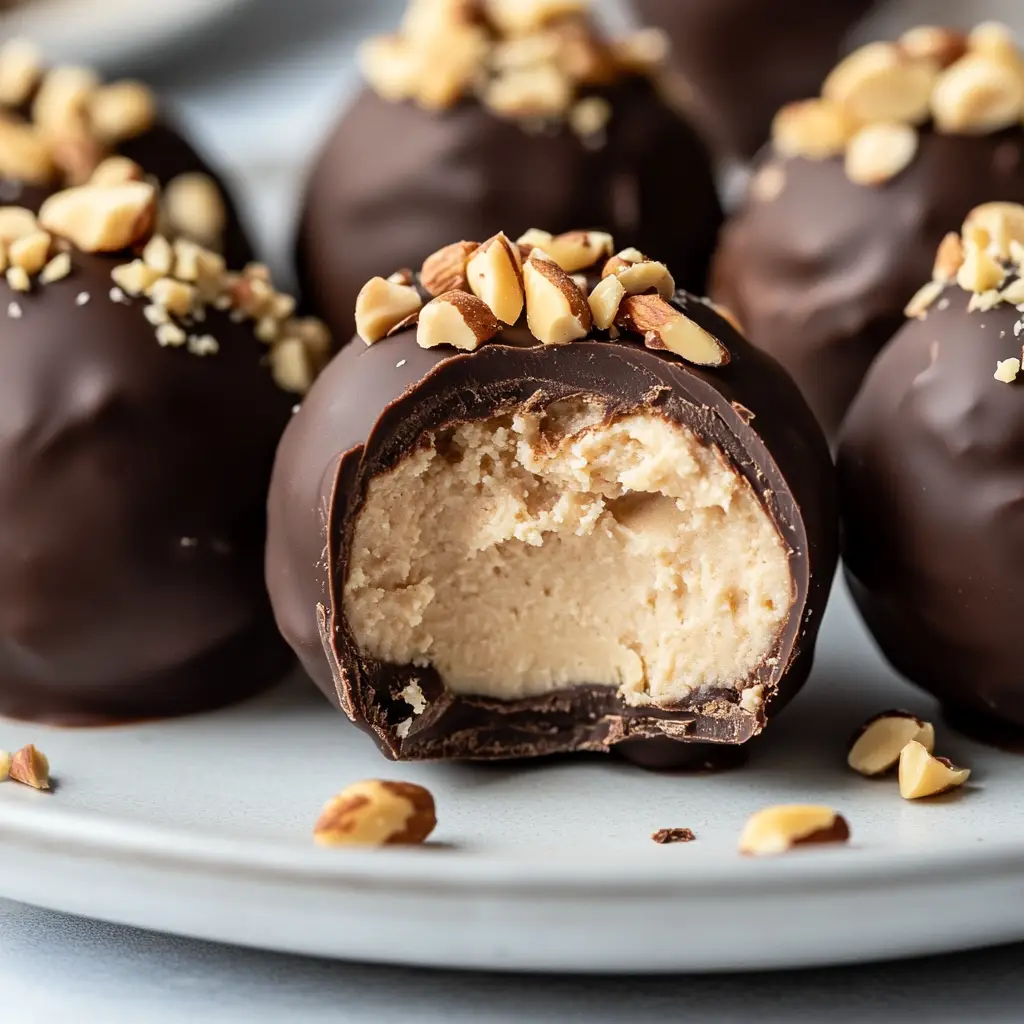
Despite being easy to make, they look like gourmet chocolate truffles—perfect for dessert platters or edible gifts. Add a garnish or drizzle and you’re Pinterest-ready!
9. Fits Many Lifestyles
With slight adjustments, they can be:
-
Gluten-free (no crust or flour)
-
Low-sugar or keto
-
Vegan (use plant-based cream cheese and dairy-free chocolate)
10. It’s a Viral Hit on Pinterest and Social Media
This recipe checks all the boxes for what performs well online:
-
Eye-catching visuals
-
Easy-to-follow steps
-
Instant gratification
-
Comfort food appeal
It’s no surprise it consistently gets pinned, shared, and saved!
Why You’ll Love This Recipe
Here’s why No-Bake Peanut Butter Cheesecake Balls deserve a spot in your dessert repertoire:
-
✅ No Oven Required – Ideal for summer or small kitchens.
-
✅ Easy to Make – Only 7 simple ingredients, and no fancy equipment needed.
-
✅ Creamy & Decadent – A velvety blend of cream cheese and peanut butter encased in chocolate.
-
✅ Make-Ahead Friendly – Store them in the fridge or freezer for quick snacks or entertaining.
-
✅ Crowd-Pleaser – Perfect for potlucks, holidays, birthdays, or gifting.
Whether you’re a baking novice or an experienced dessert lover, these cheesecake balls are nearly foolproof — and addictive!
Ingredients Overview
Let’s take a look at what makes these cheesecake balls so irresistible:
✅ 1 cup cream cheese (softened)
This forms the rich, tangy base of the filling. Softened cream cheese blends smoothly with peanut butter and sweetener.
✅ 1/2 cup peanut butter (creamy or crunchy)
Adds a nutty depth and familiar comfort. Creamy yields a smooth filling; crunchy adds texture.
✅ 1/4 cup powdered sugar
Sweetens the filling without making it too sugary. You can adjust to taste.
✅ 1 teaspoon vanilla extract (optional)
Enhances the flavor and adds warmth. You can skip it or try almond or maple extract for variation.
✅ 1 cup semi-sweet chocolate chips
Used for coating — semi-sweet provides the perfect balance to the rich filling.
✅ 1 tablespoon coconut oil or butter
Helps the chocolate melt smoothly and gives it a glossy finish.
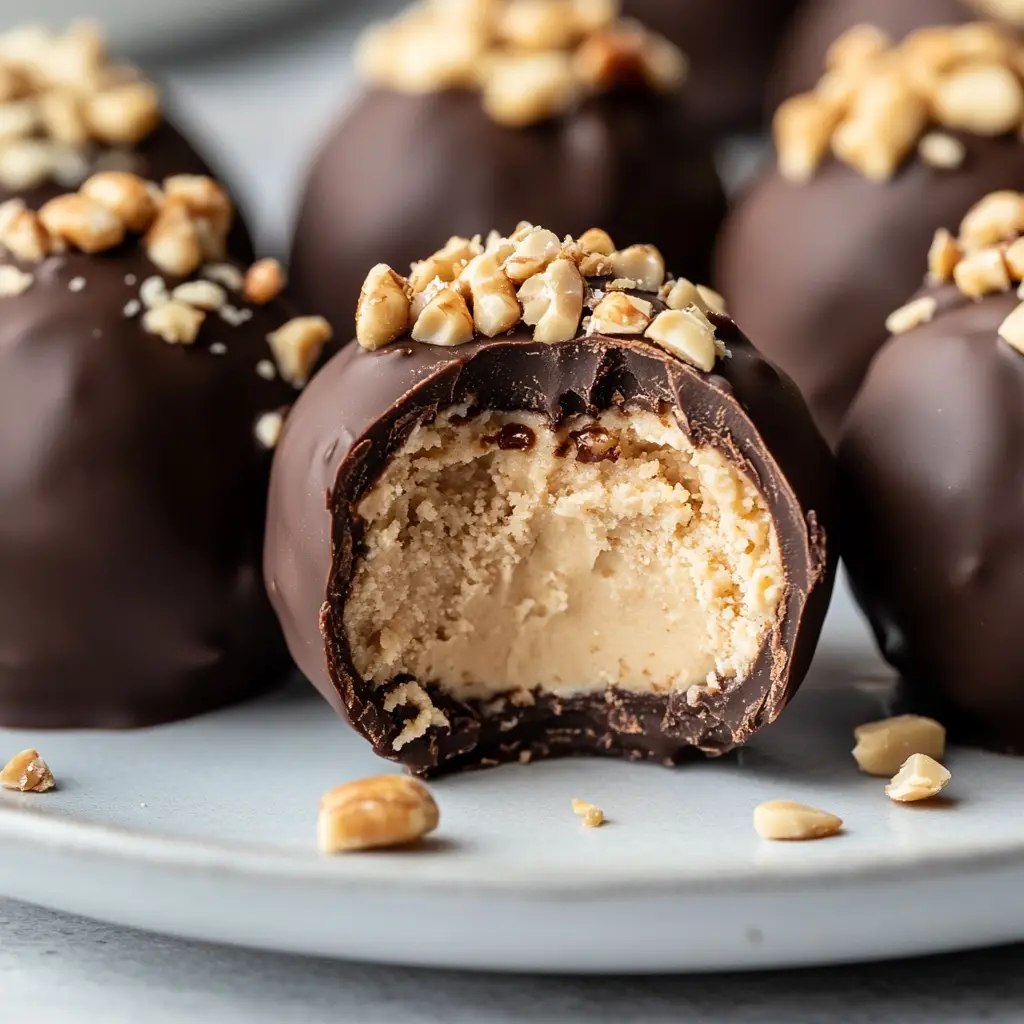
✅ Chopped peanuts (optional)
Sprinkled on top of the dipped balls for added crunch and visual appeal.
You’ll Need
You won’t need any special tools, but these will make the process easier:
-
Mixing bowls
-
Hand mixer or spatula
-
Baking sheet
-
Parchment paper
-
Small cookie scoop or tablespoon
-
Forks or dipping tools
-
Microwave-safe bowl or double boiler
Step-by-Step Instructions
Step 1: Soften the Cream Cheese
Let your cream cheese sit at room temperature for about 30 minutes. Soft cream cheese ensures a smooth, lump-free mixture.
Step 2: Mix the Filling
In a medium mixing bowl:
-
Add 1 cup softened cream cheese,
-
1/2 cup peanut butter,
-
1/4 cup powdered sugar,
-
and 1 tsp vanilla extract.
Use a hand mixer (or stir vigorously with a spatula) until the mixture is creamy, fluffy, and uniform.
Pro Tip: If the mixture feels too soft to scoop, chill it in the fridge for 10–15 minutes before shaping.
Step 3: Shape into Balls
Using a small cookie scoop or tablespoon, scoop out portions and roll them into 1-inch balls. Place each one on a parchment-lined baking sheet.
Once all are shaped, place the tray in the freezer for 15–20 minutes to firm up. This makes them easier to dip in chocolate.
Step 4: Melt the Chocolate
In a microwave-safe bowl, add:
-
1 cup chocolate chips
-
1 tablespoon coconut oil or butter
Microwave in 20-second bursts, stirring in between, until completely melted and smooth. Alternatively, melt over a double boiler.
Note: The coconut oil helps the chocolate set better and gives it a professional sheen.
Step 5: Dip and Decorate
-
Remove the cheesecake balls from the freezer.
-
Using a fork or dipping tool, dip each ball into the melted chocolate.
-
Let the excess drip off, then place back on the parchment paper.
-
If desired, sprinkle chopped peanuts on top while the chocolate is still wet.
Repeat for all balls.
Step 6: Chill to Set
Refrigerate the tray for at least 15–20 minutes or until the chocolate is completely set.
You can also freeze them for 10 minutes if you’re short on time.
Step 7: Serve and Enjoy!
Once set, serve immediately or store for later. These little indulgent bites are rich, creamy, nutty, and chocolaty — a perfect trifecta in dessert form.
Flavor Variations
🍫 Chocolate Lover’s Twist
Add 2 tbsp cocoa powder to the filling for a richer flavor.
🍯 Honey Peanut Butter Balls
Substitute 2 tbsp of powdered sugar with honey or maple syrup for natural sweetness.
🥜 Nutty Delight
Mix crushed pretzels, chopped peanuts, or toffee bits into the filling.
🌰 Nut-Free Version
Use sunflower seed butter or cookie butter instead of peanut butter.
🍓 Berry Swirl
Add 2 tbsp raspberry or strawberry jam to the filling for a fruity cheesecake vibe.
Expert Tips and Tricks
-
Don’t skip the chilling step before dipping — it helps maintain the ball shape.
-
Use good-quality chocolate for the best dipping experience and flavor.
-
For uniform size, use a small cookie scoop to measure each portion.
-
If you want a softer bite, store them in the refrigerator. For firmer texture, keep them in the freezer.
-
Drizzle extra chocolate or white chocolate on top for a bakery-style finish.
Serving Suggestions
These cheesecake balls are great for:
-
Holiday dessert trays
-
Gifting in treat boxes
-
Kids’ parties and birthdays
-
Bridal or baby showers
-
Afternoon coffee breaks
-
Late-night cravings
Serve them chilled with:
-
Coffee or espresso
-
A glass of milk
-
Hot chocolate or chai tea
-
Vanilla bean ice cream on the side
Storage and Freezing
🧊 Refrigerator:
Store in an airtight container for up to 5 days.
❄️ Freezer:
Place in a single layer in a freezer-safe container. Freeze for up to 2 months. Let them thaw at room temperature for 10–15 minutes before serving.
Nutritional Information (Per Ball)
Approximate values, assuming 20 cheesecake balls total.
-
Calories: 130
-
Protein: 2g
-
Fat: 10g
-
Carbohydrates: 9g
-
Sugar: 6g
-
Sodium: 60mg
Want a lighter version? Use reduced-fat cream cheese, natural peanut butter, and dark chocolate.
Frequently Asked Questions (FAQs)
Can I make these ahead of time?
Absolutely! They’re perfect for making 1–2 days in advance, or even longer if frozen.
Can I use natural peanut butter?
Yes, but it should be well-stirred and not too oily. Natural peanut butter can make the filling softer, so you may need to chill it longer.
How can I make these keto or low-carb?
Use a keto-approved sweetener like erythritol or monk fruit, sugar-free chocolate chips, and natural peanut butter.
Can I dip them in white chocolate instead?
Definitely! White chocolate pairs beautifully with peanut butter. Add a little coconut oil to help it melt smoothly.
What if my mixture is too soft to roll?
Pop the mixture into the fridge for 15–30 minutes before shaping. Cold helps it firm up for easier handling.
Conclusion
These No-Bake Peanut Butter Cheesecake Balls are a perfect harmony of flavors — creamy, nutty, chocolatey, and entirely addictive. They prove that you don’t need complex techniques or long bake times to create a dessert that everyone will rave about.
Whether you’re celebrating something special, assembling a homemade treat box, or just looking for a sweet snack to stash in the fridge, this recipe hits the mark. It’s easy, customizable, and makes enough to share — though you might not want to!
Print
No-Bake Peanut Butter Cheesecake Balls
Ingredients
Let’s take a look at what makes these cheesecake balls so irresistible:
✅ 1 cup cream cheese (softened)
This forms the rich, tangy base of the filling. Softened cream cheese blends smoothly with peanut butter and sweetener.
✅ 1/2 cup peanut butter (creamy or crunchy)
Adds a nutty depth and familiar comfort. Creamy yields a smooth filling; crunchy adds texture.
✅ 1/4 cup powdered sugar
Sweetens the filling without making it too sugary. You can adjust to taste.
✅ 1 teaspoon vanilla extract (optional)
Enhances the flavor and adds warmth. You can skip it or try almond or maple extract for variation.
✅ 1 cup semi-sweet chocolate chips
Used for coating — semi-sweet provides the perfect balance to the rich filling.
✅ 1 tablespoon coconut oil or butter
Helps the chocolate melt smoothly and gives it a glossy finish.
✅ Chopped peanuts (optional)
Instructions
Step 1: Soften the Cream Cheese
Let your cream cheese sit at room temperature for about 30 minutes. Soft cream cheese ensures a smooth, lump-free mixture.
Step 2: Mix the Filling
In a medium mixing bowl:
-
Add 1 cup softened cream cheese,
-
1/2 cup peanut butter,
-
1/4 cup powdered sugar,
-
and 1 tsp vanilla extract.
Use a hand mixer (or stir vigorously with a spatula) until the mixture is creamy, fluffy, and uniform.
Pro Tip: If the mixture feels too soft to scoop, chill it in the fridge for 10–15 minutes before shaping.
Step 3: Shape into Balls
Using a small cookie scoop or tablespoon, scoop out portions and roll them into 1-inch balls. Place each one on a parchment-lined baking sheet.
Once all are shaped, place the tray in the freezer for 15–20 minutes to firm up. This makes them easier to dip in chocolate.
Step 4: Melt the Chocolate
In a microwave-safe bowl, add:
-
1 cup chocolate chips
-
1 tablespoon coconut oil or butter
Microwave in 20-second bursts, stirring in between, until completely melted and smooth. Alternatively, melt over a double boiler.
Note: The coconut oil helps the chocolate set better and gives it a professional sheen.
Step 5: Dip and Decorate
-
Remove the cheesecake balls from the freezer.
-
Using a fork or dipping tool, dip each ball into the melted chocolate.
-
Let the excess drip off, then place back on the parchment paper.
-
If desired, sprinkle chopped peanuts on top while the chocolate is still wet.
Repeat for all balls.
Step 6: Chill to Set
Refrigerate the tray for at least 15–20 minutes or until the chocolate is completely set.
You can also freeze them for 10 minutes if you’re short on time.
Step 7: Serve and Enjoy!
Once set, serve immediately or store for later. These little indulgent bites are rich, creamy, nutty, and chocolaty — a perfect trifecta in dessert form.
Nutrition
- Calories: 130
- Sugar: 6g
- Sodium: 60mg
- Fat: 10g
- Carbohydrates: 9g
- Protein: 2g