Introduction to Hydro-Dipped Ornaments
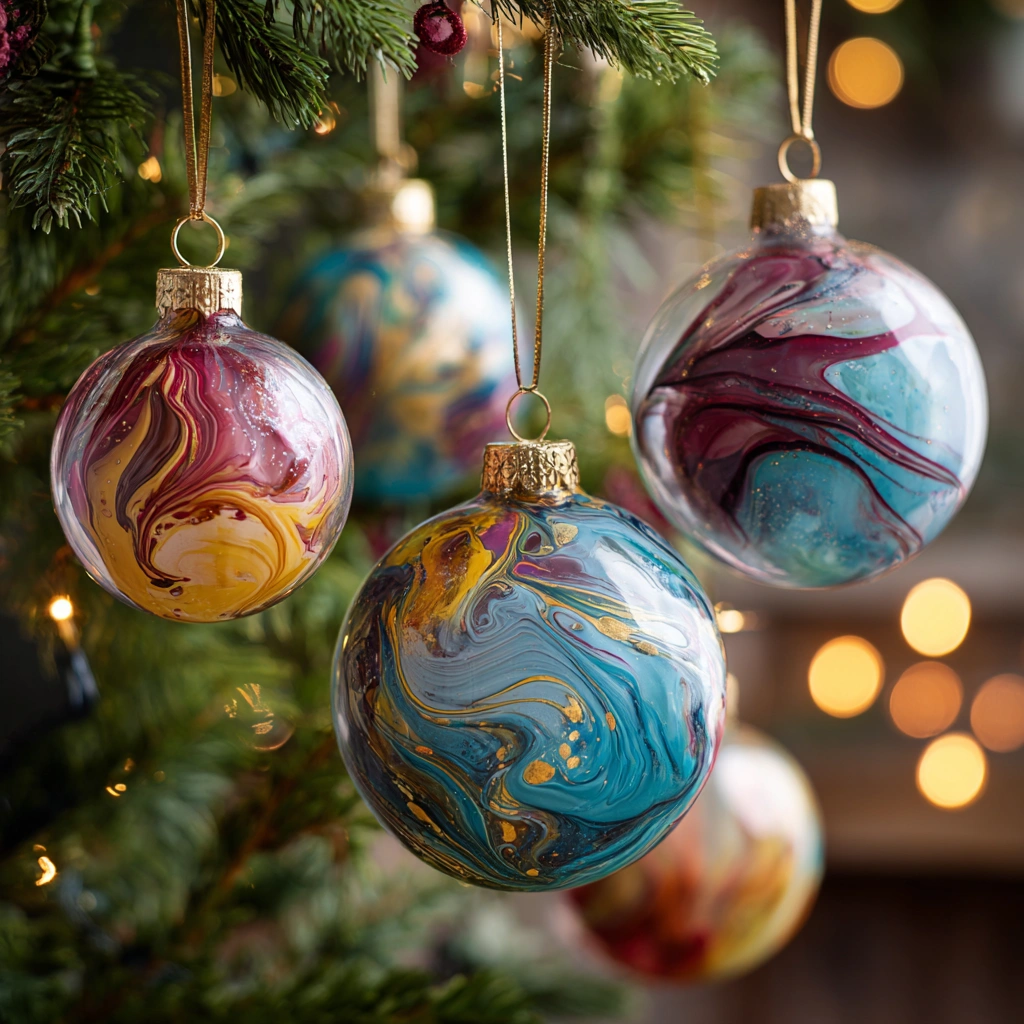
Welcome to the colorful world of hydro-dipped ornaments! This delightful DIY craft is not only fun but also a fantastic way to unleash your creativity. Imagine transforming plain glass or plastic ornaments into vibrant, one-of-a-kind pieces that will dazzle your holiday decor. The process is simple and rewarding, making it perfect for crafters of all ages. Whether you’re crafting with your kids or enjoying a quiet afternoon, hydro-dipped ornaments bring joy and a splash of color to your home. Let’s dive into this exciting project and create something magical together!
Why You’ll Love This Hydro-Dipped Ornaments
Hydro-dipped ornaments are a delightful blend of creativity and fun! This project is not only easy on the wallet but also a fantastic way to bond with your kids. I love how it encourages imagination while providing a relaxing escape from the daily hustle. Plus, the joy of seeing your unique designs come to life is simply priceless. You’ll cherish these moments and the beautiful decorations that brighten your home!
Materials and Tools Needed for Hydro-Dipped Ornaments
To create your stunning hydro-dipped ornaments, you’ll need a few essential materials. Start with clear glass or plastic ornaments, as they provide a perfect canvas for your colorful designs. Acrylic paint in various vibrant colors is crucial for achieving those eye-catching patterns. A container for dipping is necessary; choose one that’s large enough to comfortably fit your ornaments. A wooden skewer or stick will help you swirl the paint, creating unique designs. While gloves are optional, they can keep your hands clean during the fun. Lastly, don’t forget a drop cloth or newspaper for easy cleanup—trust me, it makes a world of difference!
How to Make Hydro-Dipped Ornaments
Creating hydro-dipped ornaments is not just a craft; it’s an adventure filled with color and creativity! I remember the first time I tried this technique with my kids. We laughed as we watched the paint swirl and dance on the water’s surface, transforming ordinary ornaments into stunning pieces of art. Let’s dive into the steps to make your own beautiful hydro-dipped ornaments!
Step 1: Prepare Your Workspace
First things first, let’s get our workspace ready! Lay down a drop cloth or some old newspaper to catch any paint spills. Trust me, this will save you from a messy cleanup later. I always make sure to have everything within reach, so I can focus on the fun part—crafting!
Step 2: Fill Your Container
Next, grab a container that’s large enough to fit your ornaments. Fill it with water, leaving enough space for the ornaments to be fully submerged. The water acts as a canvas for your paint, so make sure it’s deep enough for a good dip. I love using a big plastic tub; it’s easy to clean and perfect for this project!
Step 3: Add Acrylic Paint
Now comes the exciting part! Drop several colors of acrylic paint onto the surface of the water. Watch as the colors spread and create a marbled effect. It’s like magic! I usually choose vibrant colors that complement each other, but feel free to experiment. The more colors, the merrier!
Step 4: Swirl the Paint
Using a wooden skewer, gently swirl the paint to create interesting patterns. This is where your creativity shines! You can make spirals, waves, or even hearts. Just be careful not to overdo it; a little swirl goes a long way. I love how the paint looks like a beautiful abstract painting on the water!
Step 5: Dip the Ornament
Time to dip! Carefully take your ornament and dip it into the paint, rotating it to cover the surface evenly. This part is so satisfying! I like to dip it slowly, watching the colors wrap around the ornament. If you want a more intense design, you can dip it multiple times, just remember to let the excess paint drip off before moving on.
Step 6: Let It Drip and Dry
Once you’ve dipped your ornament, hold it over the container to let the excess paint drip off. Then, place it on a drying rack or a piece of cardboard. I usually set mine in a well-ventilated area to dry completely. The anticipation of seeing the final result is half the fun!
Step 7: Add Finishing Touches
After your ornaments are dry, it’s time to add some flair! Attach a ribbon or string for hanging. You can choose colors that match your decor or go for something bold and fun. I love adding a little sparkle with glitter or metallic paint for that extra holiday magic!
And there you have it—your very own hydro-dipped ornaments! This project is not only a fantastic way to create unique holiday decor, but it also makes for a wonderful bonding experience with family and friends. So gather your supplies and let your creativity flow!
Tips for Best Results
- Experiment with different color combinations to find your favorite designs.
- If the paint doesn’t stick well, try using a thicker layer of paint on the water’s surface.
- For a more vibrant look, dip the ornament multiple times, allowing each layer to dry slightly in between.
- Always work in a well-ventilated area to avoid inhaling paint fumes.
- Don’t forget to wear gloves if you want to keep your hands clean!
Theme and Design Variations
- Classic Holiday Colors: Use red, green, and gold for a traditional festive look.
- Winter Wonderland: Try icy blues, whites, and silvers for a frosty theme.
- Rainbow Delight: Mix all the colors of the rainbow for a cheerful, vibrant display.
- Kid-Friendly Fun: Let kids choose their favorite colors and add stickers or glitter for extra flair.
- Nature-Inspired: Use earthy tones like browns, greens, and oranges for a rustic feel.
Display and Use Ideas
- Holiday Tree Decor: Hang your hydro-dipped ornaments on your Christmas tree for a unique and colorful touch.
- Gift Giving: Package them in a lovely box as personalized gifts for friends and family.
- Table Centerpiece: Arrange them in a decorative bowl or glass vase for a stunning holiday centerpiece.
- Classroom Crafts: Use them as a fun project for school holiday parties, allowing kids to express their creativity.
FAQs about Hydro-Dipped Ornaments
1. Can I use any type of paint for hydro-dipping?
It’s best to use acrylic paint for hydro-dipped ornaments. Acrylics are water-based, which makes them perfect for this technique. Other types of paint may not spread or adhere well on the water’s surface.
2. How do I clean up after making hydro-dipped ornaments?
Cleanup is easy if you’ve laid down a drop cloth or newspaper! Simply gather the used materials and dispose of them. If any paint spills on surfaces, warm soapy water usually does the trick. Just be sure to clean up before the paint dries!
3. Can younger kids participate in this craft?
Absolutely! Hydro-dipped ornaments are great for kids aged 8 and up, especially with adult supervision. Just make sure to guide them through the process and help with any tricky parts, like dipping the ornaments.
4. How long do the ornaments take to dry?
Typically, hydro-dipped ornaments take about 1-2 hours to dry completely, depending on the thickness of the paint. I recommend letting them dry in a well-ventilated area to speed up the process!
5. Can I use these ornaments outdoors?
While hydro-dipped ornaments are beautiful, they are best suited for indoor use. If you want to display them outside, consider sealing them with a clear spray sealant to protect them from the elements.
Final Thoughts
Creating hydro-dipped ornaments is not just a craft; it’s a joyful experience that brings out your inner artist! The satisfaction of watching your unique designs come to life is truly magical. I encourage you to gather your family and dive into this colorful adventure together. Don’t forget to share your beautiful creations with friends and family—there’s nothing quite like the joy of gifting something handmade! So, roll up your sleeves, unleash your creativity, and let those hydro-dipped ornaments brighten your holiday season!
Print
Hydro-Dipped Ornaments: Create Stunning Holiday Decor Today!
Description
Create beautiful and unique hydro-dipped ornaments for your holiday decor using a fun and easy technique that allows for vibrant colors and patterns.
Instructions
- Prepare your workspace by laying down a drop cloth or newspaper to catch any spills.
- Fill your container with water, leaving enough space for the ornaments to be submerged.
- Drop several colors of acrylic paint onto the surface of the water, allowing them to spread and create a marbled effect.
- Using a wooden skewer, gently swirl the paint to create interesting patterns.
- Carefully dip the ornament into the paint, rotating it to cover the surface evenly.
- Remove the ornament and let the excess paint drip off before placing it on a drying rack.
- Once dry, you can add a ribbon or string for hanging.
- Category: Crafts
Keywords: Hydro-Dipped Ornaments, Holiday Decor, DIY Ornaments, Craft Project