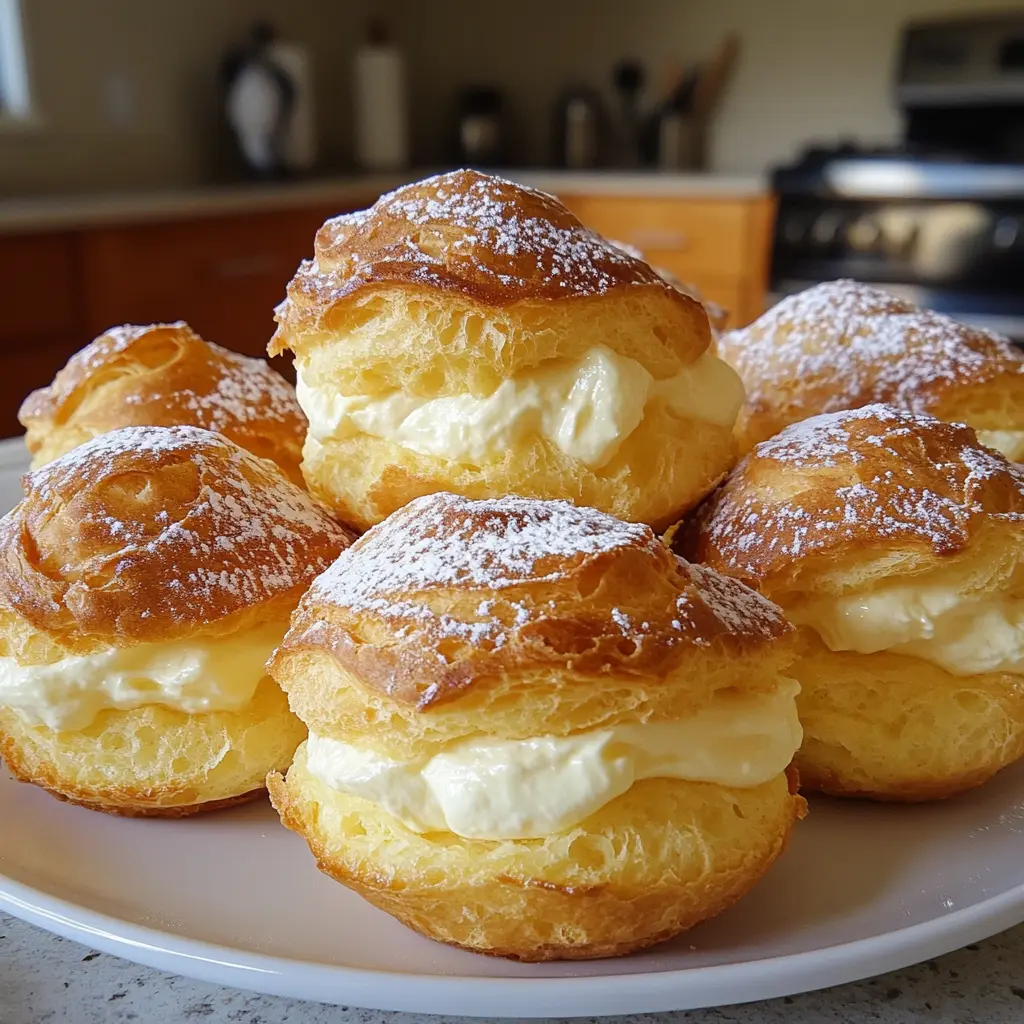
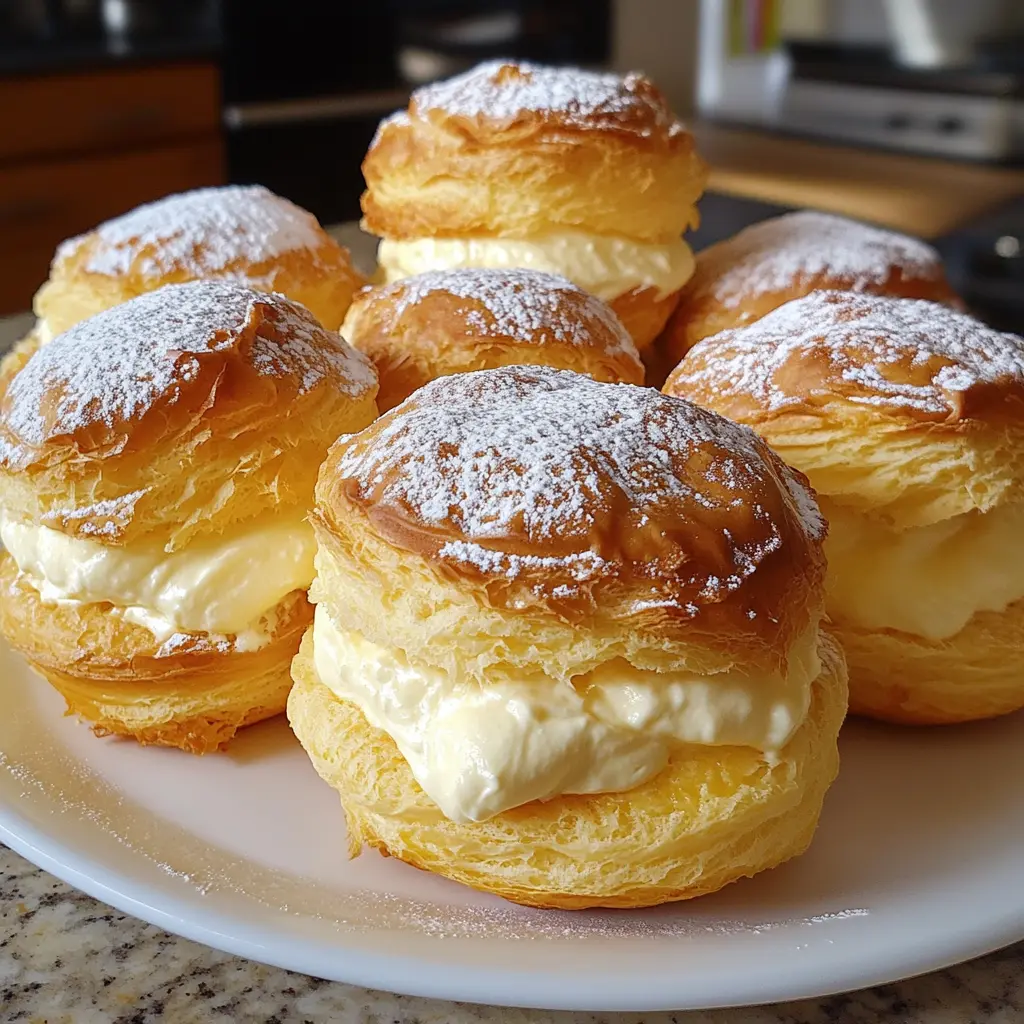
Introduction to Golden Vanilla Cream Puffs
As a busy mom, I know how precious time can be, especially when it comes to whipping up something special for my family. That’s why I adore these Golden Vanilla Cream Puffs! They’re not just a treat; they’re a delightful escape into a world of light, airy pastries filled with rich vanilla custard. Perfect for impressing guests or simply indulging yourself after a long day, these cream puffs are a quick solution that brings joy to any occasion. Trust me, once you try them, you’ll find yourself making them again and again!
Why You’ll Love This Golden Vanilla Cream Puffs
These Golden Vanilla Cream Puffs are a dream come true for busy lives! They’re incredibly easy to make, requiring just a handful of ingredients you likely have on hand. The best part? They bake up in just 25 minutes, leaving you with a delicious dessert that tastes like it came from a fancy bakery. Plus, the creamy vanilla filling is simply irresistible, making them a hit with everyone in the family!
Ingredients for Golden Vanilla Cream Puffs
Gathering the right ingredients is the first step to creating these delightful Golden Vanilla Cream Puffs. Here’s what you’ll need:
- Water: This is the base for your dough, helping to create that perfect puff.
- Unsalted Butter: Adds richness and flavor, ensuring your puffs are tender and delicious.
- All-Purpose Flour: The backbone of the dough, it gives structure to your cream puffs.
- Salt: Just a pinch enhances the flavors, balancing the sweetness of the cream filling.
- Large Eggs: These are essential for creating that airy texture. They help the puffs rise beautifully.
- Heavy Cream: The star of the filling, it whips up to a luscious, creamy delight.
- Powdered Sugar: Sweetens the cream filling, giving it that melt-in-your-mouth quality.
- Vanilla Extract: A must for flavor! It infuses the cream with a warm, inviting aroma.
For those looking to get creative, consider adding a splash of almond extract to the cream filling for an extra layer of flavor. You can also substitute the heavy cream with a non-dairy alternative if needed. Remember, the exact measurements for these ingredients are at the bottom of the article, ready for you to print out and take to the kitchen!
How to Make Golden Vanilla Cream Puffs
Making Golden Vanilla Cream Puffs is a delightful journey that’s easier than you might think! Follow these simple steps, and you’ll be rewarded with airy pastries that are sure to impress. Let’s dive into the process!
Step 1: Preheat the Oven
First things first, preheat your oven to 400°F (200°C). Preheating is crucial because it ensures that your cream puffs rise beautifully. A hot oven creates steam, which is what makes them puff up and become light and airy. Trust me, this step is non-negotiable!
Step 2: Prepare the Dough
In a medium saucepan, combine 1 cup of water and ½ cup of unsalted butter. Bring this mixture to a boil over medium heat. The boiling point is essential as it helps the butter melt completely, creating a smooth base for your dough. Once it’s bubbling, you’re ready for the next step!
Step 3: Mix in Flour and Salt
Now, stir in 1 cup of all-purpose flour and ¼ teaspoon of salt. Mix vigorously until the dough forms a ball and pulls away from the sides of the pan. You want a smooth, slightly sticky texture. This is the foundation of your Golden Vanilla Cream Puffs, so make sure it’s just right!
Step 4: Cool the Mixture
Remove the saucepan from heat and let the dough cool for about 5 minutes. Cooling is essential before adding the eggs. If the mixture is too hot, it can cook the eggs, resulting in a lumpy mess. Patience is key here!
Step 5: Incorporate the Eggs
Now, it’s time to add the eggs! Crack 4 large eggs into a bowl and add them one at a time to the cooled dough. Mix well after each addition until fully incorporated. The dough should become smooth and glossy. This step is where the magic happens, giving your puffs that airy texture!
Step 6: Shape the Puffs
Using a spoon or a piping bag, drop spoonfuls of the dough onto a baking sheet lined with parchment paper. Aim for about 2 inches apart, as they will expand while baking. If you’re feeling fancy, you can pipe them into perfect circles. Just remember, they don’t have to be perfect; they’ll taste amazing regardless!
Step 7: Bake to Perfection
Pop the baking sheet into your preheated oven and bake for 20-25 minutes. Keep an eye on them! You’ll know they’re done when they’re golden brown and puffed up. Resist the urge to open the oven door too soon, as this can cause them to deflate!
Step 8: Cool Before Filling
Once baked, remove the puffs from the oven and let them cool completely on a wire rack. This step is crucial! If you fill them while they’re still warm, the cream will melt, and you’ll end up with a gooey mess. Trust me, waiting is worth it!
Step 9: Prepare the Cream Filling
While the puffs cool, whip 1 cup of heavy cream with ½ cup of powdered sugar and 1 teaspoon of vanilla extract until stiff peaks form. You want it to be thick and creamy, perfect for filling those delightful puffs. This is the moment where your kitchen will smell heavenly!
Step 10: Fill the Cream Puffs
Finally, it’s time to fill your cream puffs! Use a piping bag or a small spoon to carefully fill each puff with the whipped cream mixture. Be gentle to avoid tearing the delicate pastry. If you want to get fancy, dust them with powdered sugar for a beautiful finish!
Tips for Success
- Make sure your butter is unsalted for better control over the sweetness.
- Use a piping bag for filling to avoid mess and ensure even distribution.
- Don’t skip the cooling step; it’s vital for the perfect texture.
- Experiment with flavors by adding citrus zest or different extracts to the cream.
- Store any leftovers in an airtight container to keep them fresh.
Equipment Needed
- Medium saucepan: A sturdy pot for boiling water and butter.
- Mixing bowl: For combining your ingredients; a large one works best.
- Whisk: Essential for mixing the dough and whipping cream; a hand mixer is a great alternative.
- Baking sheet: Use a standard one lined with parchment paper for easy cleanup.
- Piping bag or spoon: For filling the cream puffs; a zip-top bag can work in a pinch!
Variations
- Chocolate Cream Puffs: Substitute half of the heavy cream with chocolate ganache for a rich twist.
- Fruit-Infused Filling: Add pureed strawberries or raspberries to the whipped cream for a fruity flavor.
- Gluten-Free Option: Use a gluten-free all-purpose flour blend to make these puffs suitable for gluten-sensitive diets.
- Mini Cream Puffs: Pipe smaller dollops of dough for bite-sized treats that are perfect for parties.
- Nutty Flavor: Incorporate almond or hazelnut extract into the cream filling for a delightful nutty taste.
Serving Suggestions
- Pair your Golden Vanilla Cream Puffs with a cup of freshly brewed coffee or tea for a delightful afternoon treat.
- Serve them on a beautiful platter, dusted with powdered sugar for an elegant touch.
- For a festive twist, add fresh berries or a drizzle of chocolate sauce on the side.
FAQs about Golden Vanilla Cream Puffs
Can I make Golden Vanilla Cream Puffs ahead of time?
Absolutely! You can prepare the puffs a day in advance and store them in the refrigerator. Just remember to fill them right before serving to keep the cream fresh and fluffy.
What can I use instead of heavy cream for the filling?
If you’re looking for a lighter option, you can use whipped coconut cream or a non-dairy whipped topping. Both will give you a delicious filling without the heaviness of heavy cream.
How do I know when my cream puffs are done baking?
Your Golden Vanilla Cream Puffs are ready when they’re golden brown and puffed up. A gentle tap on the bottom should sound hollow. Avoid opening the oven door too early, as this can cause them to deflate!
Can I freeze the cream puffs?
Yes, you can freeze the baked puffs! Just make sure they are completely cool before placing them in an airtight container. Fill them after thawing for the best texture.
What’s the best way to store leftover cream puffs?
Store any leftover Golden Vanilla Cream Puffs in an airtight container in the refrigerator. They’re best enjoyed within a couple of days for optimal freshness!
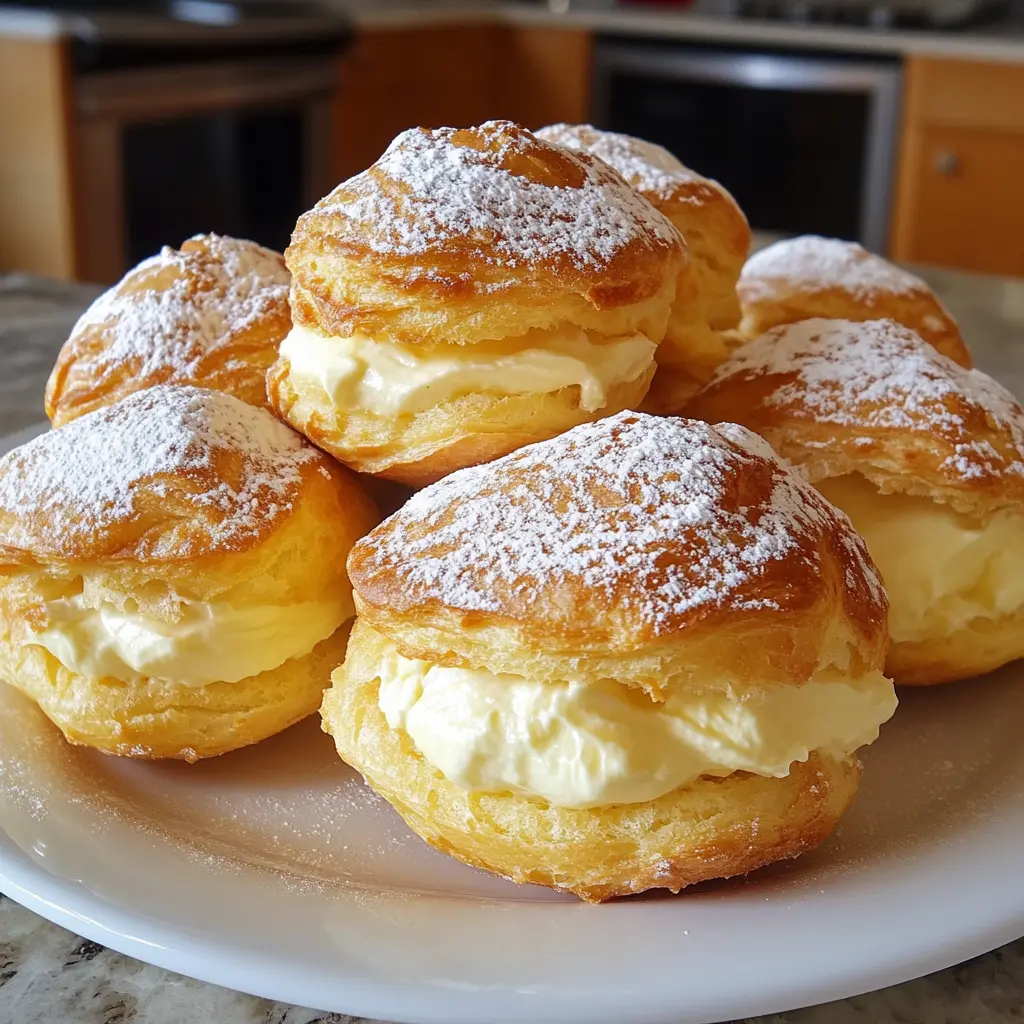
Final Thoughts
Creating Golden Vanilla Cream Puffs is more than just baking; it’s about crafting moments of joy. Each bite transports you to a world of lightness and sweetness, making them perfect for celebrations or quiet evenings at home. I love how these little puffs can turn an ordinary day into something special. Whether you’re sharing them with loved ones or savoring one alone with a cup of tea, they bring a smile to your face. So, roll up your sleeves and dive into this delightful recipe. You’ll be amazed at how something so simple can create such happiness!
Print
Golden Vanilla Cream Puffs: Indulge in a Heavenly Treat!
- Total Time: 45 minutes
- Yield: 12 servings 1x
- Diet: Vegetarian
Description
Golden Vanilla Cream Puffs are light, airy pastries filled with a rich and creamy vanilla custard, perfect for any dessert lover.
Ingredients
- 1 cup water
- 1/2 cup unsalted butter
- 1 cup all-purpose flour
- 1/4 teaspoon salt
- 4 large eggs
- 1 cup heavy cream
- 1/2 cup powdered sugar
- 1 teaspoon vanilla extract
Instructions
- Preheat the oven to 400°F (200°C).
- In a saucepan, combine water and butter; bring to a boil.
- Stir in flour and salt until the mixture forms a ball.
- Remove from heat and let cool slightly.
- Add eggs one at a time, mixing well after each addition.
- Drop spoonfuls of the dough onto a baking sheet.
- Bake for 20-25 minutes until golden brown.
- Let cool completely before filling.
- In a bowl, whip heavy cream with powdered sugar and vanilla until stiff peaks form.
- Fill the cooled puffs with the whipped cream mixture.
Notes
- Ensure the puffs are completely cool before filling to prevent the cream from melting.
- These can be made a day in advance and stored in the refrigerator.
- For added flavor, consider adding a splash of almond extract to the cream filling.
- Prep Time: 20 minutes
- Cook Time: 25 minutes
- Category: Dessert
- Method: Baking
- Cuisine: French
Nutrition
- Serving Size: 1 cream puff
- Calories: 150
- Sugar: 5g
- Sodium: 50mg
- Fat: 10g
- Saturated Fat: 6g
- Unsaturated Fat: 3g
- Trans Fat: 0g
- Carbohydrates: 15g
- Fiber: 0g
- Protein: 2g
- Cholesterol: 40mg
Keywords: Golden Vanilla Cream Puffs, Cream Puffs, Vanilla Dessert, French Pastry