Why You’ll Love This Fog in a Bottle Experiment
The Fog in a Bottle Experiment is a fantastic way to spark creativity and curiosity. I remember the first time I tried this with my kids; their eyes lit up as the fog swirled inside the bottle, and I could see their imaginations take flight. It’s affordable, requiring only a few common household items, and it’s incredibly simple to execute. In just 15 minutes, you can create a stunning visual display that mimics real fog, making it an ideal project for busy schedules.
As a busy mom, I often find myself juggling multiple tasks, and I know how precious time can be. This experiment is perfect for those moments when you want to engage your children in something educational yet fun. Plus, it’s a great opportunity to bond with your children while teaching them about science in a fun and interactive way. I’ve found that these small moments of creativity can turn into cherished memories.
One of the best parts? You can easily adapt this project to fit your schedule. If you have just a few minutes, you can still create something magical. And if you have a bit more time, you can explore variations and make it even more exciting. The joy of crafting is not just in the final product but in the process itself. So, gather your materials, and let’s dive into this enchanting world of fog!
Introduction to Fog in a Bottle Experiment
Have you ever wanted to bring a little magic into your home? The Fog in a Bottle Experiment is a delightful DIY project that not only captivates the imagination but also serves as a fun educational tool. Perfect for busy moms and professionals, this simple yet enchanting craft allows you to create a mesmerizing fog effect right in your living room.
I remember the first time I introduced this experiment to my children. Their faces lit up with wonder as they watched the fog swirl and dance inside the bottle. It was a moment of pure joy, and I realized how powerful a simple science project could be in sparking curiosity and creativity. Whether you’re looking to engage your kids in a science project or simply want to add a unique decorative touch to your home, this experiment is sure to impress!
What I love most about the Fog in a Bottle Experiment is its accessibility. You don’t need to be a science expert or have a lot of time on your hands. With just a few common household items, you can create something truly magical in about 15 minutes. It’s a wonderful way to bond with your children while teaching them about the fascinating world of science.
So, if you’re ready to dive into this enchanting project, gather your materials and let’s get started on creating some foggy fun!
Why You’ll Love This Fog in a Bottle Experiment
The Fog in a Bottle Experiment is a fantastic way to spark creativity and curiosity. I remember the first time I tried this with my kids; their eyes lit up as the fog swirled inside the bottle, and I could see their imaginations take flight. It’s affordable, requiring only a few common household items, and it’s incredibly simple to execute. In just 15 minutes, you can create a stunning visual display that mimics real fog, making it an ideal project for busy schedules.
As a busy mom, I often find myself juggling multiple tasks, and I know how precious time can be. This experiment is perfect for those moments when you want to engage your children in something educational yet fun. Plus, it’s a great opportunity to bond with your children while teaching them about science in a fun and interactive way. I’ve found that these small moments of creativity can turn into cherished memories.
One of the best parts? You can easily adapt this project to fit your schedule. If you have just a few minutes, you can still create something magical. And if you have a bit more time, you can explore variations and make it even more exciting. The joy of crafting is not just in the final product but in the process itself. So, gather your materials, and let’s dive into this enchanting world of fog!
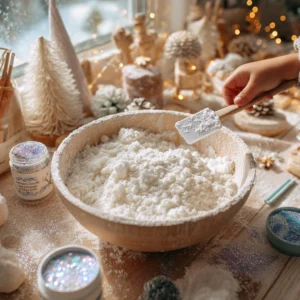
Materials Needed for Fog in a Bottle Experiment
To get started with your Fog in a Bottle Experiment, gather the following materials:
- 1 clear plastic bottle: This will be the main container for your fog. I recommend using a bottle that’s at least 16 ounces to give you plenty of space for the fog to form.
- 1 cup of hot water: The heat is essential for creating vapor. Just be careful when handling it; I always use a measuring cup with a handle to avoid burns.
- Ice cubes (about 1 cup): These will cool the air and help form the fog. You can use regular ice cubes or even crushed ice for a quicker effect!
- Food coloring (optional): Add a splash of color for a more dramatic effect. I love using blue or purple to create a mystical look, but feel free to get creative!
*For a printable full list of materials, see below.*
Tools Required for Fog in a Bottle Experiment
You will need a few basic tools to successfully complete the Fog in a Bottle Experiment. I remember the first time I gathered everything; it felt like preparing for a mini science adventure with my kids!
- Measuring cup: This is essential for accurately measuring your hot water. I always opt for a cup with clear markings, so I know I’m getting just the right amount. It’s a small detail, but it makes a big difference in the outcome!
- Timer: Keeping track of your experiment time is important, especially if you’re doing this with kids who might get a bit too excited! I often use my phone’s timer, which is super convenient and easy to access.
- Stirring stick or spoon: This is for mixing in the food coloring if you choose to use it. I’ve found that a simple wooden stick works perfectly, and it’s easy to clean up afterward.
*If you don’t have these tools, don’t worry! Alternatives like a regular cup for measuring or a kitchen timer on your phone can work just as well. The key is to have fun and enjoy the process of creating your foggy masterpiece!*
How to Make Fog in a Bottle Experiment
Follow these simple steps to create your very own fog in a bottle. I remember the excitement in my kids’ eyes as we embarked on this little adventure together. It’s a straightforward process, and I promise you’ll be amazed at the results!
- Boil Water: Start by boiling water and then measure out 1 cup of hot water. I always use a kettle for this, as it heats up quickly and safely.
- Pour Water: Carefully pour the hot water into the clear plastic bottle. Make sure to do this slowly to avoid any spills. I like to hold the bottle steady with one hand while pouring with the other.
- Add Color: If desired, add a few drops of food coloring to the hot water and stir with your stick or spoon. This is where the fun begins! I love to use vibrant colors like blue or green to make the fog look even more magical.
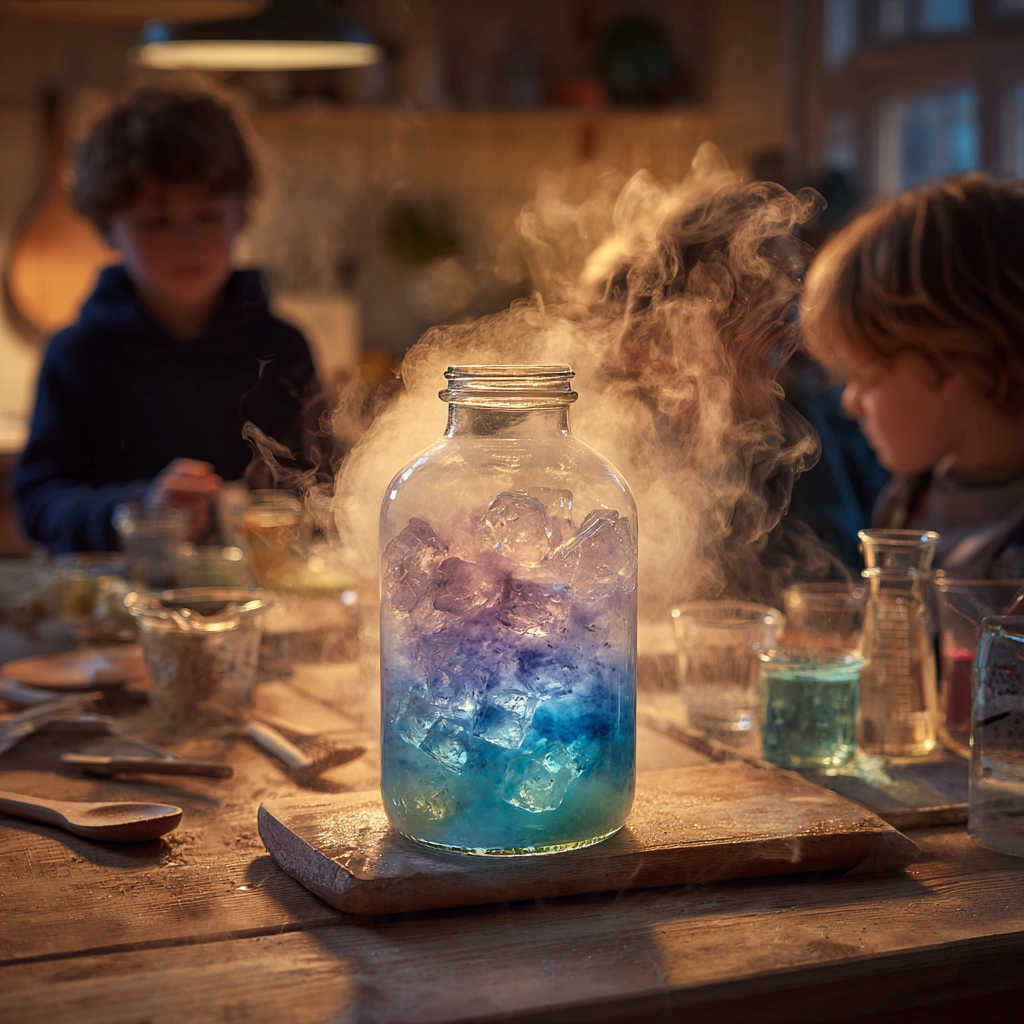
- Create Fog: Quickly place ice cubes on top of the bottle opening to create a temperature difference. This step is crucial, so be swift! I usually have the ice ready to go before I pour the water.
- Watch the Magic: Observe as fog begins to form inside the bottle as the hot water vapor meets the cold air from the ice. It’s like watching a little science show right in your kitchen!
- Enjoy: Take a moment to enjoy the magical effect of fog swirling inside your bottle! I often find myself mesmerized by the swirling mist, and it’s a great conversation starter.
Remember, the joy of this Fog in a Bottle Experiment lies not just in the final product but in the shared experience. So gather your loved ones, and let the magic unfold!
Tips for Best Results
To ensure you get the best results from your Fog in a Bottle Experiment, consider these practical tips that I’ve learned through my own crafting adventures. Each time I try this project, I discover something new that enhances the experience!
- Use a clear bottle: This is essential for the best visibility of the fog effect. I’ve tried using colored bottles before, and while they look pretty, nothing beats the clarity of a clear plastic bottle. It allows you to fully appreciate the swirling fog as it forms.
- Experiment with different amounts of hot water and ice: Don’t be afraid to play around with the quantities! I’ve found that using more hot water can create a thicker fog, while adjusting the amount of ice can change how quickly the fog forms. Each variation leads to a unique experience, and it’s a great way to teach kids about cause and effect.
- Try using colored water: For a more dramatic effect, add food coloring to the hot water. I love using vibrant colors like red or blue, which make the fog look even more enchanting. It’s like creating your own little weather system right in your home!
These tips not only enhance the visual appeal of your Fog in a Bottle Experiment but also make the process more engaging. Remember, crafting is all about exploration and creativity, so don’t hesitate to try new things. Enjoy the journey of discovery!
Project Variations
Get creative with your Fog in a Bottle Experiment by trying out these fun variations! I love how a simple project can be transformed into something unique with just a few tweaks. Here are some ideas that I’ve experimented with and enjoyed:
- Seasonal Themes: Use different colors to represent various seasons. For example, I like to use blue for winter to mimic icy fog, and green for spring to represent fresh growth. You can even add a few drops of yellow for summer sunshine or orange for autumn leaves. It’s a wonderful way to celebrate the changing seasons with your kids!
- Size Variations: Don’t feel limited to just one bottle! I’ve had a blast using larger bottles or even multiple smaller bottles to create a fog display. You can set them up in a row for a dramatic effect or use them as centerpieces for a party. The more, the merrier!
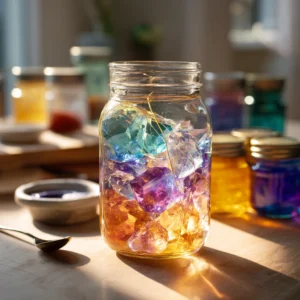
- Add Glitter: For a magical touch, sprinkle some glitter into the water before sealing the bottle. I love how the glitter catches the light and adds an enchanting sparkle to the fog. It’s like creating your own little fairyland right in your home!
These variations not only enhance the visual appeal of your Fog in a Bottle Experiment but also make it a more engaging experience for everyone involved. Each time I try something new, I find that it sparks even more creativity and excitement. So, gather your materials, and let your imagination run wild!
Decoration and Usage Ideas
Once you’ve completed your Fog in a Bottle Experiment, the fun doesn’t have to stop there! I love finding creative ways to display our foggy creations, and I’m excited to share some ideas that can add a touch of magic to your home.
- Centerpiece: Use it as a stunning centerpiece for a table setting. Imagine hosting a dinner party and having a foggy bottle sitting in the middle of the table, captivating your guests. I’ve done this for family gatherings, and it always sparks conversation and wonder!
- Night Light: Place it on a shelf or bedside table for a soft, glowing effect. The gentle fog creates a calming ambiance, perfect for winding down at the end of the day. I often find my kids mesmerized by the swirling mist as they drift off to sleep, making it a lovely addition to their nighttime routine.
- Educational Display: Showcase it in a child’s room or classroom to spark interest in science. I’ve found that having our fog bottle on display not only serves as a beautiful decoration but also encourages curiosity and questions about how it works. It’s a great conversation starter and a fun way to keep the spirit of learning alive!
These ideas not only enhance the visual appeal of your Fog in a Bottle Experiment but also allow you to enjoy the magic of your creation long after the experiment is over. Each time I see our foggy bottle, I’m reminded of the joy and creativity we shared while making it. So, get creative with your displays, and let the fog inspire you in new ways!
FAQs about Fog in a Bottle Experiment
Q: Is this experiment safe for children?
A: Yes, but adult supervision is required, especially when handling hot water. I always make sure to keep a close eye on my kids during this part of the experiment. Safety first!
Q: Can I use other types of bottles?
A: While a clear plastic bottle is recommended for visibility, you can experiment with other clear containers. I’ve tried using glass jars and even old soda bottles, and they all worked well. Just ensure they are stable and won’t tip over easily!
Q: How long does the fog last?
A: The fog effect typically lasts for a few minutes, but you can repeat the process as needed. I love watching the fog swirl, and if it starts to fade, we just add more hot water and ice to bring it back to life. It’s like a little science show that keeps on giving!
Final Thoughts
The Fog in a Bottle Experiment is not just a fun DIY craft; it’s an opportunity to explore the wonders of science while creating something beautiful. I can’t tell you how many times I’ve seen the joy on my kids’ faces as they watch the fog swirl and dance inside the bottle. It’s a simple project that opens the door to discussions about weather, science, and creativity.
Whether you’re a busy mom looking for a quick project to do with your kids or a professional seeking a creative outlet, this experiment is perfect for you. I’ve found that even on the busiest days, taking just 15 minutes to create something magical can be incredibly rewarding. It’s a reminder that we can find joy in the little things, even amidst our hectic schedules.
Embrace your creativity, enjoy the process, and let the magic of fog inspire you to explore even more DIY projects in the future! Each time I revisit this experiment, I discover new ways to enhance it, whether through different colors, themes, or variations. So gather your materials, invite your loved ones to join in, and let the fog bring a little enchantment into your home!
Print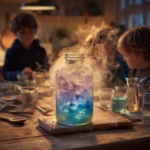
Fog in a Bottle Experiment: Create a Magical DIY Craft!
Description
The Fog in a Bottle Experiment is a fun and educational DIY project that demonstrates how fog is formed. It creates a visually stunning effect that mimics real fog inside a bottle, making it a great science experiment for kids and a captivating decoration.
Instructions
- Start by boiling water and then measure out 1 cup of hot water.
- Pour the hot water into the clear plastic bottle.
- If desired, add a few drops of food coloring to the hot water and stir.
- Quickly place ice cubes on top of the bottle opening to create a temperature difference.
- Watch as fog begins to form inside the bottle as the hot water vapor meets the cold air from the ice.
- Observe the fog and enjoy the magical effect!
Keywords: Fog in a Bottle, DIY Science Experiment, Kids Craft, Educational Project