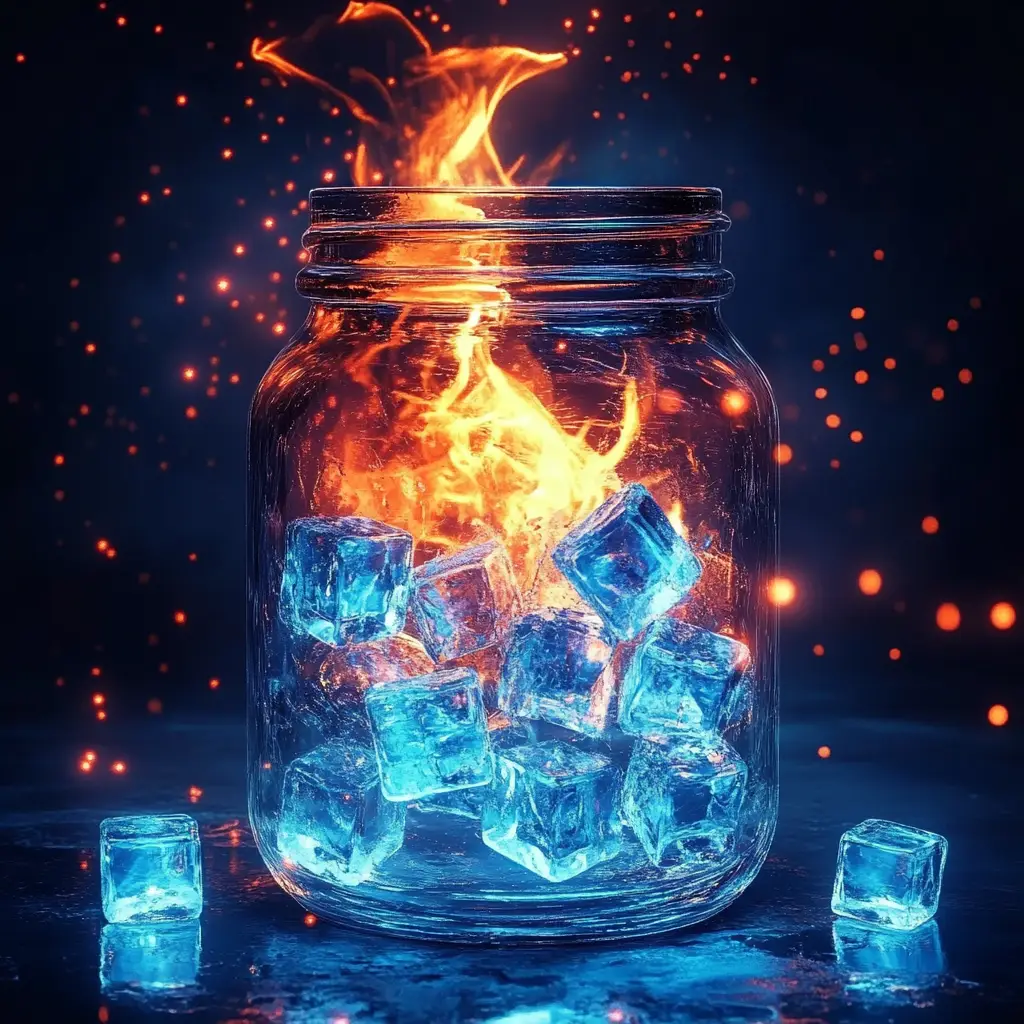
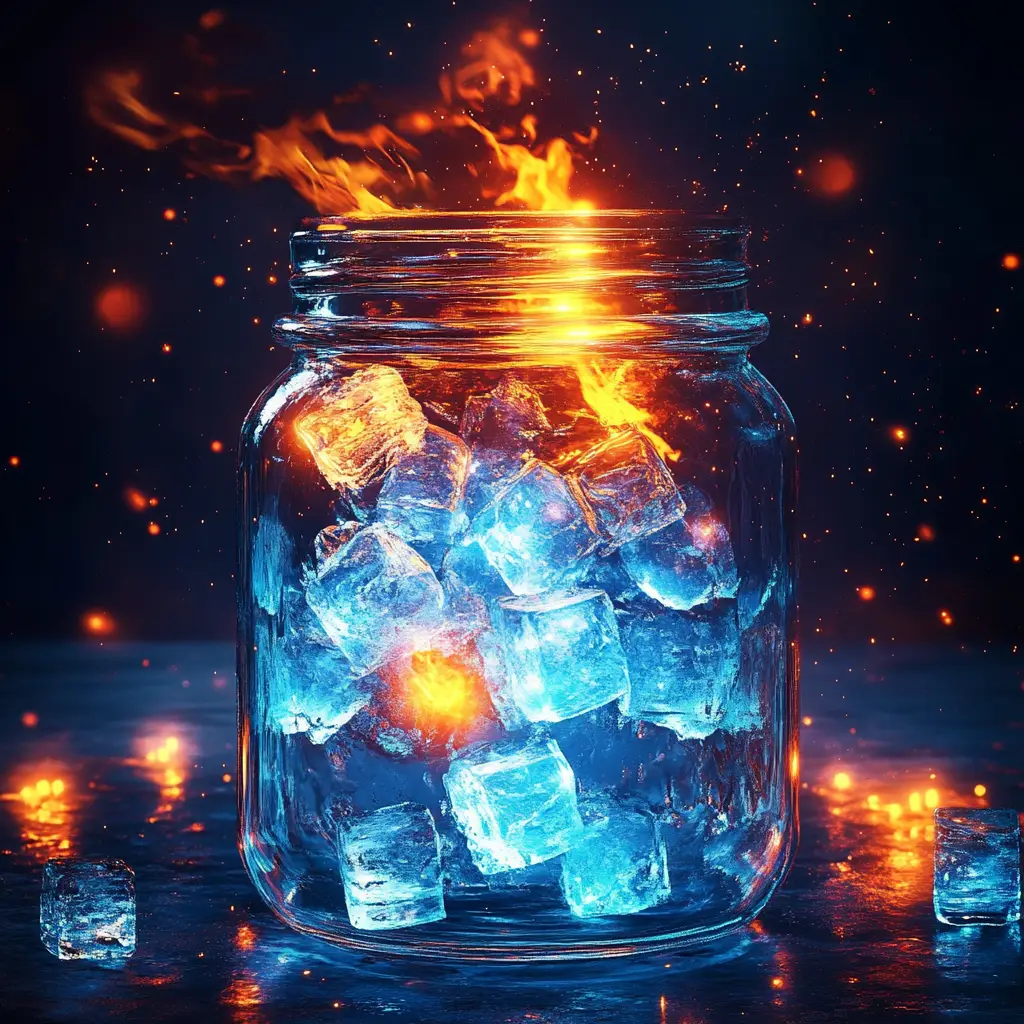
Science experiments don’t need to be complicated or require specialized equipment. Sometimes, the most fascinating demonstrations can be created with a few simple ingredients found in nearly every home. The Fire & Ice Reaction in a Jar is one of those experiments that captures attention immediately. It combines the beauty of swirling colors, the bubbling excitement of a fizzy chemical reaction, and the fascinating properties of density and temperature. The result is a dazzling show that looks like a fiery storm clashing with icy waves inside a single glass jar.
This project is engaging, safe to try with children (with adult supervision), and perfect for classrooms, science fairs, or rainy-day fun at home. It teaches scientific concepts while producing an artistic display that feels magical. In this article, we will walk through the steps, explore the science behind it, suggest variations, and provide plenty of tips so you can make the most of your Fire & Ice experiment.
Why You’ll Love This Experiment
There are many reasons this experiment has become a favorite among science enthusiasts, teachers, and parents.
-
Visually Stunning: The bright red “fire” water and the icy blue swirls create a dramatic visual effect, almost like a lava lamp meets a snowstorm.
-
Educational Value: It’s an easy way to teach concepts like density, polarity, chemical reactions, and temperature effects in a hands-on setting.
-
Minimal Supplies Needed: You only need common kitchen items, making it affordable and accessible.
-
Customizable: By changing colors, amounts, or water temperature, you can create new effects each time.
-
Safe and Fun: With supervision, this experiment is safe for children, and the results never fail to impress.
This blend of fun, beauty, and education makes it a perfect project for families, teachers, and curious learners of all ages.
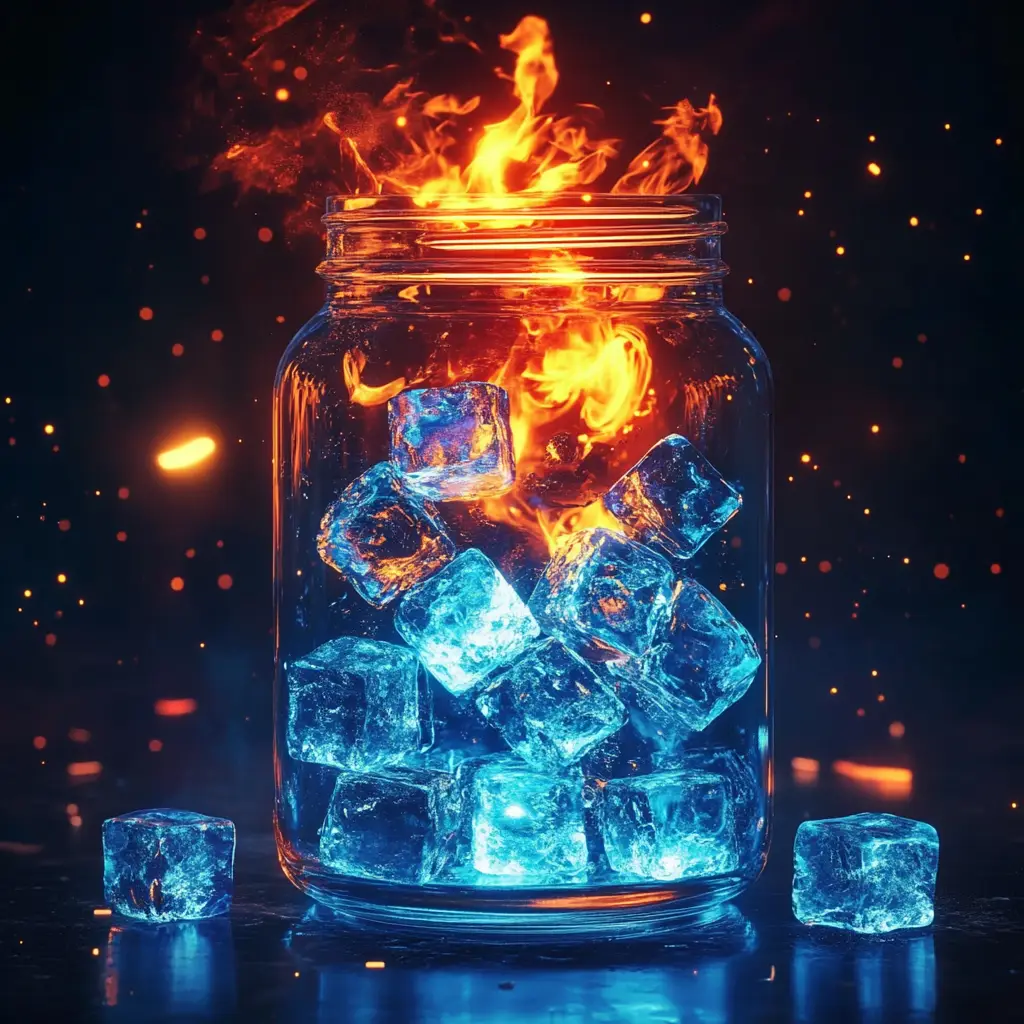
Ingredients You’ll Need
To create your Fire & Ice Reaction in a Jar, gather the following materials:
-
1 clear glass jar or container
-
Vegetable oil (enough to fill ¾ of the jar)
-
½ cup water
-
Red food coloring
-
Blue food coloring
-
Ice cubes (crushed or small pieces)
-
1 Alka-Seltzer tablet (or similar effervescent tablet)
-
Spoon or dropper
All of these items are inexpensive and easy to find, making the project both budget-friendly and convenient.
Step-by-Step Instructions
Step 1: Prepare the Jar
Begin by filling your clear jar or container about three-quarters full with vegetable oil. Allow it to settle for a few seconds. The oil will serve as the main medium for your reaction, forming the top layer where most of the action will take place.
Step 2: Mix the Fiery Water
In a separate cup, add half a cup of water and several drops of red food coloring. Stir until you achieve a deep, vibrant shade. Carefully pour this colored water into the jar. Since water is denser than oil, it will sink to the bottom and form a separate layer beneath the oil. This layer will represent the “fire” in your display.
Step 3: Add the Ice
Place your ice cubes gently on top of the oil layer. You’ll notice that the ice floats instead of sinking. This happens because ice is less dense than oil. This floating layer of ice creates the “ice” effect in the experiment and sets the stage for interesting interactions when it begins to melt.
Step 4: Ignite the Reaction
Break your Alka-Seltzer tablet into smaller pieces. Drop one piece into the jar and observe the reaction immediately. The tablet reacts with the red-colored water at the bottom, producing carbon dioxide gas. The gas bubbles attach to droplets of the red water and lift them upward through the oil layer. When the bubbles reach the surface and pop, the red droplets sink back down, creating a continuous cycle that looks like fiery lava rising and falling.
Step 5: Enhance with Blue Ice
For extra dramatic flair, add a few drops of blue food coloring to some of your ice cubes before placing them into the jar. As the ice melts, the blue coloring mixes into the water and oil layers, producing a swirling contrast between the red and blue. This creates the illusion of fire clashing with ice in a single contained space.
The Science Behind the Magic
The Fire & Ice Reaction in a Jar may look like magic, but it’s pure science in action. Several principles come into play:
-
Density: Oil floats on top of water because it is less dense. Water, being denser, naturally settles to the bottom. Ice floats on oil for the same reason—it is less dense than oil.
-
Polarity: Oil and water do not mix because their molecules are structured differently. Water is polar, meaning its molecules have a positive and negative side, while oil molecules are nonpolar. These opposing properties cause them to repel one another.
-
Chemical Reaction: When an Alka-Seltzer tablet dissolves in water, it undergoes a chemical reaction, releasing carbon dioxide gas. This gas forms bubbles, which carry the colored water upward through the oil.
-
Temperature Effects: The ice cools the surrounding liquid, slowing down some reactions and creating movement as the cold water mixes in. It also provides a platform for the blue food coloring to gradually mix in, enhancing the visual effect.
This combination of density, polarity, and chemical reaction results in a dynamic experiment that looks like a clash between fire and ice.
Tips for Best Results
-
Use a Clear Jar: A tall, clear glass container works best to observe the layers and reactions.
-
Go Bold with Colors: Use strong food coloring shades so the reaction is more visible.
-
Break the Tablet into Small Pieces: This prolongs the reaction and allows for repeated bursts of bubbling activity.
-
Experiment with Water Temperature: Warm water makes the reaction faster and more vigorous, while cold water slows it down for a more gradual effect.
-
Add More Ice Gradually: As the ice melts, add more cubes to prolong the “ice” effect.
Fun Variations to Try
-
Rainbow Reaction: Use multiple food coloring shades in separate water portions to create a rainbow eruption.
-
Glitter Fireworks: Add a pinch of glitter to the water for a sparkling effect.
-
Layered Colors: Prepare different cups of colored water and pour them in separately to see how they interact when the reaction begins.
-
Glow-in-the-Dark: Add glow-in-the-dark paint or tonic water under a black light for a luminous twist.
-
Themed Versions: Try green for “toxic slime,” purple and orange for a Halloween theme, or red and green for holiday fun.
These variations keep the experiment fresh and exciting each time you try it.
Educational Applications
Teachers and parents can use this experiment to reinforce scientific concepts in a hands-on, memorable way. Some topics to discuss include:
-
States of Matter: Solid (ice), liquid (water and oil), and gas (carbon dioxide bubbles) are all present.
-
Chemical Reactions: The reaction between Alka-Seltzer and water produces gas.
-
Density and Buoyancy: Why some substances float while others sink.
-
Temperature Effects: How heat and cold influence reactions.
This experiment provides a practical way to link scientific theory with real-world observation.
Safety Considerations
Although this project is safe, keep the following in mind:
-
Always supervise children, especially when handling Alka-Seltzer tablets.
-
Do not consume the contents of the jar.
-
Dispose of the mixture responsibly after the experiment—it is not reusable.
-
Handle glass jars carefully to avoid breakage.
By following these guidelines, you can ensure the experiment remains fun and safe for all participants.
Troubleshooting Common Issues
-
No Reaction? Check that the Alka-Seltzer tablet is fresh. Expired tablets may not fizz properly.
-
Colors Too Faint? Add more food coloring for brighter results.
-
Reaction Too Quick? Use smaller pieces of the tablet or colder water to slow it down.
-
Oil Cloudy or Dirty? Make sure to use clean oil and a clean jar for the best visual effect.
Conclusion
The Fire & Ice Reaction in a Jar is more than just a fun project—it’s a fascinating blend of science and art. By using simple household ingredients, you can create a bubbling, swirling masterpiece that teaches important lessons about density, polarity, chemical reactions, and temperature effects.
Whether you are conducting this experiment as part of a science class, exploring STEAM activities at home, or simply enjoying an afternoon of hands-on learning, the results are always captivating. Each attempt offers new insights and surprises, making it a repeatable activity that never gets old.
With creativity, curiosity, and a few extra variations, you can transform this basic experiment into a colorful, educational, and unforgettable experience. The Fire & Ice Reaction in a Jar is proof that sometimes the most extraordinary discoveries come from the simplest materials.
