Introduction to Edible Slime Jars
Welcome to the whimsical world of Edible Slime Jars! If you’re looking for a fun and creative way to spend time with your kids, this DIY project is just the ticket. Imagine the joy on their faces as they mix, color, and flavor their very own slime! Not only is it a simple craft that requires minimal ingredients, but it also offers a delightful sensory experience. Plus, the best part? You can eat it! So, roll up your sleeves, gather your little ones, and let’s create some colorful, tasty memories together!
Why You’ll Love This Edible Slime Jars
Creating edible slime jars is not just a craft; it’s a bonding experience! This project is easy on the wallet and perfect for a weekend activity. Watching your kids’ faces light up as they mix colors and flavors is priceless. Plus, it’s a fantastic way to unleash creativity while keeping them engaged. The joy of crafting together brings a sense of relaxation and fun that every family needs!
Materials and Tools Needed for Edible Slime Jars
To create your delightful edible slime jars, you’ll need a few simple materials that are easy to find and budget-friendly. Here’s what you’ll need:
- Cornstarch: This is the main ingredient that gives your slime its unique texture. It’s inexpensive and can be found in any grocery store.
- Water: Essential for mixing with cornstarch to achieve that perfect slime consistency.
- Food coloring: A fun way to add vibrancy to your slime! You can use natural food dyes for a more eco-friendly option.
- Flavoring extract: Choose your favorite flavors to make your slime not just fun to play with but tasty too!
- Mixing bowl and spoon: These are crucial for combining your ingredients. Opt for reusable bowls to keep it eco-friendly.
- Jars or containers: Perfect for storing your slime. You can repurpose old jars or use small containers from the dollar store.
Gathering these materials is part of the fun, and it’s a great way to teach kids about measuring and mixing while being creative!
How to Make Edible Slime Jars
Creating your own Edible Slime Jars is not just a fun activity; it’s a delightful experience that brings out the inner child in all of us! I remember the first time I made edible slime with my kids. The kitchen was filled with laughter, and the soft shimmer of the colorful slime under the kitchen lights felt magical. Let’s dive into the steps to make these tasty treats!
Step 1: Combine Cornstarch and Water
Start by grabbing a mixing bowl and adding a generous amount of cornstarch. Pour in some water, and then it’s time to get your hands a little messy! Mix the two ingredients together until they form a slime-like consistency. You want it to be smooth and stretchy, almost like a soft dough. If it’s too runny, add a bit more cornstarch; if it’s too thick, a splash more water will do the trick. This step is perfect for little hands to help out, and trust me, they’ll love the squishy texture!
Step 2: Add Color
Now comes the fun part—adding color! Choose your favorite food coloring and add a few drops to the slime mixture. Swirl it around with a spoon until you achieve your desired hue. Watching the colors blend together is like painting a masterpiece! You can even create a rainbow effect by dividing the slime into sections and using different colors for each. The vibrant colors will make your edible slime even more enticing!
Step 3: Flavor It Up
To make your slime not just fun to look at but also delicious, it’s time to add some flavoring extract. A few drops of vanilla or fruity flavors will do wonders! Stir it in well, and take a moment to inhale the sweet aroma. It’s like a mini science experiment that’s also a treat! Just remember to check for any allergies before choosing your flavors, especially if you’re making these for a group of kids.
Step 4: Transfer to Jars
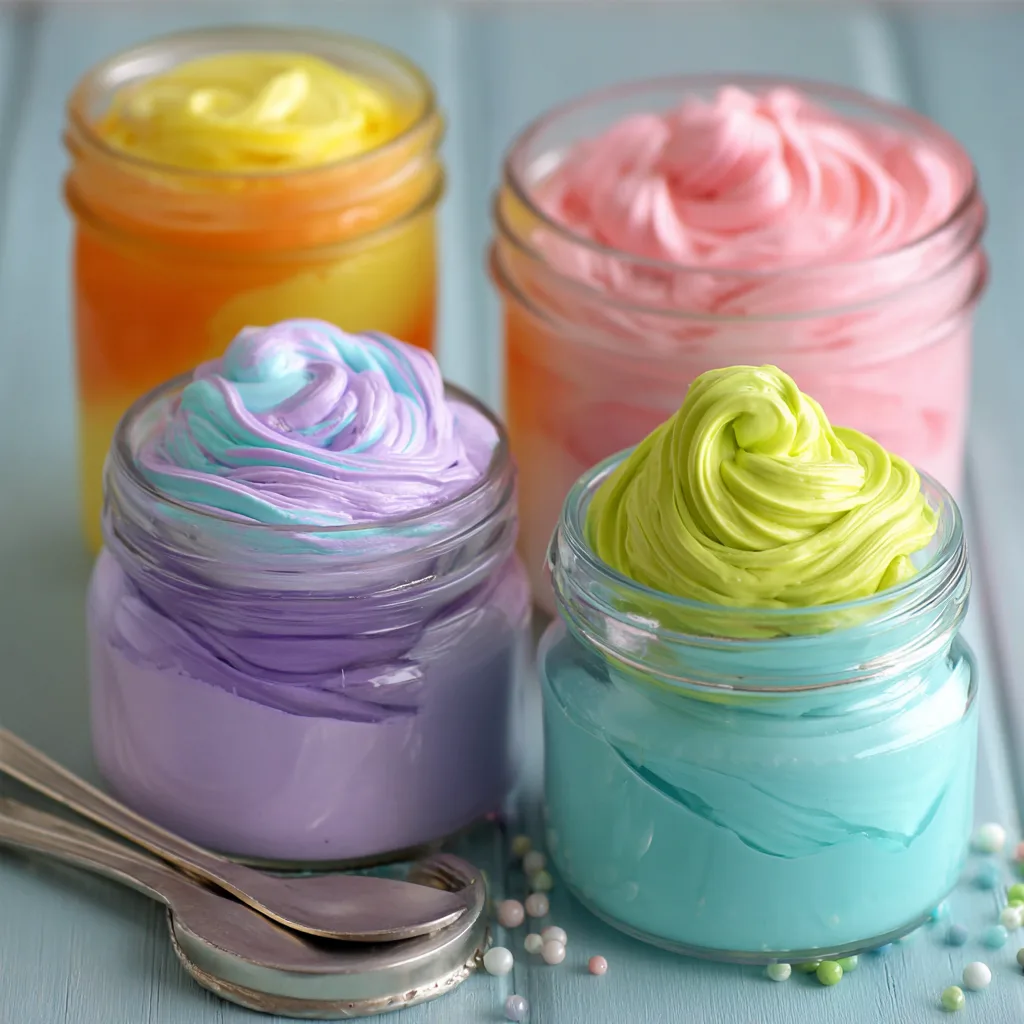
Once your slime is colorful and flavorful, it’s time to transfer it into jars or containers. Use a spoon to scoop the slime and fill each jar, leaving a little space at the top. This is where you can get creative! You can layer different colors or even add sprinkles or edible glitter for a sparkly surprise. The kids will love seeing their creations come to life in these cute little jars!
Step 5: Let It Set
After filling the jars, seal them up and let the slime sit for a few minutes. This allows it to firm up slightly, making it easier to handle. It’s a great time to clean up the kitchen or enjoy a quick snack while you wait. The anticipation of seeing how your slime turns out is part of the fun!
Step 6: Enjoy!
Finally, it’s time to enjoy your edible slime jars! Whether you’re treating your kids, gifting them to friends, or using them as party favors, these colorful creations are sure to bring smiles. Encourage the kids to dig in and have fun with their slime. Just remember, it’s edible, so they can enjoy it as a tasty treat! The joy of crafting together and then indulging in your creations is truly rewarding.
Tips for Best Results
- For a smoother texture, ensure you mix the cornstarch and water thoroughly without lumps.
- If your slime is too sticky, add a bit more cornstarch until it reaches the desired consistency.
- Always supervise young children during the crafting process to ensure safety.
- Get creative! Try adding edible glitter or sprinkles for extra fun.
- Store your edible slime jars in the refrigerator to keep them fresh longer.
Theme and Design Variations
- Rainbow Slime: Use a mix of vibrant colors to create a stunning rainbow effect. Layer different colors in the jars for a beautiful display!
- Seasonal Themes: For Halloween, use orange and black colors with a sprinkle of edible glitter. For Christmas, try red and green with peppermint flavoring!
- Fruit-Inspired Slime: Use fruity colors like yellow for banana, pink for strawberry, and green for lime, paired with matching flavor extracts.
- Glow-in-the-Dark Slime: Add a touch of glow-in-the-dark powder to your slime for a magical nighttime treat!
- Edible Glitter Slime: Mix in edible glitter for a sparkly twist that kids will adore!
Display and Use Ideas
- Party Favors: Fill small jars with edible slime and tie a colorful ribbon around them for a fun party favor that kids will love!
- Home Decor: Use your edible slime jars as vibrant centerpieces on your dining table or as playful decorations in your kids’ rooms.
- School Projects: Encourage kids to bring their slime to school for a creative show-and-tell or as part of a science project on textures.
- Holiday Gifts: Customize jars for different holidays, like red and green for Christmas or spooky colors for Halloween, making them perfect gifts!
FAQs about Edible Slime Jars
Can I use any type of food coloring?
Yes! You can use liquid food coloring, gel, or even natural dyes made from fruits and vegetables. Just remember that the type of coloring may affect the final look of your edible slime.
How long can I store the edible slime?
Your edible slime jars can last up to a week in the refrigerator. Just make sure to keep them sealed tightly to maintain freshness!
Is this slime safe for kids to eat?
Absolutely! All the ingredients are safe for consumption. However, always check for allergies, especially if you’re making these for a group of kids.
Can I make this slime without cornstarch?
While cornstarch is the main ingredient for this recipe, you can experiment with alternatives like gelatin or agar-agar, but the texture may vary.
What if my slime is too sticky?
If your slime is sticky, simply add a little more cornstarch until it reaches the desired consistency. Mixing it well will help too!
Final Thoughts
Creating edible slime jars is not just a craft; it’s a joyful adventure filled with laughter and creativity! The satisfaction of watching your kids mix, color, and flavor their own slime is truly heartwarming. Plus, the excitement of enjoying their tasty creations together makes it all the more special. I encourage you to gather your materials, invite your little ones to join in, and let your imaginations run wild! Don’t forget to share your colorful results with friends and family. Happy crafting, and may your slime be as delightful as the memories you create!
Print
Edible Slime Jars: Create Fun Treats for Kids This Weekend!
Description
Create colorful and tasty edible slime jars that are perfect for kids to enjoy as a fun treat or party favor.
Instructions
- In a mixing bowl, combine 1 cup of cornstarch with 1/2 cup of water.
- Stir the mixture until it reaches a slime-like consistency.
- Add a few drops of food coloring to achieve your desired color and mix well.
- Incorporate a few drops of flavoring extract to give your slime a tasty twist.
- Once mixed, transfer the edible slime into jars or containers for storage.
- Seal the jars and let them sit for a few minutes to firm up slightly.
- Enjoy your edible slime as a fun treat or gift!
- Category: Kids Craft
Keywords: edible slime, kids treats, DIY edible slime, fun snacks for kids