Introduction to DIY Snowstorm in a Jar
Welcome to the enchanting world of DIY Snowstorm in a Jar! This delightful craft is not only a fun way to bring a touch of winter magic indoors, but it also offers a wonderful opportunity to bond with your kids or unleash your own creativity. I remember the joy of watching my children’s faces light up as they shook their jars, creating a swirling snowstorm that felt like a scene straight out of a fairy tale. With simple materials and a sprinkle of imagination, you can create a mesmerizing winter wonderland that will warm your heart all season long!
Why You’ll Love This DIY Snowstorm in a Jar
This DIY Snowstorm in a Jar is a fantastic project that combines creativity with simplicity. It’s affordable, using materials you might already have at home, making it a budget-friendly option for family fun. Plus, it’s a wonderful way to bond with your kids, sparking their imagination as they create their own winter scenes. I find that crafting together is not just relaxing; it’s a magical experience that brings us closer as a family!
Materials and Tools Needed for DIY Snowstorm in a Jar
Gathering your materials for the DIY Snowstorm in a Jar is part of the fun! Here’s what you’ll need:
- Clear glass jar with a lid: This will be the canvas for your winter scene. A mason jar works perfectly, but any clear jar will do!
- Distilled water: Using distilled water helps prevent cloudiness, ensuring your snowstorm looks crystal clear.
- Glycerin (optional): This thick liquid slows down the glitter, creating a dreamy effect as it falls. You can find it at most drugstores.
- White glitter or fake snow: This is what makes your snowstorm magical! You can use craft glitter or even cotton balls for a fluffier look.
- Small winter-themed figurines: Think tiny snowmen, trees, or even animals! These add personality to your jar.
- Hot glue gun: Essential for securing your figurines in place. Just be careful with the hot glue!
- Food coloring (optional): A few drops can add a whimsical touch to your water, making it even more enchanting.
These materials are not only easy to find but also budget-friendly, making this craft a perfect choice for family-friendly fun. Plus, you can often repurpose items you already have at home, keeping it eco-friendly!
How to Make DIY Snowstorm in a Jar
Creating your own DIY Snowstorm in a Jar is not just a fun project; it’s a delightful way to bring a touch of winter magic indoors! I remember the first time I made one with my kids; the excitement in their eyes as they watched the glitter swirl around was priceless. Let’s dive into the steps to craft this enchanting winter scene together!
Step 1: Prepare Your Figurines
First things first, let’s get those adorable winter-themed figurines ready! Using a hot glue gun, carefully secure your chosen figurines to the inside of the jar lid. I love using tiny snowmen and evergreen trees, but feel free to get creative! Just remember, the figurines should be small enough to fit comfortably inside the jar. This step is crucial because it sets the stage for your magical snowstorm.
Step 2: Mix Your Water Solution
Now, let’s whip up the snowstorm potion! In a separate container, mix distilled water with a few drops of glycerin. The glycerin is optional, but it helps the glitter fall slowly, creating that mesmerizing effect. If you want to add a splash of color, toss in a few drops of food coloring. I once used blue for a frosty feel, and it turned out beautifully! Just stir until everything is well combined.
Step 3: Fill the Jar
Next, it’s time to fill your jar! Pour the water mixture into the jar, leaving a little space at the top. This is important because it allows room for the glitter to swirl around without overflowing. As you pour, take a moment to admire the shimmering water; it’s like capturing a piece of winter in a jar!
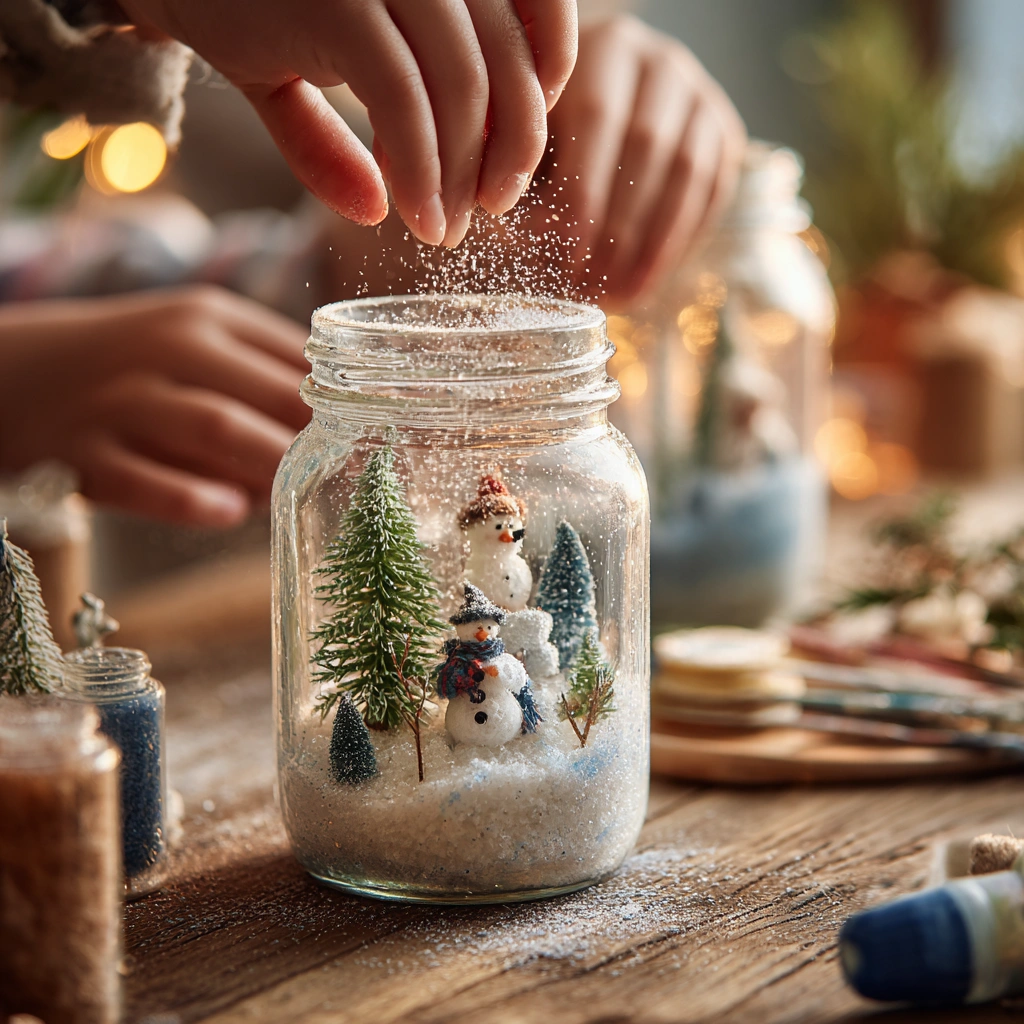
Step 4: Add Glitter or Fake Snow
Here comes the fun part—adding the sparkle! Generously sprinkle white glitter or fake snow into the jar. The more, the merrier! I love watching the glitter dance as it settles. You can even mix different colors of glitter for a unique effect. Just imagine a magical winter wonderland swirling inside your jar!
Step 5: Assemble the Jar
Now, carefully screw the lid with the figurines back onto the jar. Make sure it’s tight, so no water leaks out. If you want to make it extra secure, you can add a bit of hot glue around the edge of the lid. This way, your masterpiece will be safe for display, and you won’t have to worry about any spills!
Step 6: Create Your Snowstorm
Finally, it’s time to create your snowstorm! Gently shake the jar and watch as the glitter swirls around, mimicking a beautiful winter scene. The soft shimmer of the glitter under the light felt magical, and I couldn’t help but smile as my kids squealed with delight. Place your DIY Snowstorm in a Jar on a shelf or table, and enjoy the winter wonderland you’ve created!
Tips for Best Results
- For a more dramatic effect, try using larger flakes of glitter or even sequins!
- If your glitter settles too quickly, add a bit more glycerin to slow it down.
- Always supervise younger children when using a hot glue gun to ensure safety.
- Experiment with different themes—think holiday scenes or even a cozy cabin in the woods!
- Seal the jar with glue for a permanent display, especially if you’re gifting it!
Theme and Design Variations
- Winter Wonderland: Use white and silver glitter with snowflake figurines for a classic snowy scene.
- Holiday Cheer: Incorporate red and green glitter with tiny Christmas trees and ornaments for a festive touch.
- Under the Sea: Swap out winter figurines for ocean-themed ones and use blue glitter for a unique twist!
- Kid-Friendly Fun: Let kids choose their favorite colors and characters, like dinosaurs or fairies, to personalize their jars.
- Seasonal Changes: Create jars for each season—think flowers for spring or leaves for fall!
Display and Use Ideas
Your DIY Snowstorm in a Jar is not just a craft; it’s a charming piece of decor that can brighten up any space! Here are some fun ways to display or use your magical creation:
- Place it on a mantel or shelf as a whimsical winter decoration.
- Use it as a centerpiece for holiday gatherings or winter parties.
- Gift it to friends or family as a heartfelt handmade present.
- Incorporate it into classroom displays for a festive touch during winter months.
- Set it on a windowsill to catch the light and create a sparkling effect!
FAQs about DIY Snowstorm in a Jar
1. Can I use regular water instead of distilled water?
While you can use regular water, distilled water is recommended because it helps keep your snowstorm clear and prevents cloudiness. It’s a small step that makes a big difference!
2. What if my glitter settles too quickly?
If your glitter settles too fast, try adding a bit more glycerin to your water mixture. This will slow down the glitter and create that enchanting swirling effect you want in your DIY Snowstorm in a Jar.
3. How do I clean up if I spill glitter?
Glitter can be tricky to clean, but don’t worry! Use a damp cloth or tape to pick it up. For larger spills, a vacuum with a hose attachment works wonders. Just be careful not to suck up any small figurines!
4. Can I add scents to my snowstorm jar?
Absolutely! Adding a few drops of essential oil can give your jar a lovely scent. Just make sure to choose a fragrance that complements the winter theme, like peppermint or pine.
5. Is this project safe for young children?
This DIY Snowstorm in a Jar is generally safe for kids aged 6 and up, especially with adult supervision. Just be cautious with the hot glue gun and keep small parts away from younger children to ensure a fun and safe crafting experience!
Final Thoughts
Creating your own DIY Snowstorm in a Jar is not just a craft; it’s a magical experience that brings joy and creativity into your home. I can still hear the laughter and excitement as my kids shook their jars, watching the glitter swirl like a winter wonderland. I encourage you to gather your materials, unleash your imagination, and dive into this enchanting project. Don’t forget to share your results with friends and family—there’s nothing quite like the joy of crafting together! Let your DIY Snowstorm in a Jar brighten your space and warm your heart this winter season!
Print
DIY Snowstorm in a Jar: Create Your Own Magical Winter Scene!
Description
Create a mesmerizing snowstorm in a jar using simple materials to bring a touch of winter magic indoors.
Instructions
- Start by securing your winter-themed figurines to the inside of the jar lid using a hot glue gun.
- In a separate container, mix distilled water with a few drops of glycerin (this helps the glitter fall slowly) and add food coloring if desired.
- Fill the jar with the water mixture, leaving some space at the top.
- Add a generous amount of white glitter or fake snow to the jar.
- Carefully screw the lid with the figurines back onto the jar.
- Shake the jar gently to create your snowstorm effect and enjoy your magical winter scene!
- Category: Craft
Keywords: DIY Snowstorm in a Jar, winter craft, snow globe, holiday decor


