How to Make DIY Aroma Stones
Creating your own DIY Aroma Stones is not just a fun project; it’s a delightful way to fill your home with soothing scents that can uplift your mood and create a cozy atmosphere. Let’s dive into the step-by-step process of making these charming aroma stones. Grab your materials, and let’s get crafting!
Step 1: Combine Dry Ingredients
In a mixing bowl, combine the baking soda and cornstarch. This step is crucial because it sets the foundation for your aroma stones. The baking soda gives them a nice texture, while the cornstarch helps them hold their shape. As I mixed these two together, I could already feel the excitement bubbling up—this is where the magic begins!
Step 2: Add Essential Oils
Next, it’s time to add the essential oils. I usually go for lavender for its calming properties, but lemon or eucalyptus can also add a refreshing twist. Just imagine the soft shimmer of the glow paint under the lamp felt magical—this is how your home will feel with these delightful scents wafting through the air. Mix well to ensure the oils are evenly distributed throughout the dry ingredients.
Step 3: Gradually Add Water
Now, gradually add water to the mixture, stirring continuously until you achieve a dough-like consistency. This part can be a bit tricky, so take your time! If the mixture feels too dry, add a little more water, but be careful not to make it too wet. You want it to hold together nicely, like a soft playdough. Trust me, the anticipation of what’s to come makes this step even more exciting!
Step 4: Add Color (Optional)
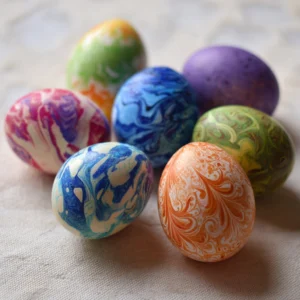
If you want to add a splash of color to your aroma stones, now’s the time! You can use natural food coloring or mica powder. I love mixing pastel colors for a soft, inviting look. Just a few drops can transform your mixture into a vibrant masterpiece. Think about the colors of the season—earthy tones for fall or bright hues for summer. The possibilities are endless!
Step 5: Mold the Mixture
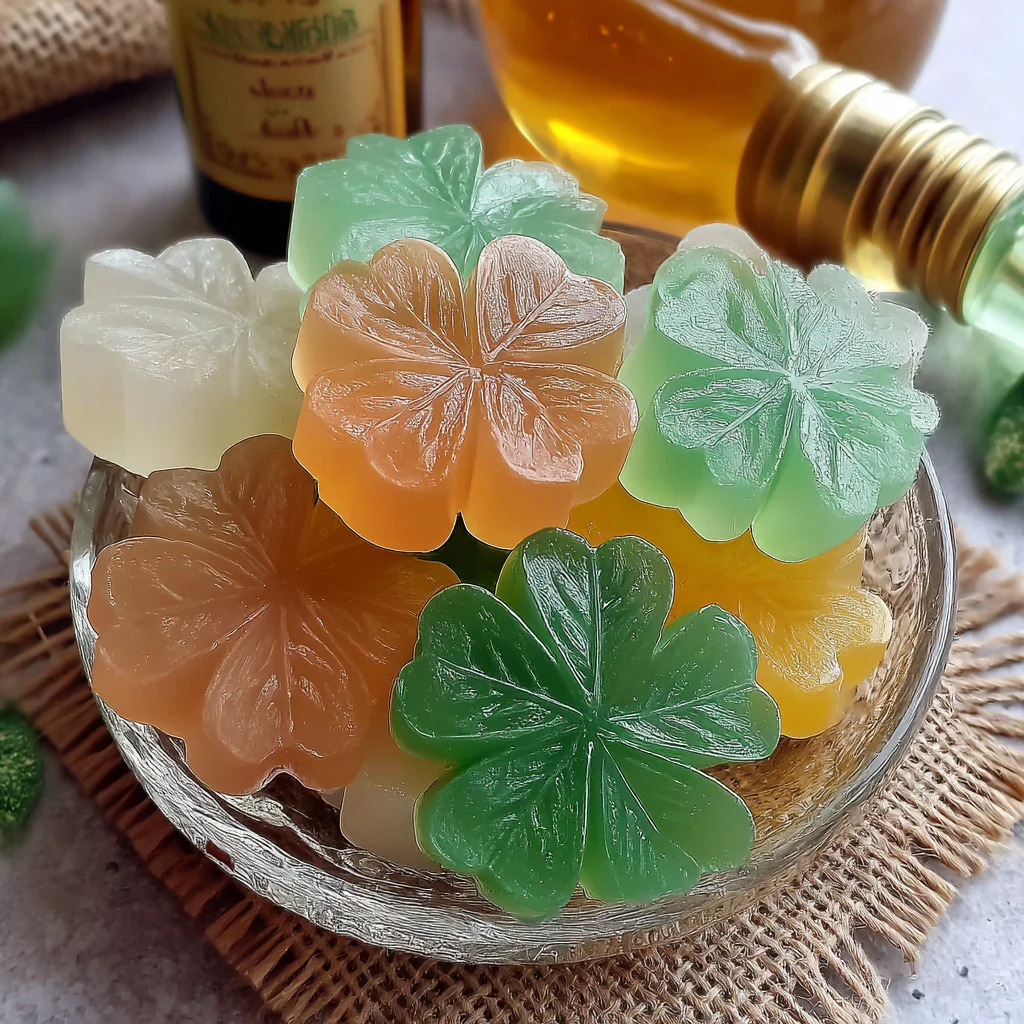
Press the mixture into silicone molds or shape it with cookie cutters. This is where your creativity can really shine! I often use fun shapes like leaves or stars, especially when crafting with my kids. They love picking out their favorite shapes, and it makes the process even more enjoyable. Plus, these unique shapes will add a decorative touch to your home!
Step 6: Drying Process
Allow the stones to dry for 24-48 hours until they are hard. This step is essential for durability, so don’t rush it! I usually place them in a warm, dry spot and check on them occasionally, feeling that sense of accomplishment grow as they transform from a soft mixture into solid stones. The wait is worth it, I promise!
Step 7: Storage
Once dry, carefully remove the stones from the molds and store them in an airtight container or mesh sachets. This will help maintain their lovely scent for longer. I like to keep a few in my closet and some in decorative bowls around the house. They not only smell amazing but also look beautiful as part of my home decor!
And there you have it! Your very own DIY Aroma Stones are ready to infuse your space with delightful scents. I can’t wait for you to try this project and experience the joy it brings!
Introduction to DIY Aroma Stones
Welcome to the wonderful world of DIY Aroma Stones! If you’re looking for a fun and simple way to bring delightful scents into your home, you’ve come to the right place. This project is not only easy to make, but it also allows you to unleash your creativity while bonding with your loved ones. Imagine filling your space with the calming aroma of lavender or the refreshing scent of lemon—how magical is that? Plus, these charming stones make perfect gifts for friends and family, adding a personal touch to any occasion. Let’s get started on this rewarding crafting adventure!
Why You’ll Love This DIY Aroma Stones
Creating DIY Aroma Stones is a delightful experience that combines creativity with practicality. Not only are they easy and affordable to make, but they also provide a wonderful opportunity to bond with your kids or friends. The soothing scents can transform your home into a relaxing oasis, making it a perfect escape from the daily hustle. Plus, you’ll feel a sense of accomplishment every time you catch a whiff of your handmade creations!
Materials and Tools Needed for DIY Aroma Stones
To create your own DIY Aroma Stones, you’ll need a few simple materials that are easy to find and budget-friendly. Here’s what you’ll need:
- Baking soda: This is the main ingredient that gives your stones their texture and helps them hold their shape.
- Cornstarch: It adds a smooth consistency, making your stones easy to mold.
- Essential oils: Choose your favorite scents like lavender or lemon to infuse your stones with delightful aromas.
- Water: Gradually added to create the right dough-like consistency.
- Natural food coloring or mica powder (optional): For a pop of color, making your stones visually appealing.
- Silicone molds or cookie cutters: These help shape your stones into fun designs.
- Airtight container or mesh sachets: Perfect for storing your finished aroma stones and keeping their scent fresh.
These materials are not only easy to gather but also eco-friendly, making this project a guilt-free way to enhance your home’s fragrance!
How to Make DIY Aroma Stones
Creating your own DIY Aroma Stones is not just a fun project; it’s a delightful way to fill your home with soothing scents that can uplift your mood and create a cozy atmosphere. Let’s dive into the step-by-step process of making these charming aroma stones. Grab your materials, and let’s get crafting!
Step 1: Combine Dry Ingredients
In a mixing bowl, combine the baking soda and cornstarch. This step is crucial because it sets the foundation for your aroma stones. The baking soda gives them a nice texture, while the cornstarch helps them hold their shape. As I mixed these two together, I could already feel the excitement bubbling up—this is where the magic begins!
Step 2: Add Essential Oils
Next, it’s time to add the essential oils. I usually go for lavender for its calming properties, but lemon or eucalyptus can also add a refreshing twist. Just imagine the soft shimmer of the glow paint under the lamp felt magical—this is how your home will feel with these delightful scents wafting through the air. Mix well to ensure the oils are evenly distributed throughout the dry ingredients.
Step 3: Gradually Add Water
Now, gradually add water to the mixture, stirring continuously until you achieve a dough-like consistency. This part can be a bit tricky, so take your time! If the mixture feels too dry, add a little more water, but be careful not to make it too wet. You want it to hold together nicely, like a soft playdough. Trust me, the anticipation of what’s to come makes this step even more exciting!
Step 4: Add Color (Optional)
If you want to add a splash of color to your aroma stones, now’s the time! You can use natural food coloring or mica powder. I love mixing pastel colors for a soft, inviting look. Just a few drops can transform your mixture into a vibrant masterpiece. Think about the colors of the season—earthy tones for fall or bright hues for summer. The possibilities are endless!
Step 5: Mold the Mixture
Press the mixture into silicone molds or shape it with cookie cutters. This is where your creativity can really shine! I often use fun shapes like leaves or stars, especially when crafting with my kids. They love picking out their favorite shapes, and it makes the process even more enjoyable. Plus, these unique shapes will add a decorative touch to your home!
Step 6: Drying Process
Allow the stones to dry for 24-48 hours until they are hard. This step is essential for durability, so don’t rush it! I usually place them in a warm, dry spot and check on them occasionally, feeling that sense of accomplishment grow as they transform from a soft mixture into solid stones. The wait is worth it, I promise!
Step 7: Storage
Once dry, carefully remove the stones from the molds and store them in an airtight container or mesh sachets. This will help maintain their lovely scent for longer. I like to keep a few in my closet and some in decorative bowls around the house. They not only smell amazing but also look beautiful as part of my home decor!
And there you have it! Your very own DIY Aroma Stones are ready to infuse your space with delightful scents. I can’t wait for you to try this project and experience the joy it brings!
Tips for Best Results
- Start with small amounts of water to avoid a too-wet mixture; you can always add more if needed.
- If your stones crumble, try adding a bit more water and remolding them.
- Ensure proper ventilation when using essential oils to avoid overwhelming scents.
- Experiment with different essential oil blends for unique aromas.
- Consider using cookie cutters in seasonal shapes for added fun!
Theme and Design Variations
One of the best parts about making DIY Aroma Stones is the endless possibilities for themes and designs! Here are some fun ideas to inspire your creativity:
- Pastel colors for spring: Think soft pinks, blues, and yellows to celebrate the blooming season.
- Bright colors for summer: Vibrant hues like sunny yellows and ocean blues can bring a cheerful vibe to your home.
- Earthy tones for fall: Embrace the warm colors of autumn with rich oranges, browns, and deep reds.
- Winter-themed scents: Create cozy aromas with peppermint or pine, and use icy blues and whites for a frosty look.
These variations not only enhance the visual appeal but also allow you to match your aroma stones to the changing seasons or special occasions!
Display and Use Ideas
Now that you’ve crafted your beautiful DIY Aroma Stones, it’s time to showcase them! Here are some creative ways to use and display your delightful creations:
- Place aroma stones in decorative bowls around the home to add a touch of charm and fragrance to any room.
- Use them in gift baskets for friends and family, making thoughtful presents that are both personal and practical.
- Hang sachets filled with aroma stones in closets or cars for a continuous fresh scent that brightens your day.
- Incorporate them into holiday decorations, adding a festive aroma to your celebrations.
These ideas not only enhance your home decor but also spread joy and delightful scents wherever you go!
FAQs about DIY Aroma Stones
Can I use any essential oil?
Absolutely! You can use any essential oil you prefer for your DIY Aroma Stones. However, keep in mind that some oils are more potent than others, so you might want to adjust the number of drops based on your preference. Experimenting with different scents can lead to delightful surprises!
How long do the scents last?
The scents from your DIY Aroma Stones can last several weeks, depending on the essential oils you used and how you store them. Keeping them in an airtight container will help maintain their fragrance longer, while exposure to air can gradually diminish their scent.
Are DIY Aroma Stones safe for kids?
Yes, DIY Aroma Stones are generally safe for kids, but adult supervision is recommended when using essential oils. Some essential oils can be strong or irritating, so it’s best to guide younger crafters through the process to ensure a fun and safe experience!
Final Thoughts
Creating your own DIY Aroma Stones is not just a craft; it’s a joyful experience that fills your home with delightful scents and a sense of accomplishment. I hope you feel inspired to gather your materials and dive into this fun project! Whether you’re crafting with kids or enjoying some solo time, the satisfaction of making something beautiful and fragrant is truly rewarding. Don’t forget to share your creations with friends and family—let’s spread the joy of these charming aroma stones together!
Print
DIY Aroma Stones: Transform Your Home with Easy Scents!
Description
Create your own DIY aroma stones to infuse your home with delightful scents using essential oils. These simple stones can be placed around your home or given as gifts.
Instructions
- In a mixing bowl, combine the baking soda and cornstarch.
- Add the essential oil and mix well.
- Gradually add water, stirring until you achieve a dough-like consistency.
- If desired, add natural food coloring or mica powder for color and mix thoroughly.
- Press the mixture into silicone molds or shape with cookie cutters.
- Allow the stones to dry for 24-48 hours until hard.
- Once dry, remove from molds and store in an airtight container or mesh sachets.
- Category: Home Decor
Keywords: DIY Aroma Stones, essential oils, home fragrance, crafts, gifts