Introduction to Crayon Melt Drip Window Art
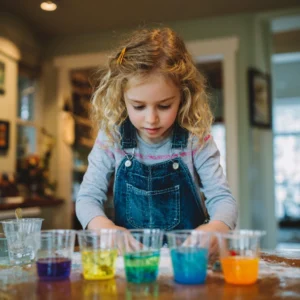
Welcome to the colorful world of Crayon Melt Drip Window Art! This delightful DIY project is not just about creating vibrant decorations; it’s a chance to unleash your creativity and bond with your loved ones. Imagine the joy of watching crayons transform into a beautiful cascade of colors right before your eyes! It’s simple, fun, and perfect for all ages, making it an ideal activity for moms, teachers, and creative hobbyists alike. Plus, the satisfaction of seeing your masterpiece come to life is truly rewarding. So, let’s dive into this colorful adventure together!
Why You’ll Love This Crayon Melt Drip Window Art
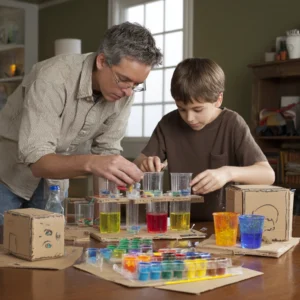
This Crayon Melt Drip Window Art project is a delightful blend of creativity and relaxation. It’s incredibly easy to set up, making it perfect for busy moms and teachers looking for a fun, affordable craft. Plus, it’s a fantastic way to bond with your kids as you explore color and design together. Watching the crayons melt and transform into a vibrant masterpiece is not just satisfying; it’s a joyful experience that brings smiles all around!
Materials and Tools Needed for Crayon Melt Drip Window Art
To embark on your Crayon Melt Drip Window Art journey, you’ll need a few essential materials and tools. First up, grab a box of crayons in various colors—these are the stars of your show! Next, you’ll need a canvas or thick paper to serve as your artistic backdrop. A hot glue gun and glue sticks are crucial for securing those crayons in place, while a hairdryer or heat gun will help you melt them into a beautiful masterpiece.
Don’t forget to protect your workspace with a covering, like an old tablecloth or newspaper, to catch any drips. If you want to add a neat border, masking tape can come in handy. All these materials are not only easy to find but also budget-friendly, making this project accessible for everyone. Plus, you can even use broken crayons or eco-friendly alternatives to keep it green!
How to Make Crayon Melt Drip Window Art
Now that you’re all set with your materials, let’s dive into the fun part—creating your very own Crayon Melt Drip Window Art! This project is not only a feast for the eyes but also a fantastic way to bond with your kids or unleash your inner artist. So, roll up your sleeves, and let’s get started!
Step 1: Prepare Your Workspace
First things first, let’s make sure your workspace is ready for some colorful chaos! Lay down a protective covering, like an old tablecloth or newspaper, to catch any drips. Trust me, you’ll thank yourself later when you see how vibrant those crayon drips can be. The anticipation of what’s to come is half the fun!
Step 2: Arrange the Crayons
Next, grab your crayons and start arranging them at the top of your canvas or thick paper. You can go for a rainbow effect or mix and match colors for a more abstract look. Use a hot glue gun to secure them in place. I love watching the kids get creative with their color choices—it’s like a mini art show right in our living room!
Step 3: Create a Border (Optional)
If you want to add a little flair, consider using masking tape to create a border around your canvas. This step is optional, but it can give your artwork a polished look. Plus, it’s a great way to teach kids about framing and presentation. Just imagine how proud they’ll feel showing off their masterpiece!
Step 4: Melt the Crayons
Now comes the exciting part! Point your hairdryer or heat gun at the crayons, starting at a low setting. Gradually increase the heat to melt the crayons. Keep an eye on them as they start to soften and drip. The soft shimmer of the melted wax under the warm air feels magical, and the kids will be mesmerized watching the colors blend together!
Step 5: Create Your Design
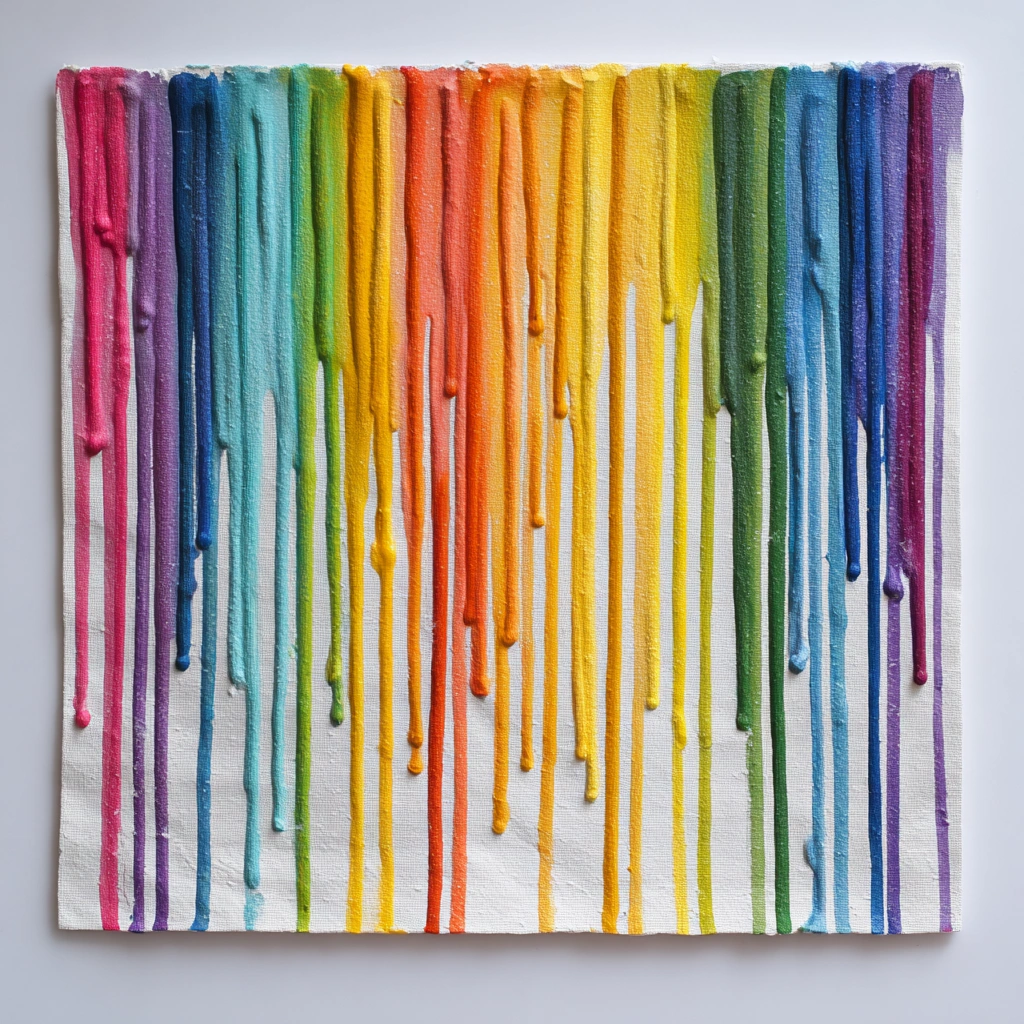
As the crayons melt, tilt the canvas to let the wax drip down in creative patterns. This is where you can really let your imagination run wild! Encourage the kids to experiment with angles and movements. Each drip creates a unique design, and it’s so satisfying to see the colors swirl and mix. Just remember to keep a safe distance from the heat source!
Step 6: Let It Cool
Once you’ve achieved your desired look, it’s time to let your artwork cool and harden completely. This is the perfect moment to grab a snack or take a little break. The anticipation of seeing the final product is part of the joy of crafting. Plus, it gives you a chance to clean up any wax spills before the big reveal!
Step 7: Display Your Artwork
Finally, it’s time to show off your colorful creation! Whether you choose to hang it in a window or display it on a wall, your Crayon Melt Drip Window Art is sure to brighten up any space. I love placing ours in the sunlight; the colors come alive and create a beautiful glow that makes our home feel extra cozy.
Tips for Best Results
- Experiment with different color combinations to create unique effects—don’t be afraid to mix and match!
- If the crayons don’t melt evenly, try adjusting the heat setting or moving the hairdryer closer.
- Always supervise children when using heat tools, and ensure proper ventilation in your workspace.
- For a fun twist, try using metallic or glitter crayons for added sparkle!
- Use a drop cloth to protect your floors from any wax drips during the melting process.
Theme and Design Variations
- Rainbow Delight: Use a spectrum of colors for a vibrant rainbow effect that brightens any room.
- Seasonal Themes: For fall, try warm oranges, reds, and yellows; for winter, cool blues and whites can create a frosty look.
- Holiday Spirit: Incorporate festive colors like red and green for Christmas or pastels for Easter.
- Kid-Friendly Versions: Let kids choose their favorite colors or create themed art based on their favorite characters!
- Metallic Magic: Use metallic crayons for a shimmering effect that catches the light beautifully.
Display and Use Ideas
- Window Displays: Hang your Crayon Melt Drip Window Art in a sunny window to let the colors shine and create a beautiful glow.
- Home Decor: Use your artwork as a vibrant centerpiece on a mantel or shelf to brighten up your living space.
- School Projects: Encourage kids to create themed pieces for classroom displays or art shows.
- Gift Ideas: Wrap your artwork as a unique gift for friends or family, adding a personal touch to any occasion!
FAQs about Crayon Melt Drip Window Art
Can I use any type of crayon for this project?
Absolutely! While regular crayons work best, you can also experiment with glitter or metallic crayons for a fun twist. Just keep in mind that some specialty crayons may melt differently.
Is this project safe for kids?
Yes, it can be! Just make sure to supervise younger children when using heat tools like hairdryers or heat guns. Always prioritize safety and ensure proper ventilation in your workspace.
How do I clean up any wax spills?
If you have any wax drips on your workspace, let them cool and harden, then gently scrape them off with a plastic spatula or your fingernail. A little warm soapy water can help clean any residue left behind.
Can I use this technique on surfaces other than canvas?
Definitely! You can use thick paper, wood, or even glass surfaces. Just make sure the material can withstand the heat from the hairdryer or heat gun.
How long does the artwork take to cool and harden?
Typically, it takes about 30 minutes to an hour for your Crayon Melt Drip Window Art to cool and harden completely. Patience is key, but the wait is worth it for that stunning final reveal!
Final Thoughts
Creating your own Crayon Melt Drip Window Art is not just a craft; it’s a joyful experience filled with color, creativity, and laughter. The satisfaction of watching those crayons transform into a vibrant masterpiece is truly magical. I encourage you to gather your loved ones, dive into this fun project, and let your imaginations run wild! Don’t forget to share your colorful creations with friends and family—there’s nothing quite like the pride of showcasing your unique artwork. Happy crafting, and may your windows shine bright with your beautiful designs!
Print
Crayon Melt Drip Window Art: Transform Your Space with Color!
Description
Create vibrant and colorful window art using melted crayons. This DIY project is perfect for adding a splash of color to your home decor while being a fun activity for all ages.
Instructions
- Preheat your workspace by laying down protective covering to catch any drips.
- Arrange the crayons at the top of the canvas or paper, securing them with a hot glue gun.
- Use masking tape to create a border if desired.
- Point the hairdryer or heat gun at the crayons, starting at a low setting, and gradually increase the heat to melt the crayons.
- As the crayons melt, tilt the canvas to let the wax drip down in creative patterns.
- Once you achieve your desired look, let the artwork cool and harden completely.
- Display your colorful creation in a window or on a wall!
- Category: Home Decor
Keywords: Crayon Melt, Window Art, DIY Decor, Colorful Art, Kids Craft