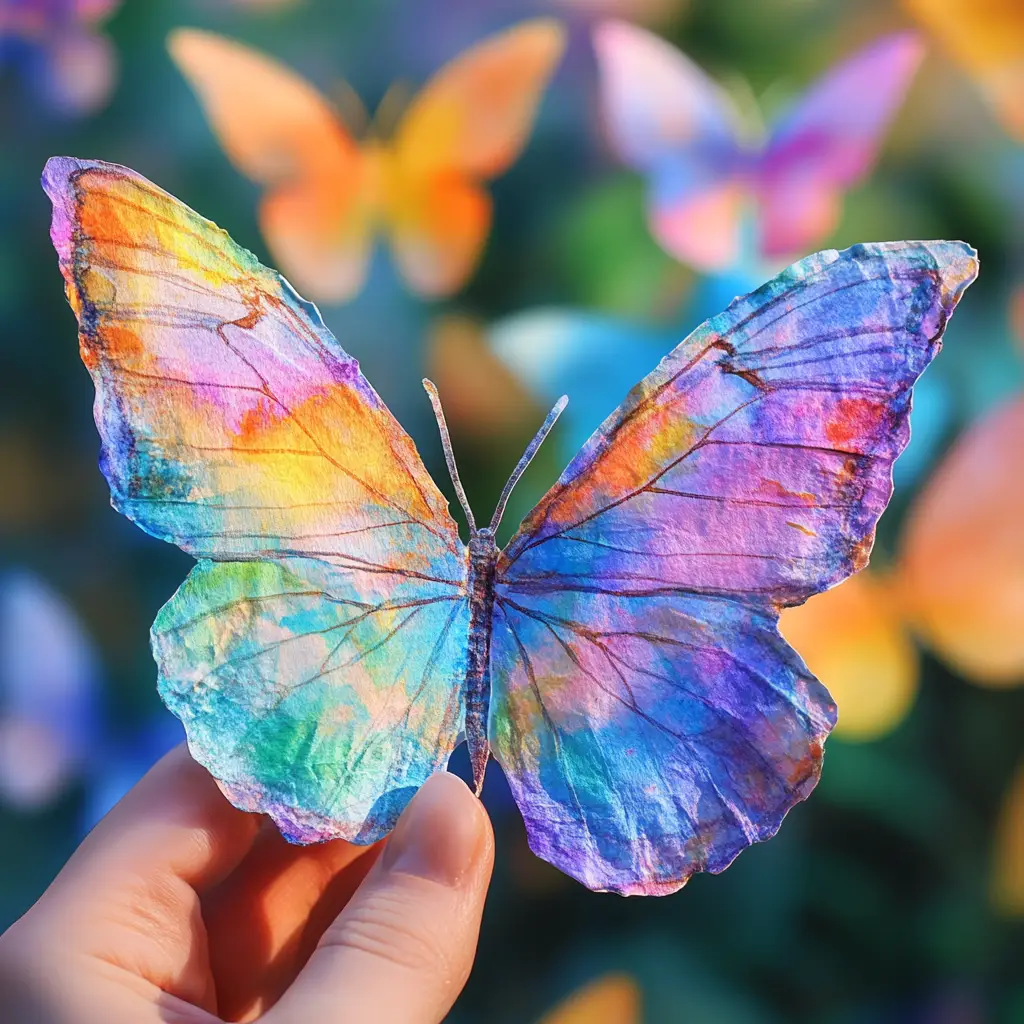
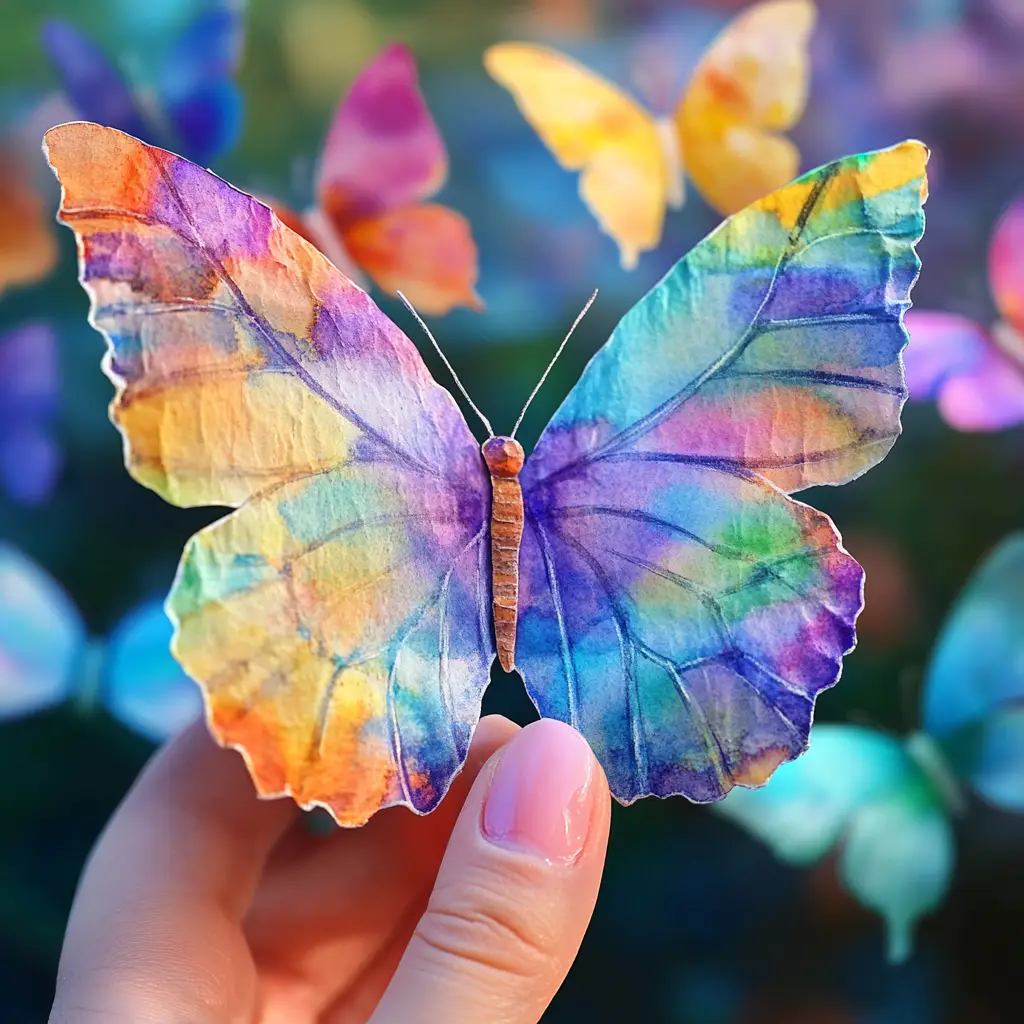
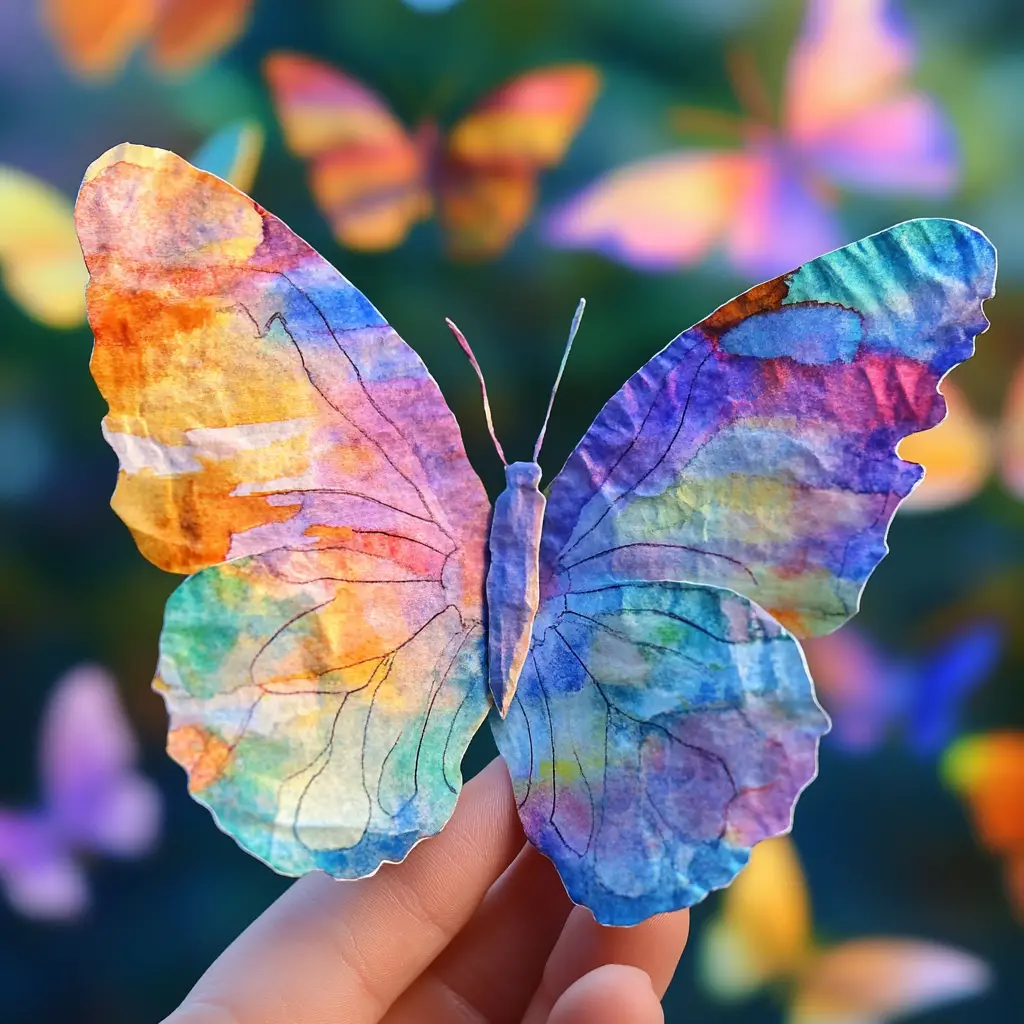
Crafting is one of the most creative and engaging ways to spend time, whether with children, students, or simply as a relaxing hobby for yourself. Among the many fun and accessible projects out there, making Colorful Coffee Filter Butterflies stands out as an easy, inexpensive, and versatile craft that sparks imagination and joy. This project uses simple household items—coffee filters, markers, pipe cleaners, and a bit of water—to create beautiful, delicate butterfly crafts. Not only are these butterflies vibrant and eye-catching, but they also provide a hands-on learning opportunity to explore colors, symmetry, and even lessons in science about butterflies and their natural habitats.
This article will guide you through the entire process, from materials to instructions, as well as variations, tips, and ways to use these charming creations. By the end, you’ll have not only a set of fluttering paper butterflies but also the knowledge of how to adapt this craft for classrooms, playdates, or even seasonal decorations.
Why You’ll Love This Craft
There are several reasons why making Colorful Coffee Filter Butterflies is such a beloved activity:
-
Affordable and Accessible: Coffee filters, markers, and pipe cleaners are low-cost and easy to find in almost any household or craft store.
-
Creative Freedom: Every butterfly can look different. Children and adults alike can experiment with colors, patterns, and decorations, making this craft endlessly customizable.
-
Educational Value: This activity is not just about fun. It can be used to teach children about color blending, absorption, and the life cycle of butterflies.
-
Quick and Low-Mess: Unlike paints or clay, this craft requires minimal cleanup. A few washable markers and some water are all it takes to create beautiful results.
-
Perfect for All Ages: Whether you are crafting with preschoolers, elementary students, or older children, this project can be tailored to any age group. Even adults find it relaxing and enjoyable.
Ingredients and Supplies
To make your own set of coffee filter butterflies, gather the following items:
-
White coffee filters (standard round ones work best)
-
Washable markers (broad tip markers create the most vibrant effect)
-
Spray bottle (filled with clean water)
-
Pipe cleaners (any color, preferably bright shades for fun antennae)
-
Tray (to catch water and protect surfaces)
-
Googly eyes (optional for added personality)
-
Glitter glue (optional for sparkle)
-
Iridescent stickers (optional for decoration)

Step-by-Step Directions
Step 1: Prepare the Coffee Filter
Flatten a white coffee filter on a clean, flat surface. It’s easiest to work on a table covered with newspaper or craft paper to protect against marker bleed-through.
Step 2: Add Color with Markers
Use washable markers to draw bold, colorful designs on the coffee filter. Rings, dots, stripes, zigzags, or even random scribbles all work wonderfully. Encourage mixing several colors on one filter, as the water misting step will cause them to blend into beautiful marbled effects.
Step 3: Transfer to a Tray
Once you’re satisfied with your design, gently place the coffee filter onto a tray or any surface that can handle moisture.
Step 4: Mist with Water
Using a spray bottle, lightly mist the coffee filter. Do not soak it, as too much water may tear the filter. As the water spreads, you’ll see the marker ink bleed and merge, creating soft, watercolor-like patterns.
Step 5: Let It Dry
Allow the filter to air-dry completely. Drying typically takes 30 minutes to an hour, depending on the humidity. If you need a quicker result, use a hairdryer on the cool setting to speed up the process.
Step 6: Shape the Wings
Once the filter is dry, gently crinkle or pinch it in the middle. This creates two symmetrical “wings” on each side, resembling a butterfly shape.
Step 7: Add the Body and Antennae
Take a pipe cleaner and wrap it around the center of the folded coffee filter. Twist tightly to hold the wings in place, leaving about two inches of pipe cleaner ends sticking out on top. Curl these ends to form antennae.
Step 8: Decorate the Butterfly
Now comes the fun part. Glue on googly eyes to the pipe cleaner “body” if you want your butterfly to have a face. Dip the tips of the antennae in glitter glue for sparkle, or add iridescent stickers to the wings for extra detail.

Tips and Variations
-
Experiment with Designs: Try using stencils to draw stars, hearts, or geometric shapes on your coffee filters before misting.
-
Color Combinations: Pair warm colors like red, orange, and yellow for fiery butterflies, or try cool tones like blue, green, and purple for calming, dreamy designs.
-
Educational Twist: Incorporate a short lesson about butterfly species and how their wings are naturally patterned for camouflage or warning colors. Children can try to mimic real butterflies like monarchs, swallowtails, or painted ladies.
-
Group Projects: Create multiple butterflies and string them together as a garland. They make excellent spring or summer decorations.
-
Themed Butterflies: Customize butterflies for holidays—pastel colors for Easter, red and green for Christmas, or orange and black for Halloween.
Educational Applications
This project is not just about making a pretty craft—it has excellent educational potential:
-
Science Connection: Introduce children to butterfly anatomy, metamorphosis, and how colors help them survive in the wild.
-
Color Theory: Show how primary colors blend into secondary colors when water spreads the marker ink.
-
Fine Motor Skills: Drawing, folding, and twisting pipe cleaners all help young children practice dexterity.
-
Teamwork and Creativity: Great for classrooms, where each child can make a butterfly, and the group can create a shared butterfly garden mural.
Serving Suggestions: How to Use the Butterflies
Even though these butterflies aren’t edible, they can be “served” in different creative ways:
-
Decorations: Use them to brighten up bulletin boards, classroom windows, or party tables.
-
Toys: Children can play with them as puppets or add them to pretend gardens.
-
Learning Aids: Pair the craft with storybooks about butterflies or nature studies.
-
Gifts: Attach them to greeting cards or gift boxes as handmade decorations.
Tips for Success
-
Always use washable markers, as permanent ones will not bleed with water.
-
Be gentle when misting; too much water can weaken or tear the filter.
-
Let the filters dry completely before shaping to avoid smudging colors.
-
For classrooms, prepare trays or baking sheets to contain water mess.
-
Encourage kids to explore different folding techniques—accordion folds can create unique wing effects.
Time Needed
-
Prep Time: 5 minutes
-
Crafting Time: 20 minutes
-
Drying Time: 30–60 minutes
-
Total Time: About 1 to 1.5 hours
Frequently Asked Questions
1. Can I use other types of paper instead of coffee filters?
Yes, but coffee filters work best because they are thin, absorbent, and allow colors to blend beautifully. Paper towels are the closest alternative.
2. Do I need to use a spray bottle?
While a spray bottle creates the best misting effect, you could also use a paintbrush dipped in water and lightly dab the filter.
3. Can younger kids do this craft?
Absolutely. Preschoolers can scribble with markers while adults handle the misting and shaping.
4. How long do these butterflies last?
If stored properly, they can last for months as decorations. Avoid damp environments, as the paper may wrinkle or tear.
5. Can I make these into magnets or clips?
Yes, glue a small magnet or clothespin on the back to turn your butterfly into a fridge decoration or bag clip.
Conclusion
Colorful Coffee Filter Butterflies are more than just a fun craft—they’re an artistic and educational experience wrapped into one. By blending science, art, and creativity, this project offers an engaging way for children and adults to explore patterns, colors, and the beauty of nature. The best part is that no two butterflies ever look the same, making each creation special and unique.
Whether you’re looking for a classroom activity, a rainy-day project at home, or a creative way to decorate for spring, this craft delivers beauty, fun, and learning in equal measure. Gather your coffee filters, markers, and pipe cleaners today, and let your imagination take flight.


