Introduction to Cheesy Taco Sticks
Hey there, fellow food lovers! If you’re anything like me, you know that life can get pretty hectic. Between juggling work, family, and everything in between, finding time to whip up a delicious snack can feel impossible. That’s where these Cheesy Taco Sticks come in! They’re the perfect solution for a busy day or a fun gathering with friends. Imagine crispy, cheesy goodness that’s easy to make and even easier to devour. Trust me, your loved ones will be begging for more, and you’ll feel like a culinary rockstar!
Why You’ll Love This Cheesy Taco Sticks
These Cheesy Taco Sticks are a game-changer for busy moms and professionals alike. They come together in just 30 minutes, making them a quick and satisfying snack. The combination of gooey cheese and savory taco flavors is simply irresistible. Plus, they’re versatile! You can customize them to suit your family’s tastes, ensuring everyone leaves the table happy. Who doesn’t love a snack that’s both easy and delicious?
Ingredients for Cheesy Taco Sticks
Let’s gather our ingredients for these mouthwatering Cheesy Taco Sticks. Each component plays a vital role in creating that perfect blend of flavors and textures. Here’s what you’ll need:
- Taco seasoning: This spice mix is the heart of the dish, bringing that classic taco flavor. You can use store-bought or make your own for a personal touch.
- Ground beef: The star protein! It’s juicy and flavorful, but feel free to swap it out for ground turkey or chicken if you prefer a leaner option.
- Shredded cheddar cheese: This cheese adds a sharp, tangy flavor that melts beautifully. You can also use pepper jack for a spicy kick!
- Shredded mozzarella cheese: Known for its gooeyness, mozzarella creates that delightful stretch when you take a bite. It’s a must-have for cheesy goodness.
- Flour tortillas: These are the perfect vessel for our filling. They’re soft and pliable, making them easy to roll. Corn tortillas can be used for a gluten-free option.
- Salsa: A zesty dip that complements the cheesy sticks perfectly. You can choose mild or spicy, depending on your taste buds.
- Cooking oil: Essential for frying! Use vegetable or canola oil for a neutral flavor. If you’re looking for a healthier option, consider baking them instead.
For those who want to get creative, consider adding optional ingredients like jalapeños for heat or diced onions for extra crunch. You can find the exact quantities of each ingredient at the bottom of the article, ready for printing!
How to Make Cheesy Taco Sticks
Now that we have our ingredients ready, let’s dive into the fun part: making these Cheesy Taco Sticks! Follow these simple steps, and you’ll have a delicious snack in no time.
Step 1: Cook the Ground Beef
Start by heating a skillet over medium heat. Add the ground beef and cook it until it’s browned, stirring occasionally. This usually takes about 5 to 7 minutes. Once it’s nice and brown, drain any excess fat. This step is crucial for keeping your taco sticks from being greasy!
Step 2: Prepare the Taco Mixture
Next, sprinkle the taco seasoning over the cooked beef. Follow the package instructions to mix it well. This is where the magic happens! The seasoning will infuse the beef with that classic taco flavor we all love. Stir it until everything is well combined, and let it simmer for a couple of minutes.
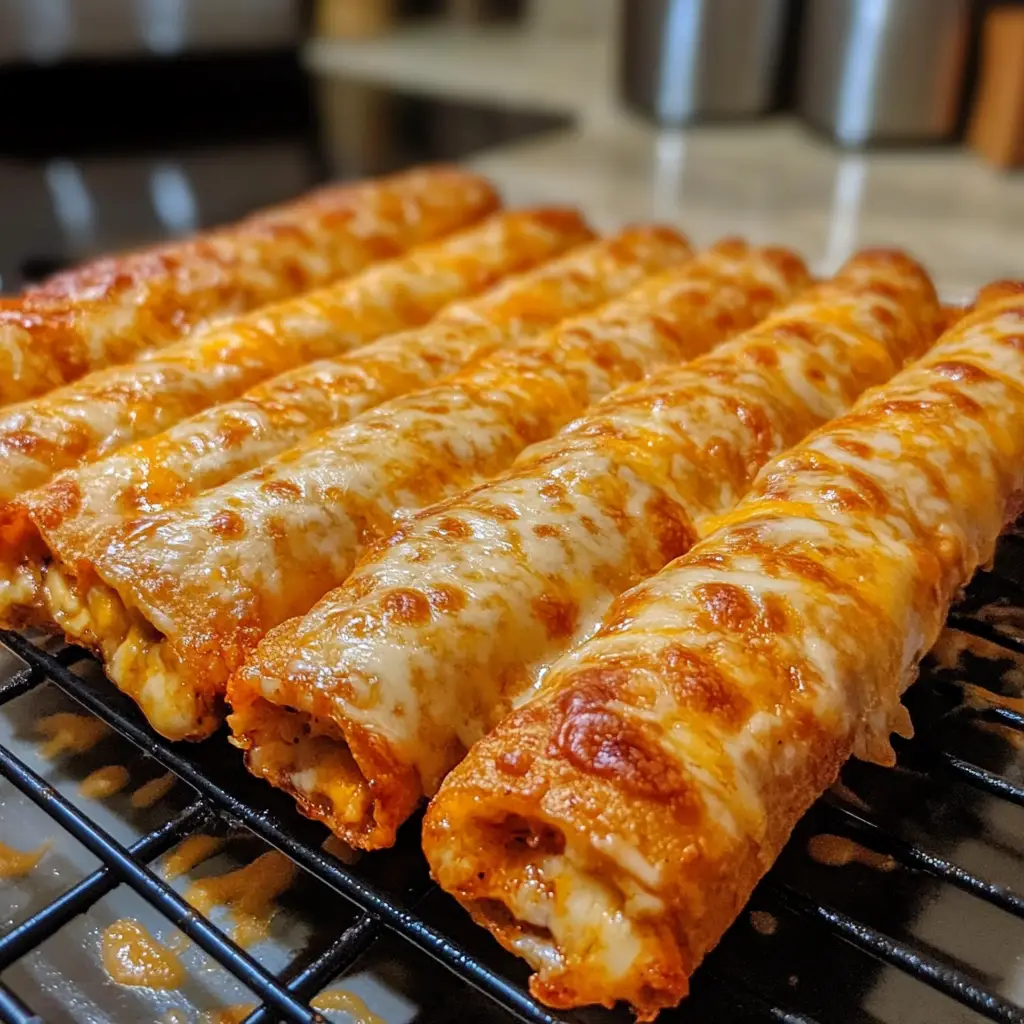
Step 3: Mix in the Cheeses
In a large bowl, combine the seasoned beef with the shredded cheddar and mozzarella cheese. The cheese will melt beautifully, creating that gooey texture we crave. Mix it all together until the cheese is evenly distributed. Trust me, this mixture is so good, you might want to sneak a taste!
Step 4: Roll the Tortillas
Now, it’s time to assemble our taco sticks! Take a tortilla and place a generous spoonful of the beef and cheese mixture in the center. Roll it up tightly, tucking in the sides as you go. This will help keep all that cheesy goodness inside. Repeat this process until you’ve used up all the filling.
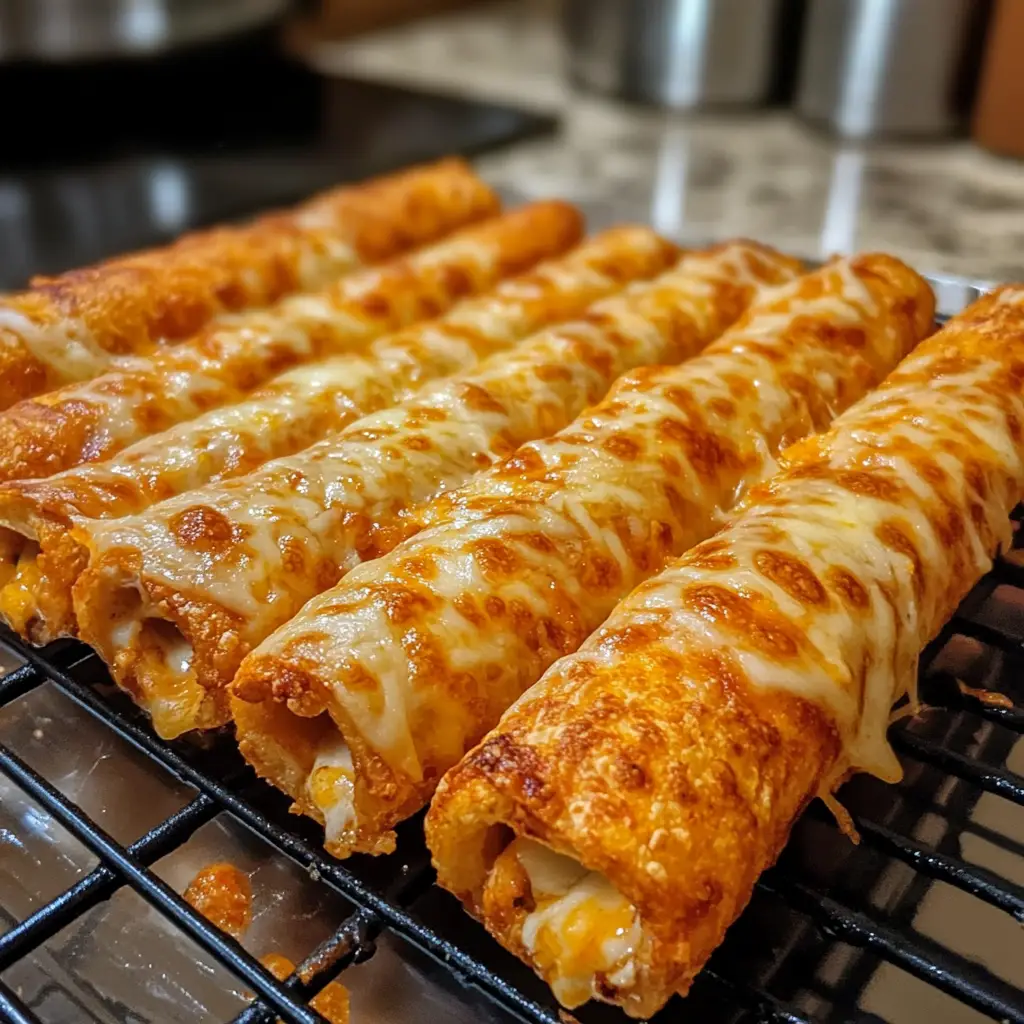
Step 5: Fry the Taco Sticks
Heat some cooking oil in a frying pan over medium heat. You want enough oil to cover the bottom of the pan. Once the oil is hot, carefully place the rolled tortillas in the pan. Fry them until they’re golden brown and crispy on all sides, about 2 to 3 minutes per side. Keep an eye on them; nobody likes burnt taco sticks!
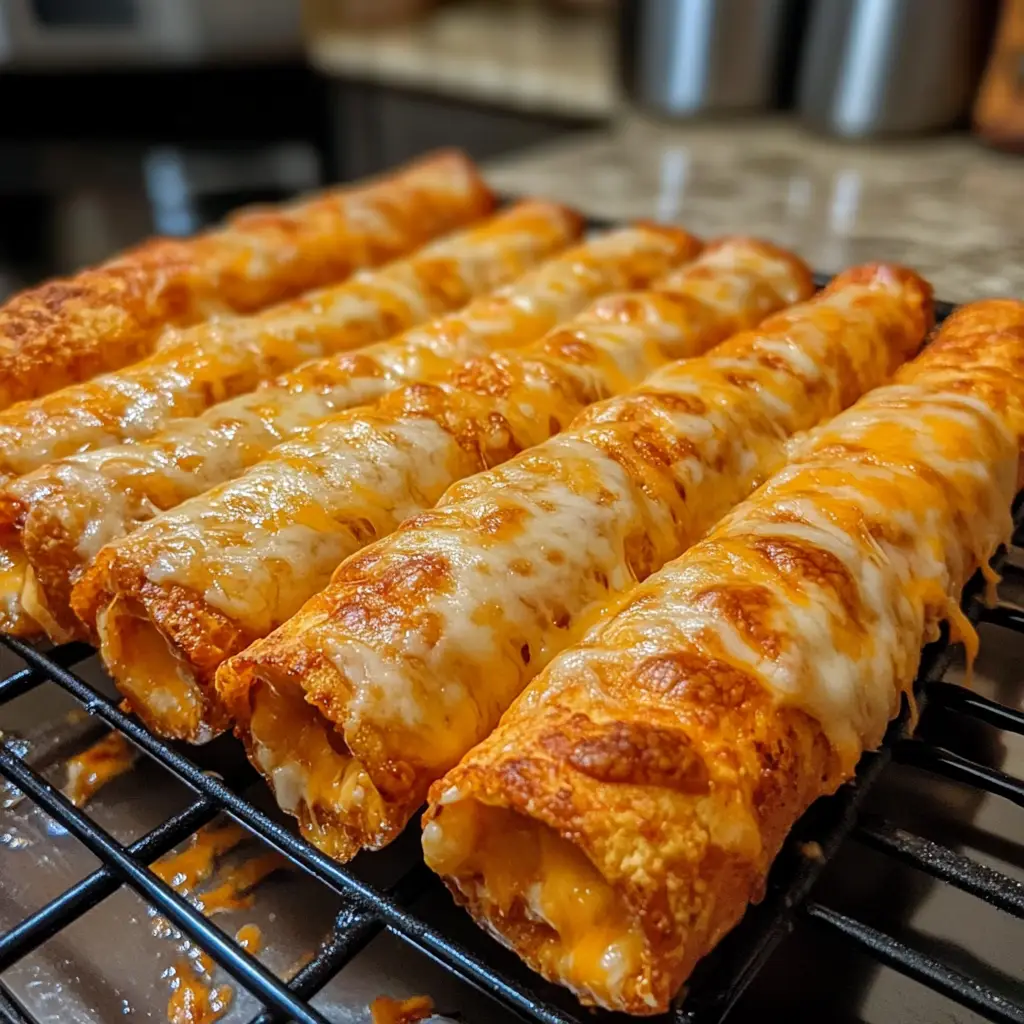
Step 6: Drain and Serve
Once they’re perfectly crispy, remove the taco sticks from the oil and let them drain on paper towels. This will help absorb any excess oil. Serve them warm with salsa on the side for dipping. Your family and friends will be diving in before you know it!
Tips for Success
- Don’t overcrowd the pan while frying; it can lower the oil temperature and make them soggy.
- For extra flavor, consider adding spices like cumin or chili powder to the beef mixture.
- Let the oil heat up properly before adding the taco sticks for that perfect crispiness.
- Experiment with different cheeses for unique flavor combinations.
- Make a double batch and freeze some for a quick snack later!
Equipment Needed
- Skillet: A non-stick skillet works best, but any frying pan will do.
- Spatula: Use a spatula to flip the taco sticks easily.
- Paper towels: Essential for draining excess oil after frying.
- Mixing bowl: A medium-sized bowl for combining the beef and cheese.
- Measuring cups: Handy for portioning out ingredients, though not strictly necessary.
Variations of Cheesy Taco Sticks
- Vegetarian Option: Swap out the ground beef for black beans or lentils. This adds protein while keeping it meat-free.
- Spicy Kick: Add diced jalapeños or a sprinkle of cayenne pepper to the beef mixture for an extra layer of heat.
- Cheesy Delight: Experiment with different cheeses like pepper jack, gouda, or even a blend of Mexican cheeses for a unique flavor.
- Loaded Taco Sticks: Include toppings like diced tomatoes, green onions, or olives in the filling for a loaded experience.
- Baked Version: For a healthier twist, brush the rolled tortillas with olive oil and bake them at 400°F until golden brown, about 15-20 minutes.
Serving Suggestions for Cheesy Taco Sticks
- Fresh Guacamole: Serve with creamy guacamole for a delightful dip that complements the flavors.
- Crunchy Salad: Pair with a simple side salad for a refreshing contrast to the cheesy sticks.
- Cold Beverages: Enjoy with iced tea or a light beer to balance the richness.
- Presentation: Arrange on a colorful platter with salsa and sour cream for dipping.
FAQs about Cheesy Taco Sticks
Can I make Cheesy Taco Sticks ahead of time?
Absolutely! You can prepare the filling in advance and store it in the fridge. Just roll and fry them when you’re ready to serve. This makes them a fantastic option for game day or unexpected guests!
Can I bake Cheesy Taco Sticks instead of frying?
Yes, you can! For a healthier version, brush the rolled tortillas with olive oil and bake them at 400°F until golden brown. This usually takes about 15-20 minutes, and they’ll still be delicious!
What can I serve with Cheesy Taco Sticks?
These tasty sticks pair wonderfully with salsa, guacamole, or sour cream. You can also serve them alongside a fresh salad or some crunchy veggies for a balanced meal.
How do I store leftovers?
Store any leftover Cheesy Taco Sticks in an airtight container in the fridge for up to 3 days. Reheat them in the oven for a few minutes to regain that crispy texture!
Can I customize the filling?
<pDefinitely! Feel free to add your favorite ingredients like diced bell peppers, corn, or even different types of cheese. The possibilities are endless, making these Cheesy Taco Sticks a fun dish to experiment with!
Final Thoughts
Making Cheesy Taco Sticks is more than just cooking; it’s about creating joyful moments with family and friends. The aroma of sizzling tortillas and melted cheese fills the kitchen, inviting everyone to gather around. Whether it’s game day or a casual weeknight, these sticks bring smiles and satisfaction. Plus, the ease of preparation means you can spend less time in the kitchen and more time enjoying the company of your loved ones. So, roll up your sleeves, dive into this delicious recipe, and let the cheesy goodness create lasting memories!
Print
Cheesy Taco Sticks: The Ultimate Game Day Snack!
- Total Time: 30 minutes
- Yield: 12 sticks 1x
- Diet: Gluten Free
Description
Cheesy Taco Sticks are a delicious and easy-to-make snack perfect for game day or any gathering. They combine the flavors of tacos with gooey cheese, all wrapped in a crispy shell.
Ingredients
- 1 package of taco seasoning
- 1 lb ground beef
- 1 cup shredded cheddar cheese
- 1 cup shredded mozzarella cheese
- 1 package of flour tortillas
- 1 cup salsa
- Cooking oil for frying
Instructions
- In a skillet, cook the ground beef over medium heat until browned. Drain excess fat.
- Add taco seasoning and follow package instructions to prepare the beef mixture.
- In a bowl, mix the cooked beef with cheddar and mozzarella cheese.
- Place a spoonful of the beef and cheese mixture onto a tortilla and roll it up tightly.
- Heat oil in a frying pan over medium heat.
- Fry the rolled tortillas until golden brown and crispy on all sides.
- Remove from oil and drain on paper towels.
- Serve with salsa for dipping.
Notes
- For a vegetarian option, substitute ground beef with black beans or lentils.
- Feel free to add other toppings like jalapeños or diced onions to the filling.
- These can also be baked in the oven for a healthier option.
- Prep Time: 15 minutes
- Cook Time: 15 minutes
- Category: Snack
- Method: Frying
- Cuisine: Mexican
Nutrition
- Serving Size: 1 stick
- Calories: 200
- Sugar: 1g
- Sodium: 300mg
- Fat: 10g
- Saturated Fat: 4g
- Unsaturated Fat: 5g
- Trans Fat: 0g
- Carbohydrates: 20g
- Fiber: 2g
- Protein: 10g
- Cholesterol: 30mg
Keywords: Cheesy Taco Sticks, Game Day Snack, Easy Snack Recipe


