Introduction to Bunny M&M Cookies Recipe
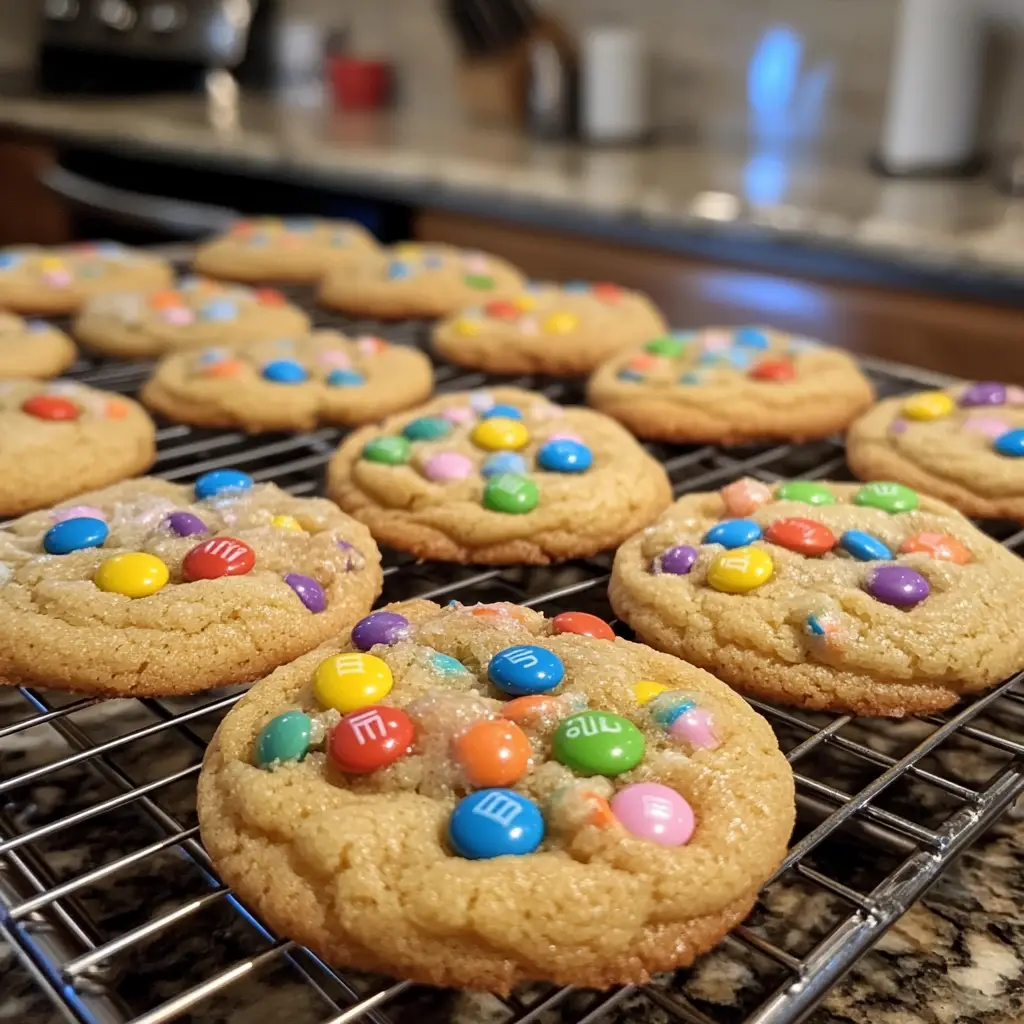
As a passionate home cook, I find joy in creating treats that bring smiles to faces, especially during festive seasons. One of my all-time favorites is the Bunny M&M Cookies recipe. These delightful cookies are not just a feast for the taste buds; they are a visual treat too! With their vibrant colors and playful bunny-shaped M&Ms, they add a sprinkle of joy to any gathering.
Every spring, as the flowers bloom and the days grow longer, I look forward to baking these cookies. The aroma of warm, buttery dough fills my kitchen, wrapping me in a cozy embrace. I remember the first time I made them for an Easter celebration. My family gathered around the table, and as I pulled the cookies from the oven, their eyes lit up with excitement. The combination of soft, chewy cookies and crunchy M&Ms was an instant hit!
What I love most about this recipe is its simplicity. It’s perfect for both seasoned bakers and those just starting their culinary journey. Plus, it’s a fantastic way to involve kids in the kitchen. Watching them carefully fold in the colorful M&Ms and shape the cookies is a memory I cherish. It’s not just about baking; it’s about creating moments together.
So, whether you’re planning a festive gathering or just want to indulge in a sweet treat, this Bunny M&M Cookies recipe is sure to delight. Let’s hop into the kitchen and get started on this delicious adventure!
Ingredients for Bunny M&M Cookies Recipe
Before we dive into the baking process, let’s gather our ingredients! Having everything ready makes the experience smoother and more enjoyable. I always find that when I have my ingredients prepped, it feels like I’m setting the stage for a delightful performance in the kitchen. Here’s what you’ll need for these scrumptious Bunny M&M Cookies.
Main Ingredients
- 2 ½ cups all-purpose flour
- 1 teaspoon baking soda
- ½ teaspoon salt
- 1 cup unsalted butter, softened
- ¾ cup granulated sugar
- ¾ cup brown sugar, packed
- 1 teaspoon vanilla extract
- 2 large eggs
- 1 ½ cups Bunny M&Ms (or regular M&Ms if you can’t find the bunny ones)
When it comes to the butter, I always opt for unsalted. This way, I can control the saltiness of my cookies. And trust me, using fresh ingredients makes a world of difference! I love to source my eggs from local farms whenever possible; they add a richness that store-bought eggs sometimes lack.
Optional Add-ons
- 1 cup chopped nuts (like walnuts or pecans) for a crunchy twist
- ½ cup shredded coconut for a tropical flair
- 1 teaspoon almond extract for a nutty aroma
- Extra Bunny M&Ms for decoration on top
Feel free to get creative! I once added a handful of shredded coconut, and it gave the cookies a delightful chewiness that my family adored. The optional add-ons are a great way to personalize your cookies and make them uniquely yours. Just remember, the more colorful, the better!

How to Prepare Bunny M&M Cookies Recipe
Now that we have our ingredients ready, it’s time to roll up our sleeves and get baking! I love the process of making these Bunny M&M Cookies. Each step is like a little adventure, and I can’t wait to share it with you. Let’s hop right into it!
Step 1: Preheat the Oven
First things first, we need to preheat our oven to 350°F (175°C). This step is crucial because it ensures that our cookies bake evenly and come out perfectly golden.
Tips for Preheating
- Always preheat your oven before mixing your dough. This way, the cookies go straight into a hot oven, which helps them rise beautifully.
- If you have an oven thermometer, use it! Sometimes, ovens can be a bit off, and you want to make sure you’re baking at the right temperature.
Step 2: Mix Dry Ingredients
In a large bowl, combine the flour, baking soda, and salt. Whisk them together until they’re well mixed. This step helps to evenly distribute the baking soda and salt throughout the flour.
Tips for Mixing
- Use a whisk or a fork to mix the dry ingredients. It’s a simple way to aerate the flour, making your cookies lighter.
- Make sure to spoon the flour into your measuring cup instead of scooping it directly. This prevents packing and ensures you don’t end up with too much flour.
Step 3: Cream Butter and Sugars
In another bowl, it’s time to cream the softened butter, granulated sugar, and brown sugar together. I usually use a hand mixer for this, but a sturdy wooden spoon works just fine too!
Tips for Creaming
- Beat the butter and sugars until the mixture is light and fluffy. This usually takes about 2-3 minutes. It’s like giving your cookies a little hug!
- Make sure your butter is at room temperature. If it’s too cold, it won’t cream properly, and if it’s too warm, your cookies might spread too much.
Step 4: Combine Wet and Dry Ingredients
Now, it’s time to add the eggs and vanilla extract to the creamed mixture. Mix until everything is well combined. Then, gradually add the dry ingredients to the wet mixture.
Tips for Combining
- Mix just until the flour is incorporated. Overmixing can lead to tough cookies, and we want them to be soft and chewy!
- Use a spatula to scrape down the sides of the bowl to ensure everything is mixed evenly.
Step 5: Fold in Bunny M&Ms
Here comes the fun part! Gently fold in the Bunny M&Ms. I love watching the colors swirl into the dough, making it look so festive!
Tips for Folding
- Use a spatula to fold the M&Ms in. This helps keep the cookies light and airy.
- Save a few M&Ms to place on top of the cookies before baking for an extra pop of color!
Step 6: Scoop and Shape Cookies
Using a cookie scoop or a tablespoon, scoop out the dough and place it on a baking sheet lined with parchment paper. Leave some space between each cookie, as they will spread while baking.
Tips for Scooping
- For uniform cookies, use a cookie scoop. It’s like having a little ice cream scoop for your dough!
- If you want taller cookies, shape them into balls instead of flattening them out.
Step 7: Bake the Cookies
Pop the baking sheet into the preheated oven and bake for about 10-12 minutes. You want the edges to be golden brown while the centers remain soft.
Tips for Baking
- Keep an eye on your cookies! Ovens can vary, and you don’t want to overbake them.
- Let the cookies cool on the baking sheet for a few minutes before transferring them to a wire rack. This helps them set up perfectly!
And there you have it! Each step brings us closer to those delightful Bunny M&M Cookies. I can already smell the sweet aroma wafting through my kitchen. Let’s move on to the next section and gather the equipment we’ll need for this baking adventure!
Equipment Needed for Bunny M&M Cookies Recipe
Before we dive into the baking process, let’s make sure we have all the right tools at our fingertips. Having the right equipment can make a world of difference in your baking experience. Here’s a quick list of what you’ll need for these delightful Bunny M&M Cookies.
- Mixing Bowls: A couple of medium-sized mixing bowls will do the trick. I love using glass bowls because I can see the ingredients mixing together!
- Measuring Cups and Spoons: Accurate measurements are key to baking success. A set of dry measuring cups and a liquid measuring cup will ensure you get it just right.
- Whisk: A whisk is perfect for mixing dry ingredients and creaming butter and sugars. If you don’t have one, a fork works just as well!
- Hand Mixer or Stand Mixer: While a hand mixer makes creaming butter a breeze, a sturdy wooden spoon can also do the job if you prefer a workout!
- Spatula: A rubber spatula is essential for folding in those colorful Bunny M&Ms and scraping down the sides of the bowl.
- Cookie Scoop: This handy tool helps you scoop uniform cookie dough. If you don’t have one, a tablespoon will work just fine.
- Baking Sheet: A standard baking sheet lined with parchment paper is perfect for baking your cookies. If you don’t have parchment, greasing the sheet lightly will do.
- Wire Rack: A wire rack is great for cooling your cookies evenly. If you don’t have one, a plate will work in a pinch!
With these tools in hand, you’re all set to embark on your Bunny M&M Cookies adventure! Each piece of equipment plays a role in creating those scrumptious cookies, so let’s get ready to bake!
Variations of Bunny M&M Cookies Recipe
While the classic Bunny M&M Cookies are a delightful treat on their own, I love to experiment with variations that add a unique twist. Each version brings its own charm and flavor, making it fun to switch things up. Here are a few variations that I’ve tried and absolutely adored!
- Chocolate Chip Bunny Cookies: Swap out half of the Bunny M&Ms for chocolate chips. The combination of creamy chocolate and colorful candies creates a deliciously rich cookie.
- Peanut Butter Bunny Cookies: Add ½ cup of creamy peanut butter to the butter and sugars when creaming. This gives the cookies a nutty flavor that pairs perfectly with the sweetness of the M&Ms.
- Oatmeal Bunny Cookies: Mix in 1 cup of rolled oats for a chewy texture. The oats add a wholesome touch, making these cookies feel a bit more substantial.
- Minty Bunny Cookies: Add 1 teaspoon of peppermint extract to the wet ingredients for a refreshing minty flavor. This variation is perfect for springtime gatherings!
These variations not only keep things exciting but also allow you to cater to different tastes. I often find that trying new combinations sparks creativity in the kitchen. So, don’t hesitate to experiment and make these Bunny M&M Cookies your own!
Cooking Notes for Bunny M&M Cookies Recipe
As I’ve baked these Bunny M&M Cookies time and time again, I’ve gathered a few cooking notes that can help you achieve the best results. These little tips can make a big difference in your baking journey!
- Chill the Dough: If you have time, consider chilling the cookie dough for about 30 minutes before baking. This helps the cookies maintain their shape and prevents them from spreading too much in the oven.
- Room Temperature Ingredients: Make sure your butter and eggs are at room temperature. This allows for better mixing and a smoother dough, leading to softer cookies.
- Don’t Overbake: Keep a close eye on your cookies as they bake. They should be slightly golden around the edges but still soft in the center. They will continue to firm up as they cool.
- Storage Tips: Store your cookies in an airtight container at room temperature. They’ll stay fresh for about a week. If you want to keep them longer, consider freezing them!
- Experiment with Colors: If you can’t find Bunny M&Ms, feel free to use regular M&Ms or even seasonal candies. The vibrant colors make these cookies a hit, no matter the occasion!
These cooking notes are like little nuggets of wisdom I’ve picked up along the way. They help ensure that each batch of Bunny M&M Cookies turns out just as delightful as the last. Happy baking!
Serving Suggestions for Bunny M&M Cookies Recipe
Once those delightful Bunny M&M Cookies are out of the oven and cooling on the rack, it’s time to think about how to serve them! I love to get creative with presentation, as it adds an extra touch of joy to the experience. Here are some of my favorite serving suggestions that will make your cookies shine!
- Cookie Platter: Arrange the cookies on a colorful platter. Add some fresh flowers or seasonal decorations around them for a festive touch. It’s perfect for parties or family gatherings!
- Milk Pairing: Serve the cookies with a glass of cold milk. There’s something magical about dipping a warm cookie into milk that brings back childhood memories.
- Ice Cream Sandwiches: For a fun twist, sandwich a scoop of your favorite ice cream between two cookies. It’s a delightful treat that’s sure to impress!
- Gift Bags: Package a few cookies in clear cellophane bags tied with a colorful ribbon. They make sweet gifts for friends, neighbors, or teachers, especially during the spring season.
- Cookie Bar: Set up a cookie bar with various toppings like sprinkles, chocolate drizzle, or whipped cream. Let everyone customize their own cookie creation!
These serving suggestions not only enhance the visual appeal but also create memorable moments around the table. I always find that sharing these cookies with loved ones makes them taste even sweeter. So, gather your friends and family, and enjoy the deliciousness together!
Tips for Perfect Bunny M&M Cookies Recipe
As I’ve baked these Bunny M&M Cookies countless times, I’ve gathered a treasure trove of tips that can help you achieve cookie perfection. Each little nugget of wisdom can make a big difference in your baking journey. Here are my top tips to ensure your cookies turn out just right!
- Measure Accurately: Baking is a science, so precise measurements are key. Use the spoon-and-level method for flour to avoid packing it down. This ensures your cookies won’t be too dense.
- Don’t Skip the Chilling: If you have the time, chill your dough for at least 30 minutes. This helps the cookies hold their shape and enhances the flavors.
- Use Quality Ingredients: Fresh, high-quality ingredients make a world of difference. Opt for real vanilla extract and good butter for the best flavor.
- Watch the Baking Time: Every oven is different, so keep an eye on your cookies. They should be golden around the edges but still soft in the center. They’ll firm up as they cool!
- Experiment with Toppings: Before baking, add a few extra Bunny M&Ms on top of the dough for a pop of color. It makes your cookies look even more inviting!
With these tips in your back pocket, you’re well on your way to baking the perfect Bunny M&M Cookies. Each batch will be a delightful treat that brings joy to your kitchen and smiles to your loved ones. Happy baking!
Breakdown of Time for Bunny M&M Cookies Recipe
As a home cook, I know that time management is key to a successful baking experience. Knowing how long each step takes helps me plan my baking adventures better. Here’s a quick breakdown of the time you’ll need for the Bunny M&M Cookies recipe:
- Prep Time: 15 minutes – This includes gathering your ingredients, mixing the dough, and scooping the cookies onto the baking sheet. It’s a fun and quick process that gets you excited for the deliciousness to come!
- Cooking Time: 10-12 minutes – The cookies will bake to golden perfection in this time. Keep an eye on them, as every oven is a little different!
- Total Time: 25-27 minutes – In just under half an hour, you’ll have a batch of delightful Bunny M&M Cookies ready to enjoy!
With this time breakdown, you can easily fit baking these cookies into your day. Whether it’s a cozy afternoon or a festive gathering, you’ll be just moments away from enjoying these sweet treats. Happy baking!
Nutritional Information for Bunny M&M Cookies Recipe
As a passionate home cook, I believe it’s important to know what goes into our delicious treats. While Bunny M&M Cookies are a delightful indulgence, understanding their nutritional content can help you enjoy them mindfully. Here’s a general breakdown of the nutritional information for one cookie, assuming the recipe yields about 24 cookies:
- Calories: Approximately 150 calories
- Fat: 7g (Saturated Fat: 4g)
- Carbohydrates: 21g (Sugars: 10g)
- Protein: 2g
- Sodium: 100mg
- Fiber: 0.5g
Keep in mind that these values can vary based on the specific ingredients you use and any optional add-ons you choose to include. For instance, adding nuts or using different types of chocolate can alter the nutritional profile. I always encourage balance, so enjoy these cookies as a sweet treat among a variety of wholesome foods. After all, baking is about joy, and sharing these cookies with loved ones makes them even sweeter!
Frequently Asked Questions about Bunny M&M Cookies Recipe
As I’ve shared my Bunny M&M Cookies recipe with friends and family, I’ve noticed a few common questions pop up. It’s always fun to dive deeper into the baking process and clear up any confusion. Here are some frequently asked questions that I hope will help you on your baking journey!
Can I use regular M&Ms instead of Bunny M&Ms?
Absolutely! While Bunny M&Ms add a festive touch, regular M&Ms work just as well. The taste will be just as delightful, and your cookies will still be colorful and fun!
How do I store leftover cookies?
To keep your cookies fresh, store them in an airtight container at room temperature. They’ll stay delicious for about a week. If you want to keep them longer, you can freeze them for up to three months. Just make sure to separate layers with parchment paper to prevent sticking!
Can I make the dough ahead of time?
Yes! You can prepare the dough ahead of time and refrigerate it for up to 3 days. Just make sure to cover it tightly. When you’re ready to bake, scoop and shape the cookies, then pop them in the oven!
What if my cookies spread too much while baking?
If your cookies spread too much, it could be due to warm butter or not enough flour. Make sure your butter is softened but not melted, and consider chilling the dough for about 30 minutes before baking. This helps the cookies hold their shape!
Can I add other mix-ins to the cookie dough?
Definitely! Feel free to get creative with your mix-ins. Chopped nuts, chocolate chips, or even dried fruit can add a unique twist to your Bunny M&M Cookies. Just remember to keep the total amount of mix-ins balanced so the dough remains cohesive.
These FAQs are just a glimpse into the wonderful world of baking Bunny M&M Cookies. I hope they help you feel more confident as you embark on this delicious adventure. Remember, baking is all about having fun and enjoying the process, so don’t hesitate to experiment and make this recipe your own!
Conclusion on Bunny M&M Cookies Recipe
As I wrap up this delightful journey through the Bunny M&M Cookies recipe, I can’t help but feel a sense of joy. These cookies are more than just a sweet treat; they are a celebration of creativity, family, and the simple pleasures of baking. The vibrant colors of the Bunny M&Ms bring a playful spirit to any occasion, making them perfect for springtime gatherings or cozy afternoons at home.
What I love most about this recipe is its versatility. Whether you stick to the classic version or experiment with fun variations, each batch is a chance to create something special. Plus, the process of baking together with loved ones creates cherished memories that last a lifetime. So, whether you’re a seasoned baker or just starting out, I encourage you to hop into the kitchen and give this Bunny M&M Cookies recipe a try!
With every bite, you’ll taste the love and joy that goes into making these cookies. So gather your ingredients, roll up your sleeves, and let the sweet aroma fill your home. Happy baking, and may your Bunny M&M Cookies bring smiles to everyone who enjoys them!