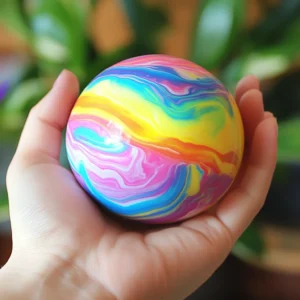
Crafts that combine creativity and science are always a win for kids and adults alike. Few projects are as colorful, engaging, and downright magical as making your own rainbow bouncy balls. Imagine starting with simple household ingredients like glue, cornstarch, and borax, then transforming them into a toy that really bounces. Not only is this activity entertaining, but it also introduces children to the fascinating world of polymer chemistry in a way that is both hands-on and memorable.
Homemade rainbow bouncy balls are customizable, budget-friendly, and fun to play with after they’re made. You can create bold single-color balls, dazzling glittery versions, or an eye-catching rainbow masterpiece. This project isn’t just about making a toy—it’s about creating an experience that blends learning and fun.
Why You’ll Love This DIY Project
There are plenty of reasons to try making rainbow bouncy balls at home. Here are some highlights:
-
Perfect for Kids and Families – Children love working with bright colors and getting hands-on with gooey materials. Rolling blobs into smooth, bouncing spheres is an activity that sparks joy.
-
Educational Value – The process demonstrates real science principles in action, particularly polymer chemistry and the way molecules interact.
-
Affordable and Accessible – The ingredients are inexpensive and easy to find in most households or local stores.
-
Creative Flexibility – You’re not limited to one design. Add glitter, try glow-in-the-dark paint, or mix colors for endless variations.
-
Playable Result – Unlike some crafts that are purely decorative, these homemade bouncy balls double as toys you can actually play with afterward.
Ingredients (Supplies Needed)
To begin this project, gather the following supplies. Having everything prepared in advance ensures the process goes smoothly:
-
½ cup warm water
-
1 tablespoon borax powder (available in laundry aisles or craft sections)
-
2 tablespoons white school glue (original formula, not the washable variety)
-
1 tablespoon cornstarch
-
Food coloring (gel or liquid, depending on your preference)
-
Plastic cups or small bowls
-
Wooden sticks or disposable spoons (for stirring)
-
Optional Add-Ins: glitter, metallic mica powder, or glow-in-the-dark paint for special effects
Step-by-Step Instructions
Step 1: Prepare the Borax Solution
Start by making the activator. Mix ½ cup warm water with 1 tablespoon of borax powder in a cup or small bowl. Stir until the borax is completely dissolved. Warm water is essential here, as it helps the borax dissolve evenly, ensuring the reaction works properly later.
Step 2: Mix the Base Ingredients
In another cup, add:
-
2 tablespoons white glue
-
1 tablespoon cornstarch
-
A few drops of food coloring of your choice
Stir this mixture until smooth. The cornstarch will give the ball a firmer texture and keep it from sticking too much to your hands.
Step 3: Activate the Reaction
Slowly add ½ tablespoon of the borax solution into the glue mixture. Stir quickly and continuously. Almost immediately, you’ll notice the liquid thickening and clumping together into a blob. This is the first stage of your bouncy ball forming.
Step 4: Knead the Blob
Remove the blob from the cup and knead it with your hands. At first, it will feel sticky and uneven, but as you continue kneading for 1–2 minutes, it will become smooth, firm, and less tacky. Rolling it gently in your hands will form it into a ball.
Step 5: Repeat for Additional Colors
If you want a rainbow ball, repeat the process with different food coloring for each color. You’ll end up with small balls of individual colors.
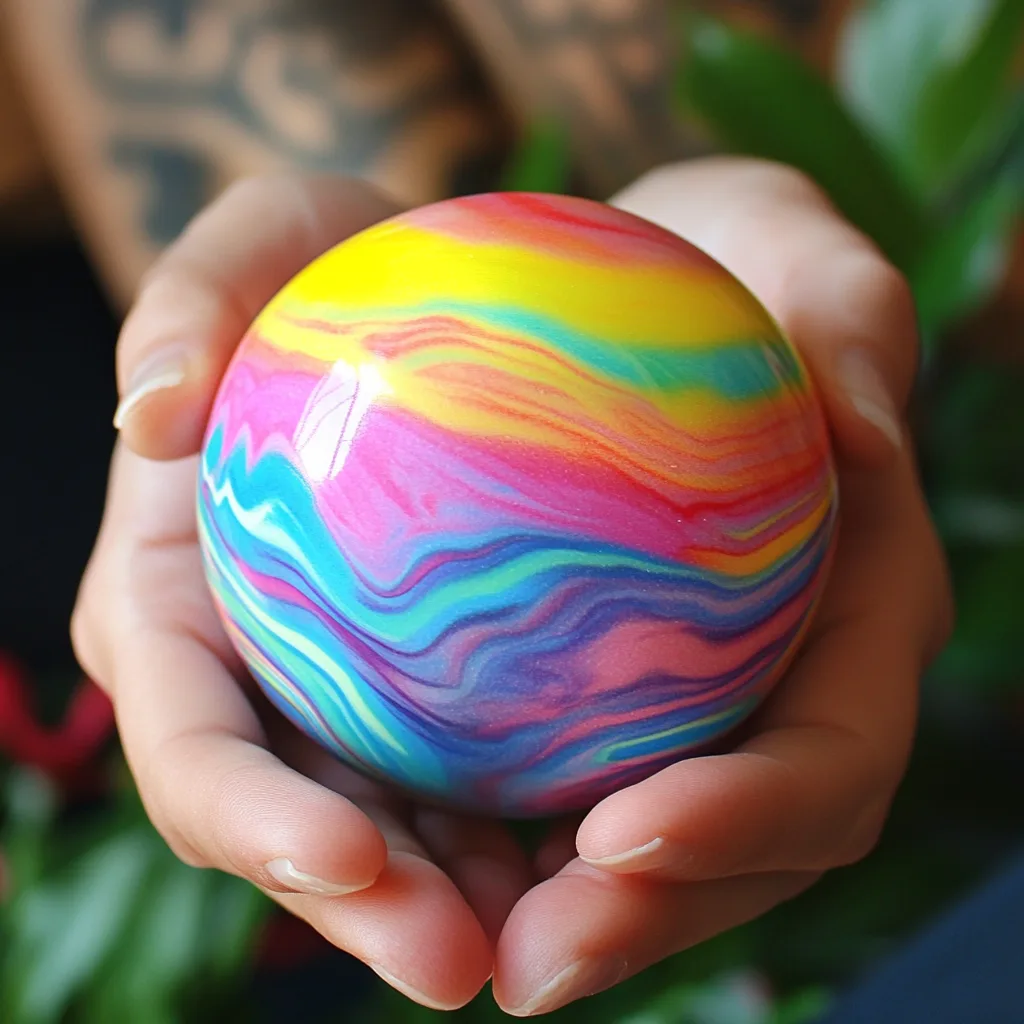
Step 6: Form the Rainbow Bouncy Ball
Take portions of each colored ball and press them together. Roll them in your palms until you have one large, multicolored ball. You can swirl them lightly for a tie-dye look or keep the colors distinct for a striped rainbow effect.
Tips for Success
-
Always use warm water, not cold, to dissolve the borax fully.
-
Kneading is crucial—the more you knead, the smoother and bouncier the ball will become.
-
To prevent your bouncy ball from drying out, store it in an airtight plastic bag or sealed container.
-
If the ball loses shape, simply re-roll it in your hands.
-
For the boldest rainbow, make each color separately and then combine them rather than mixing all the dyes at once.
The Science Behind Bouncy Balls
The magic of homemade bouncy balls comes from a fascinating chemical reaction.
-
Glue contains polyvinyl acetate, a type of polymer. Polymers are long, flexible chains of molecules.
-
Borax acts as a cross-linking agent, binding the glue molecules together into a stronger, more elastic structure.
-
Cornstarch serves as a thickening agent, adding texture and preventing stickiness.
When the borax interacts with the glue, the polymers cross-link, creating a semi-solid material that is stretchy and bouncy. This is why the ball goes from being sticky and gooey to smooth and elastic after kneading.
This experiment is an excellent way to introduce children to polymer science and the concept of chemical reactions in a hands-on, engaging manner.
Fun Variations
Once you’ve mastered the basic rainbow ball, you can try out different variations:
-
Glitter Bouncy Balls – Add a spoonful of glitter to the glue mixture for extra sparkle.
-
Glow-in-the-Dark Balls – Stir in glow-in-the-dark paint or powder for nighttime play.
-
Galaxy-Themed Balls – Use black, purple, and dark blue food coloring, along with glitter, to create a starry galaxy effect.
-
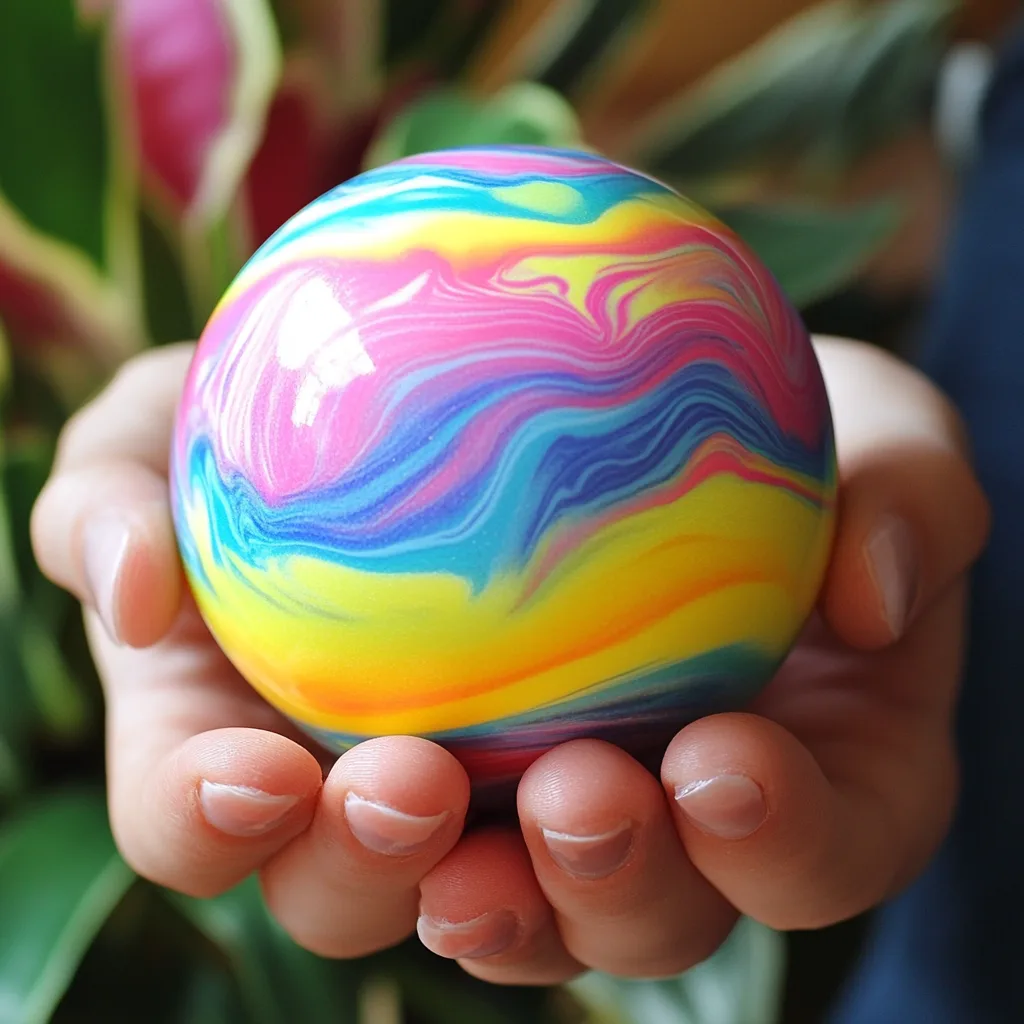
Marble Swirls – Lightly combine two colors without fully mixing for a beautiful marbled appearance.
-
Mini Balls – Make small batches to create tiny bouncy marbles.
Creative Play Ideas
Once your rainbow bouncy balls are finished, there are countless ways to enjoy them. Here are a few ideas:
-
Bouncing Contest: Challenge friends or family to see whose ball bounces the highest.
-
Target Toss: Place cups or bowls on the floor and try to bounce the balls into them.
-
Decorative Display: Store your colorful bouncy balls in a glass jar to brighten up a shelf.
-
Educational Demo: Use the balls in a classroom setting to demonstrate how polymers work.
-
Party Activity: Set up a craft station at a kids’ birthday party where guests can make their own bouncy balls to take home.
Safety Notes
While this project is safe when done correctly, a few safety precautions should be followed:
-
Do not ingest the borax solution or the finished bouncy balls. They are non-toxic for play but not edible.
-
Supervise young children closely, especially during the mixing stage.
-
Always wash hands after handling the balls.
-
Keep the balls away from pets, as they may try to chew or swallow them.
Storage and Longevity
Homemade bouncy balls are not meant to last forever, but with proper care, you can enjoy them for several days to a week. To extend their life:
-
Store them in a sealed plastic bag or container when not in use.
-
Avoid exposing them to direct sunlight, which can dry them out.
-
If the ball becomes too hard, knead it with a drop of warm water to soften it.
FAQs
1. Can I use washable glue instead of regular glue?
No. Washable glue has a different chemical makeup and will not react properly with borax. Use only the original white school glue.
2. What if my ball stays sticky?
Add a little more cornstarch and continue kneading. This will absorb excess moisture and improve the texture.
3. Is borax safe for children?
Borax is safe when used correctly in small amounts. It should never be ingested. Always supervise children during this project and encourage them to wash their hands afterward.
4. Can I make these without borax?
There are alternative recipes that use cornstarch and baking soda, but these do not create the same elasticity and bounce as the borax version.
5. How long will the bouncy balls last?
Typically, they last a few days to a week before drying out or hardening. Proper storage helps prolong their life.
6. Can I reuse the leftover borax solution?
Yes. Store it in a sealed container and reuse it for additional batches of bouncy balls.
7. Why does my ball flatten after sitting for a while?
Homemade bouncy balls will flatten when left out due to gravity and their soft texture. Simply roll them again in your hands to restore shape.
Conclusion
Making your own rainbow bouncy balls at home is an activity that perfectly balances fun, creativity, and learning. With just a few simple supplies, you can create toys that are not only visually stunning but also functional. The process demonstrates real science in action, making it both an engaging craft and a fascinating experiment.
Whether you make glittery galaxy-themed balls, glowing nighttime toys, or a bold rainbow masterpiece, this project is endlessly customizable. It is an excellent choice for family activities, science lessons, birthday parties, or just a rainy afternoon craft.
So grab your glue, cornstarch, and borax, pick your favorite colors, and start rolling. Before long, you’ll have your very own rainbow bouncy balls ready to bounce, sparkle, and entertain.