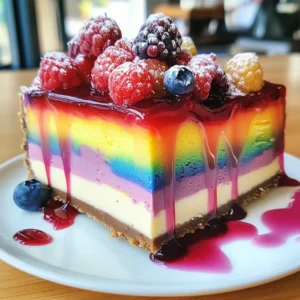
Introduction to Rainbow Berry Cheesecake
As a busy mom, I know how precious time can be, especially when it comes to whipping up something special for my family. That’s why I absolutely adore this Rainbow Berry Cheesecake! It’s not just a feast for the eyes with its vibrant layers; it’s also a delightful treat that brings smiles to the table. Whether you’re celebrating a birthday, hosting a gathering, or simply want to indulge in a sweet moment, this colorful cheesecake is the perfect solution. Trust me, it’s a showstopper that’s surprisingly easy to make!
Why You’ll Love This Rainbow Berry Cheesecake
This Rainbow Berry Cheesecake is a delightful blend of flavors and colors that will brighten any occasion. It’s incredibly easy to prepare, making it a fantastic choice for busy days. The creamy texture paired with the burst of fresh berries creates a taste sensation that’s hard to resist. Plus, it’s a dessert that impresses without requiring hours in the kitchen. Your loved ones will be raving about it long after the last slice is gone!
Ingredients for Rainbow Berry Cheesecake
Gathering the right ingredients is the first step to creating your stunning Rainbow Berry Cheesecake. Here’s what you’ll need:
- Graham cracker crumbs: These form the delicious crust. You can use store-bought or crush your own for a fresher taste.
- Unsalted butter: This binds the crumbs together and adds richness. Make sure it’s melted for easy mixing.
- Cream cheese: The star of the show! Softened cream cheese gives the cheesecake its creamy texture. Full-fat is best for a rich flavor.
- Powdered sugar: This sweetens the cheesecake without the graininess of granulated sugar. It blends smoothly into the cream cheese.
- Vanilla extract: A splash of vanilla enhances the overall flavor, making it even more delightful.
- Heavy cream: Whipping this adds lightness and fluffiness to the cheesecake. It’s essential for that dreamy texture.
- Mixed berries: A colorful medley of strawberries, blueberries, raspberries, and blackberries adds freshness and a burst of flavor. Feel free to use seasonal berries!
- Food coloring (optional): If you want to amp up the visual appeal, a few drops of food coloring can create vibrant layers. It’s all about the fun!
For exact measurements, check the bottom of the article where you can find everything listed for easy printing. Happy baking!
How to Make Rainbow Berry Cheesecake
Now that you have all your ingredients ready, let’s dive into the fun part—making this stunning Rainbow Berry Cheesecake! Follow these simple steps, and you’ll be on your way to creating a dessert that’s as delightful to eat as it is to look at.
Step 1: Preheat the Oven
First things first, preheat your oven to 325°F (160°C). Preheating is crucial because it ensures that your cheesecake bakes evenly. If you skip this step, you might end up with a cheesecake that’s undercooked in the middle or overcooked on the edges. Trust me, a little patience here goes a long way!
Step 2: Prepare the Crust
In a mixing bowl, combine your graham cracker crumbs and melted butter. Stir until the crumbs are fully coated. This mixture should resemble wet sand. Next, press it firmly into the bottom of your springform pan. Use the back of a measuring cup or your fingers to create an even layer. This crust is the foundation of your cheesecake, so make sure it’s nice and compact!
Step 3: Make the Cream Cheese Mixture
In a large mixing bowl, beat the softened cream cheese until it’s smooth and creamy. This usually takes about 2-3 minutes. Gradually add in the powdered sugar and vanilla extract, mixing until everything is well combined. The mixture should be silky and free of lumps. This is where the magic begins, as the cream cheese forms the heart of your Rainbow Berry Cheesecake!
Step 4: Whip the Heavy Cream
In a separate bowl, whip the heavy cream until stiff peaks form. This means that when you lift the whisk, the cream should hold its shape. This step is crucial because it adds lightness to your cheesecake. Gently fold the whipped cream into the cream cheese mixture. Be careful not to deflate it; you want to keep that airy texture!
Step 5: Color the Mixture
Now comes the fun part! Divide the cream cheese mixture into separate bowls, depending on how many colors you want. Add a few drops of food coloring to each bowl and mix until you achieve your desired shades. This is your chance to get creative! Think of vibrant pinks, blues, and yellows that will make your cheesecake pop.
Step 6: Layer the Cheesecake
Start layering your colored mixtures into the crust. Begin with one color, spreading it evenly, then add the next color on top. Repeat this process until all colors are used. Don’t worry about making it perfect; the beauty of a Rainbow Berry Cheesecake is in its playful layers. Just have fun with it!
Step 7: Bake the Cheesecake
Place your cheesecake in the preheated oven and bake for about 45 minutes. The edges should be set, while the center may still have a slight jiggle. Once done, turn off the oven and let the cheesecake cool inside for an hour. This gradual cooling helps prevent cracks from forming on the surface.
Step 8: Chill Before Serving
After cooling, transfer your cheesecake to the refrigerator. It needs to chill for at least 4 hours, or even better, overnight. This chilling time allows the flavors to meld beautifully and enhances the overall taste. Trust me, the wait will be worth it when you finally slice into this colorful delight!
Tips for Success
- Use room temperature cream cheese for a smoother mixture.
- Don’t rush the whipping of the heavy cream; it’s key for fluffiness.
- Experiment with different berry combinations for unique flavors.
- For a firmer cheesecake, consider using full-fat cream cheese.
- Let the cheesecake cool completely before refrigerating to avoid excess moisture.
Equipment Needed
- Springform pan: Essential for easy removal. If you don’t have one, a regular cake pan works too, just be careful when serving.
- Mixing bowls: Use a variety of sizes for mixing ingredients. Any bowls you have on hand will do!
- Electric mixer: A hand mixer or stand mixer makes beating the cream cheese easier. You can also whisk by hand if you’re feeling strong!
- Rubber spatula: Perfect for folding in the whipped cream. A spoon can work in a pinch!
Variations of Rainbow Berry Cheesecake
- Gluten-Free Option: Substitute graham cracker crumbs with gluten-free cookies or almond flour for a delicious gluten-free crust.
- Vegan Version: Use vegan cream cheese and coconut cream instead of heavy cream. This will create a plant-based delight!
- Chocolate Twist: Add cocoa powder to one of the cream cheese mixtures for a chocolate layer. It pairs beautifully with berries!
- Fruit-Infused: Blend some of the mixed berries into the cream cheese mixture for an extra fruity flavor throughout.
- Cheesecake Bars: Instead of a round cheesecake, pour the mixture into a lined baking dish for easy-to-cut cheesecake bars.
Serving Suggestions for Rainbow Berry Cheesecake
- Pair with a dollop of whipped cream for extra indulgence.
- Serve alongside a scoop of vanilla ice cream for a delightful contrast.
- Garnish with fresh mint leaves for a pop of color and freshness.
- Accompany with a light fruit salad to enhance the berry flavors.
- Present on a colorful platter to showcase the vibrant layers.
FAQs about Rainbow Berry Cheesecake
As you embark on your Rainbow Berry Cheesecake adventure, you might have a few questions. Here are some common queries that I’ve encountered, along with helpful answers to guide you along the way!
Can I use frozen berries instead of fresh ones?
Absolutely! Frozen berries work well, especially if fresh ones aren’t available. Just make sure to thaw and drain them to avoid excess moisture in your cheesecake.
How do I store leftover cheesecake?
Store any leftovers in an airtight container in the refrigerator. It should stay fresh for up to 5 days. Just be prepared for the compliments when you bring it out again!
Can I make this cheesecake ahead of time?
Yes! This Rainbow Berry Cheesecake is perfect for making ahead. Just prepare it a day or two in advance and let it chill in the fridge. It’ll taste even better after the flavors have had time to meld.
What can I substitute for cream cheese?
If you’re looking for a lighter option, you can use Greek yogurt or ricotta cheese. Just keep in mind that the texture and flavor will differ slightly from traditional cream cheese.
Is it possible to make a no-bake version of this cheesecake?
Yes, you can create a no-bake version by using gelatin or whipped cream to set the filling instead of baking it. Just follow the same layering process, and you’ll have a deliciously creamy dessert without the oven!
Final Thoughts
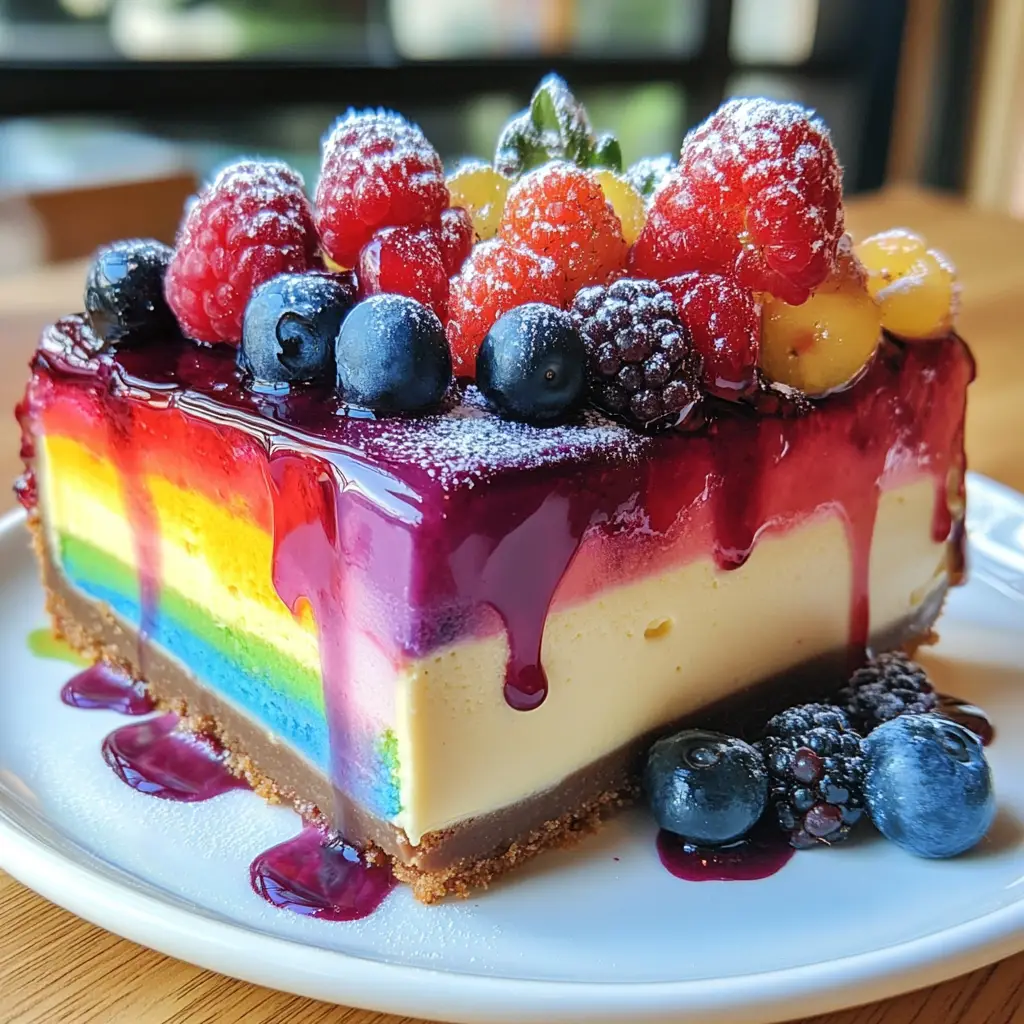
Creating this Rainbow Berry Cheesecake is more than just baking; it’s about bringing joy to your kitchen and smiles to your loved ones. Each vibrant layer tells a story, making every slice a celebration. I love how this dessert transforms any gathering into a colorful feast, sparking laughter and sweet memories. Plus, it’s a delightful way to involve the kids in the kitchen, letting them choose their favorite colors and berries. So, roll up your sleeves, embrace the fun, and indulge in this beautiful treat. Trust me, the happiness it brings is worth every moment spent making it!
Print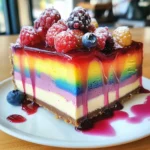
Rainbow Berry Cheesecake: Indulge in This Colorful Delight!
- Total Time: 4 hours 15 minutes
- Yield: 12 servings 1x
- Diet: Vegetarian
Description
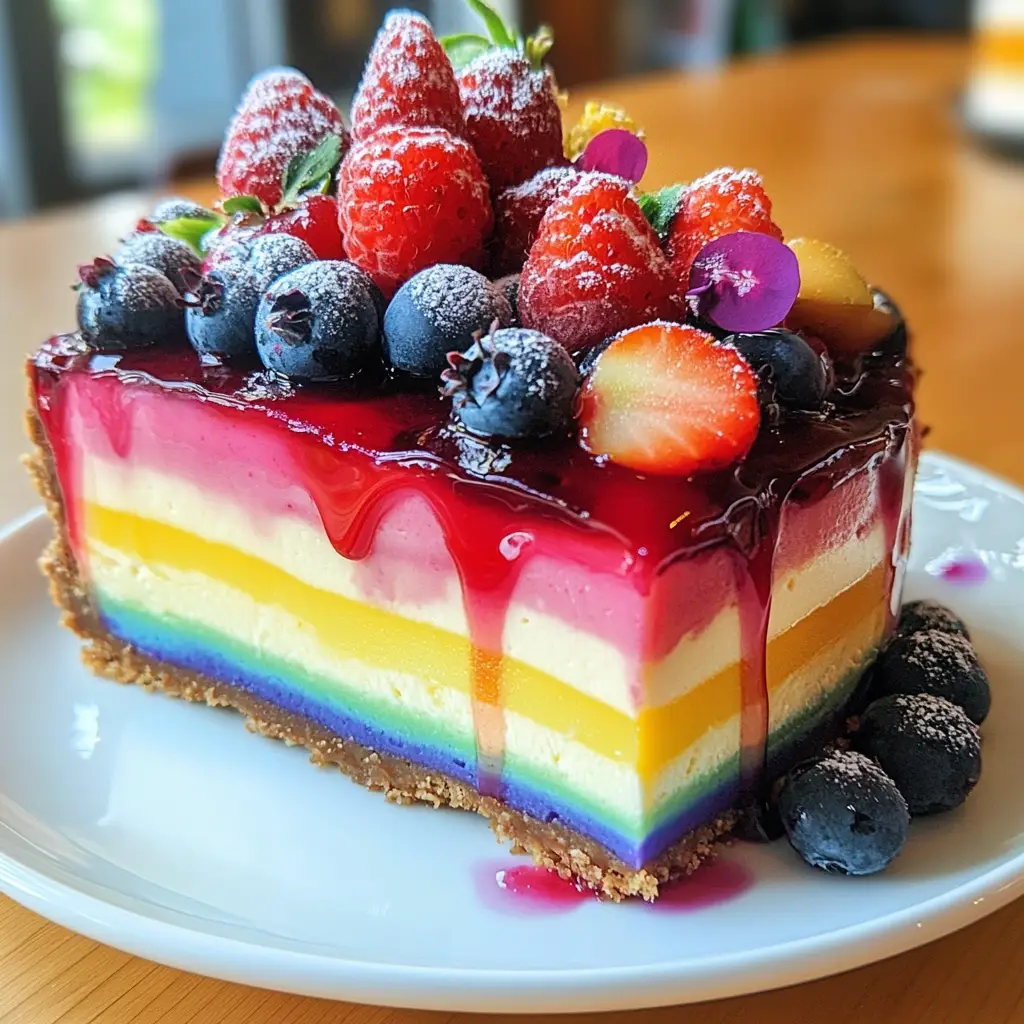
A vibrant and delicious cheesecake layered with a variety of colorful berries, perfect for any celebration.
Ingredients
- 1 ½ cups graham cracker crumbs
- ½ cup unsalted butter, melted
- 2 cups cream cheese, softened
- 1 cup powdered sugar
- 1 teaspoon vanilla extract
- 1 cup heavy cream
- 1 cup mixed berries (strawberries, blueberries, raspberries, blackberries)
- Food coloring (optional)
Instructions
- Preheat the oven to 325°F (160°C).
- In a bowl, mix graham cracker crumbs and melted butter until combined. Press into the bottom of a springform pan.
- In a large mixing bowl, beat cream cheese until smooth. Gradually add powdered sugar and vanilla extract, mixing until well combined.
- In a separate bowl, whip heavy cream until stiff peaks form. Gently fold into the cream cheese mixture.
- Divide the mixture into separate bowls for each color you want to create. Add food coloring to each bowl and mix until desired colors are achieved.
- Layer the colored mixtures into the crust, starting with one color and alternating until all colors are used.
- Bake for 45 minutes, then turn off the oven and let the cheesecake cool inside for an hour.
- Refrigerate for at least 4 hours or overnight before serving.
- Top with fresh mixed berries before serving.
Notes
- For a firmer cheesecake, use full-fat cream cheese.
- Feel free to customize the berry toppings based on seasonal availability.
- Make sure to let the cheesecake cool completely before refrigerating.
- Prep Time: 30 minutes
- Cook Time: 45 minutes
- Category: Dessert
- Method: Baking
- Cuisine: American
Nutrition
- Serving Size: 1 slice
- Calories: 350
- Sugar: 25g
- Sodium: 200mg
- Fat: 22g
- Saturated Fat: 12g
- Unsaturated Fat: 8g
- Trans Fat: 0g
- Carbohydrates: 30g
- Fiber: 2g
- Protein: 4g
- Cholesterol: 70mg
Keywords: Rainbow Berry Cheesecake, colorful cheesecake, berry dessert, cheesecake recipe