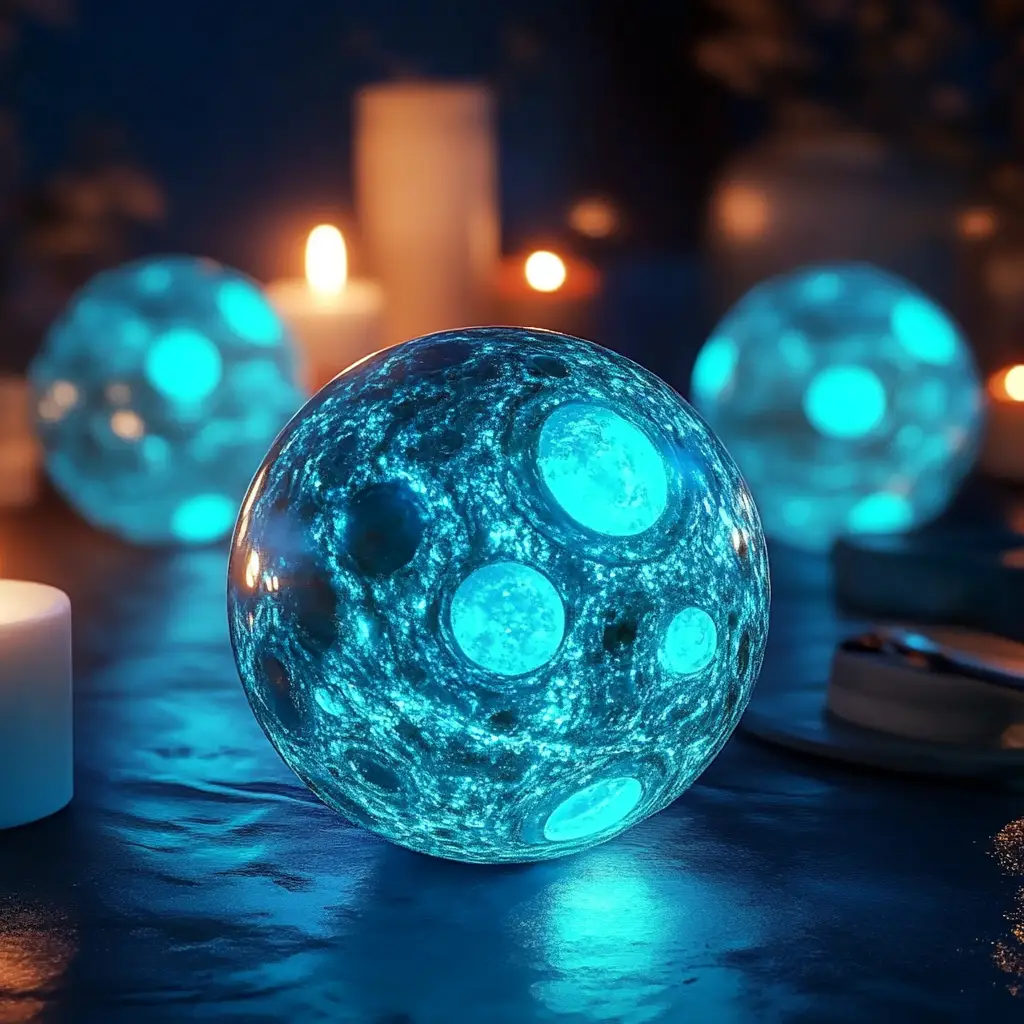
Imagine holding glowing, bouncy “rocks” that look like they came from outer space. With a few simple household ingredients, you can create your own DIY Glowing Moon Rocks—a craft that’s part science experiment, part art project, and completely magical.
These homemade creations are soft, moldable, and glow brightly in the dark, giving kids the chance to explore texture, chemistry, and creativity all at once. Not only can they be shaped into unique rock-like forms, but they also bounce, making them an extra exciting playtime activity.
Whether you’re planning a fun afternoon project, a classroom STEM lesson, or a space-themed party, these glowing moon rocks are guaranteed to light up the room—literally.
Why You’ll Love DIY Glowing Moon Rocks
This project stands out because it’s not just a craft, but also an engaging sensory and science-based experience. Here’s why families and educators love it:
-
Glows in the Dark – Glow-in-the-dark paint or pigment makes the rocks magical at night.
-
Hands-On Learning – Teaches kids about chemical reactions and textures through play.
-
Customizable – Adjust colors, sizes, and shapes for endless creativity.
-
Multi-Sensory – Kids mix, knead, shape, and bounce their glowing creations.
-
Budget-Friendly – Uses inexpensive, easy-to-find ingredients.
-
Perfect for Any Occasion – Great for rainy days, parties, classrooms, or science fairs.
These glowing moon rocks combine the best of science and art, keeping children engaged while sneaking in valuable lessons about chemistry and physics.
Ingredients and Supplies
To get started, gather the following items:
-
1/2 cup white school glue – Forms the base of the mixture.
-
1/4 cup warm water – Helps dissolve and smooth out the glue.
-
1 tablespoon cornstarch – Thickens the mixture and improves texture.
-
1/2 teaspoon baking soda – Works with the glue and starch to change consistency.
-
1 tablespoon glow-in-the-dark paint or pigment – Creates the glowing effect.
-
1/4 cup liquid starch – Helps transform the mixture into a moldable, bouncy dough.
-
Black or gray food coloring (optional) – Gives rocks a realistic lunar appearance.
-
1 small mixing bowl – For combining ingredients.
-
1 spoon or craft stick – For stirring and mixing.
Optional: Multiple colors of glow paint for variety, or glitter for extra sparkle.
Step-by-Step Instructions
Follow these detailed directions to make your own glowing moon rocks:
Step 1: Combine Glue and Water
Pour 1/2 cup of white school glue into a small mixing bowl. Add 1/4 cup of warm water and stir until the mixture is smooth and even. This forms the base for your glowing rocks.
Step 2: Add Baking Soda and Glow Paint
Stir in 1/2 teaspoon of baking soda along with 1 tablespoon of glow-in-the-dark paint or pigment powder. If you’d like your rocks to look more realistic, add a few drops of black or gray food coloring. Mix until all the ingredients are well combined and the color is evenly distributed.
Step 3: Mix in Cornstarch
Sprinkle in 1 tablespoon of cornstarch while stirring. The mixture will begin to thicken slightly at this point. Cornstarch helps give your moon rocks a firmer structure.
Step 4: Add Liquid Starch
Pour in 1/4 cup of liquid starch while stirring continuously. As you stir, the mixture will start to pull away from the sides of the bowl and transform into a sticky, gooey dough.
Step 5: Knead the Dough
Once the mixture thickens, use your hands to knead it for a few minutes. This step is important for creating a smooth, elastic consistency. Continue kneading until it feels firm but still pliable.
Step 6: Shape into Rocks
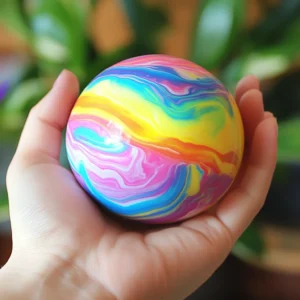
Take portions of the dough and form them into rock-like clumps or balls. For an authentic moon look, make the shapes uneven and textured rather than perfectly round.
Step 7: Experiment with Bouncing
Once shaped, try bouncing the rocks gently on the ground. They should have a playful, rubbery bounce that adds extra fun to the project.
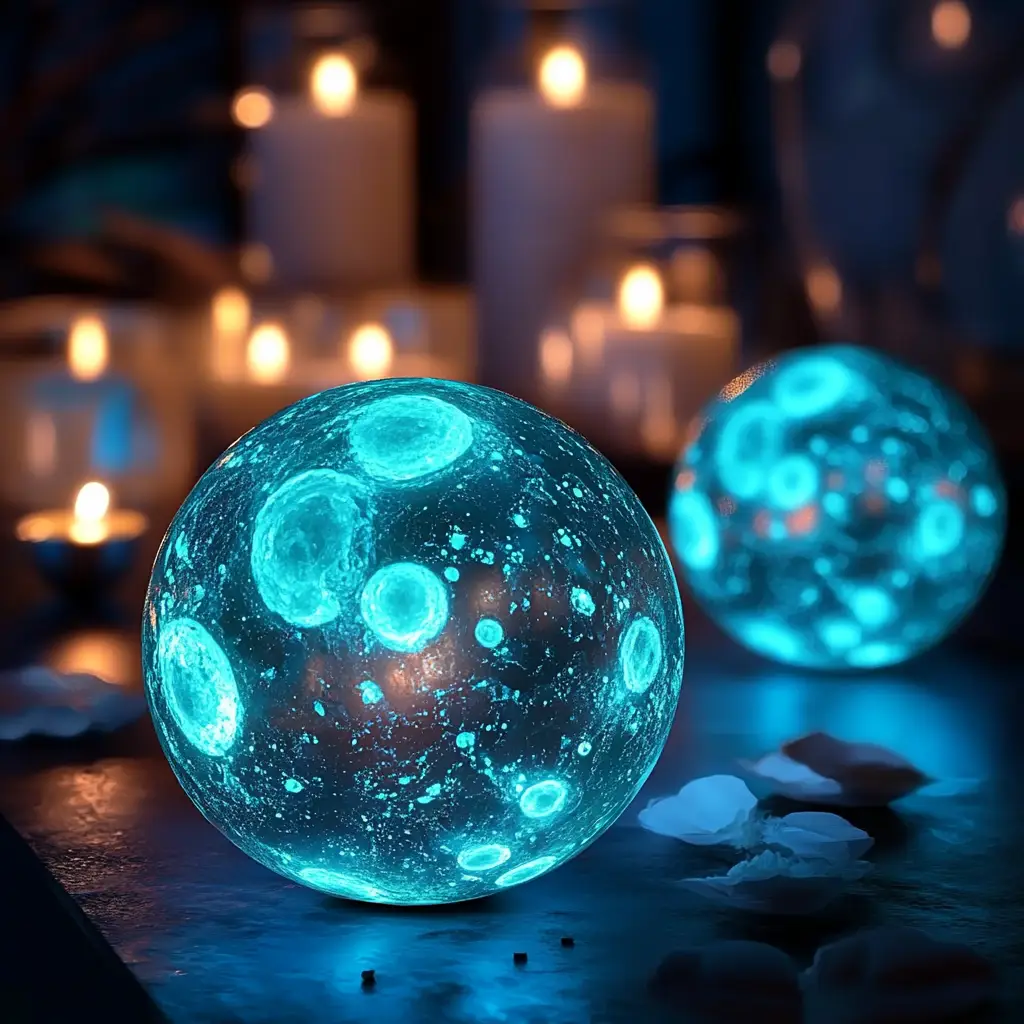
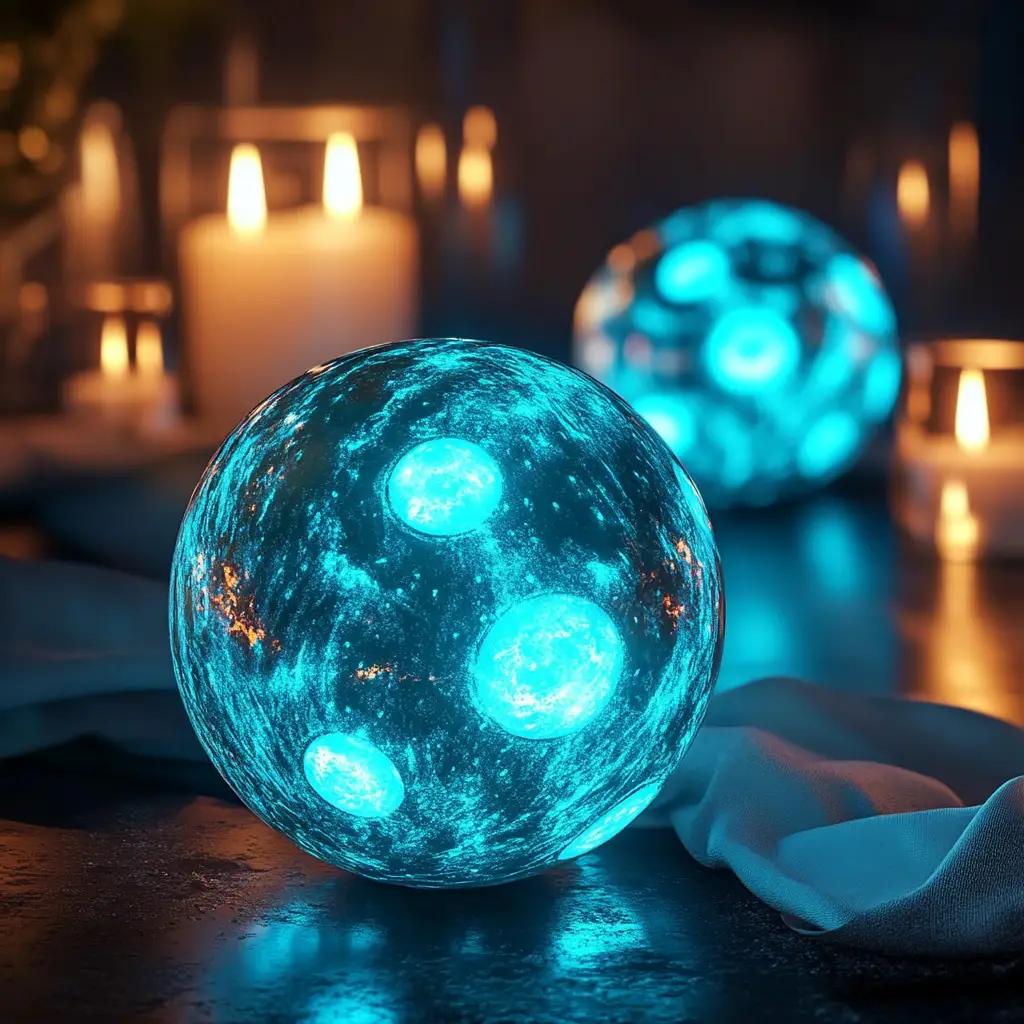
Step 8: Watch Them Glow
Dim the lights and marvel at your creations as they glow in the dark. The glow effect is most dramatic in a fully dark room after the rocks have been exposed to light for several minutes.
Tips and Variations
Here are a few creative ways to make your moon rocks even more exciting:
-
Colorful Creations: Mix multiple glow paint shades for a batch of rainbow moon rocks.
-
Galaxy Rocks: Swirl two colors together to mimic the look of galaxies.
-
Extra Realism: Add gray or black food coloring to create moon-like or asteroid-like tones.
-
Texture Play: Sprinkle a little glitter for shimmering “stardust” effects.
-
Glow Boost: Charge your rocks under a blacklight for a stronger glow.
-
Shape Variety: Make small pebble-like rocks or larger boulders for variety.
If your dough feels too sticky, add a little more cornstarch and knead again. If it feels too stiff, knead in a small splash of warm water.
The Science Behind DIY Glowing Moon Rocks
At first glance, this project may look like simple fun, but it demonstrates fascinating scientific concepts.
Polymers and Slime Chemistry
When glue (which contains polyvinyl acetate, a polymer) is mixed with liquid starch, a chemical reaction occurs. The starch acts as a cross-linking agent, binding glue molecules together and transforming the mixture into a stretchy, bouncy substance.
The Role of Cornstarch and Baking Soda
Cornstarch thickens the mixture, giving the rocks a firmer consistency. Baking soda interacts with the glue and starch, helping to stabilize the dough-like texture.
Phosphorescence
Glow-in-the-dark paint contains phosphorescent pigments. These pigments absorb light energy and release it slowly over time, creating the glowing effect. Exposing your rocks to bright light before turning off the lights charges them for maximum glow.
This combination of chemistry and physics provides an excellent STEM learning opportunity. Kids not only get to play but also see real science in action.
Educational and Play Opportunities
These glowing moon rocks aren’t just crafts—they’re versatile tools for fun and learning.
-
STEM Learning: Use them to discuss polymers, chemical reactions, and phosphorescence.
-
Sensory Play: Children can knead, stretch, bounce, and explore textures.
-
Themed Activities: Perfect for space-themed parties, science fairs, or classroom projects.
-
Nighttime Fun: Turn off the lights and use the glowing rocks for games or storytelling.
-
Creative Play: Pretend the rocks are pieces of the moon, asteroids, or alien treasures.
Frequently Asked Questions
1. How long do glowing moon rocks last?
They can last for several days if stored in a sealed container. Over time, they may dry out and lose bounce.
2. Do they glow without charging?
No. They need to be exposed to bright light (sunlight or a lamp) before glowing in darkness.
3. Are they safe for kids?
Yes, the ingredients are non-toxic. However, they should not be eaten, and adult supervision is recommended.
4. Can I make them without glow paint?
Yes, but they won’t glow. You’ll still get fun bouncy rocks, just without the glowing effect.
5. Why are my rocks too sticky?
Add a little more cornstarch and continue kneading until they firm up.
Conclusion
DIY Glowing Moon Rocks are an exciting blend of science, creativity, and sensory play. By combining simple ingredients like glue, starch, and glow paint, kids can create glowing, bouncy rocks that mimic lunar treasures from outer space. This project not only entertains but also teaches children about polymers, chemical reactions, and light energy in an unforgettable way.
Whether you’re hosting a party, teaching a STEM lesson, or simply looking for a fun indoor activity, these glowing moon rocks are guaranteed to shine. Each rock is unique, each glow is magical, and the learning possibilities are endless.
So gather your supplies, mix up some glowing dough, and get ready to light up the dark with your own collection of DIY Glowing Moon Rocks.