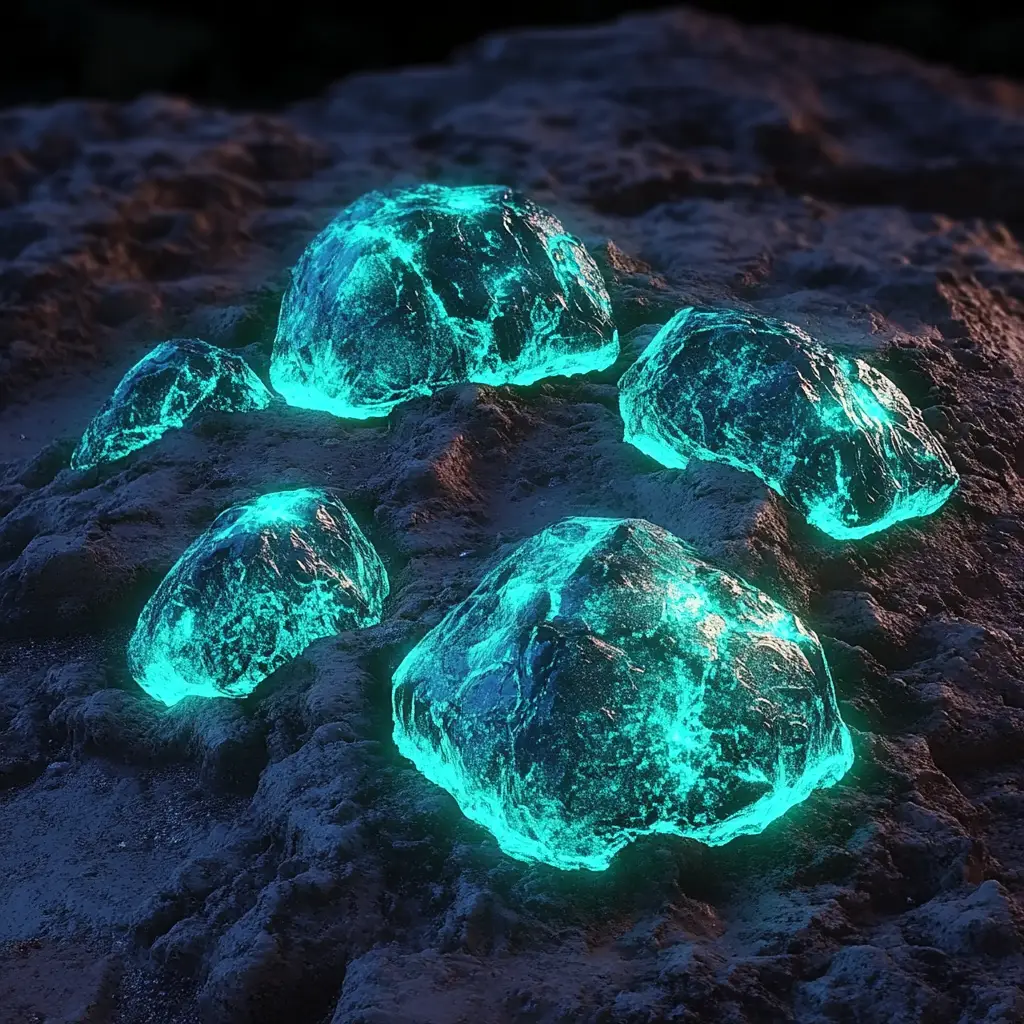
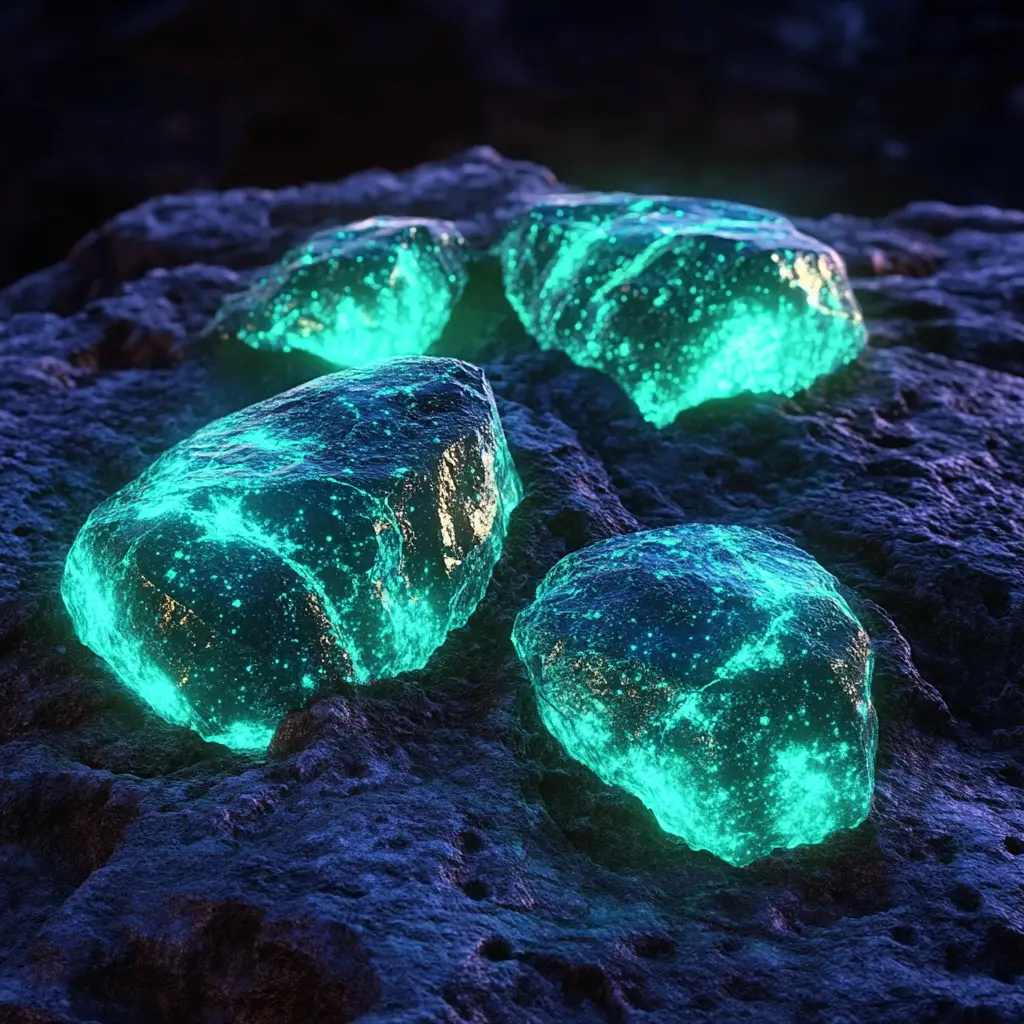
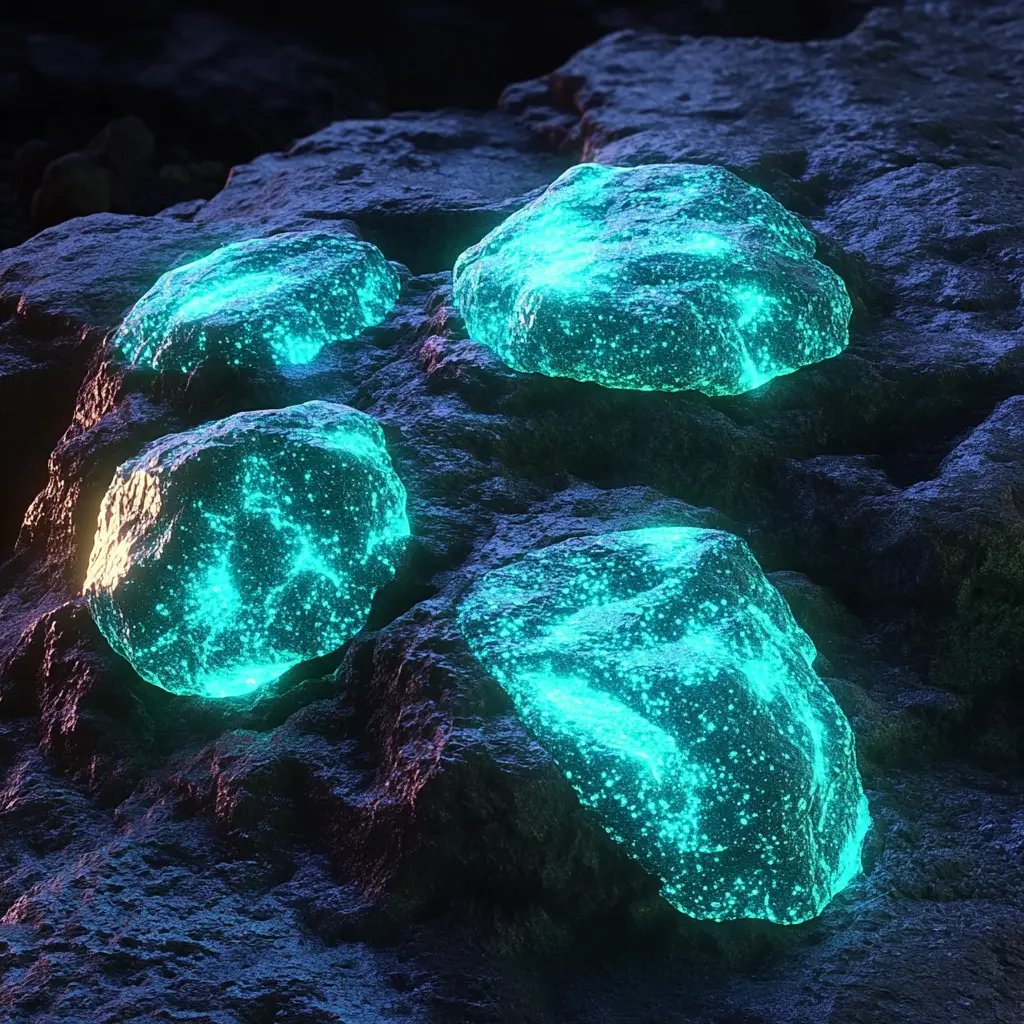
Have you ever imagined holding a glowing piece of the moon in your hands? While a trip to space might be out of reach, you can recreate the magic of lunar exploration right in your home with a fun, hands-on activity: Glow in the Dark Moon Rocks.
This activity is not only engaging for children but also sparks curiosity and creativity by blending science, sensory play, and artistic expression. Kids can mold their own glowing “rocks,” watch them light up in the dark, and even see them fizz and bubble with a simple chemical reaction. Perfect for classrooms, birthday parties, or family craft time, these moon rocks are both educational and entertaining.
In this guide, we’ll explore everything you need to know to create glowing moon rocks, from ingredients and step-by-step instructions to tips, variations, and the science behind the glow. By the end, you’ll have a collection of homemade glowing treasures that can light up the night and inspire young imaginations.
Why You’ll Love Glow in the Dark Moon Rocks
There are countless reasons families and educators fall in love with this activity. Here are some of the most compelling:
-
Simple to Make – The ingredients are easy to find, often already in your pantry or craft box.
-
Visually Stunning – When charged with light, the moon rocks glow beautifully in the dark.
-
Educational Value – This project doubles as a science experiment, demonstrating both phosphorescence and chemical reactions.
-
Sensory Engagement – From molding damp, sandy textures to watching fizzing bubbles, children engage multiple senses at once.
-
Customizable Fun – Add glitter, scents, or different paint colors to make each batch unique.
-
Reusable Activity – While each rock can only fizz once, you can make endless new batches for play and learning.
Whether you’re looking for an imaginative rainy-day activity, an interactive STEM project, or a party idea that stands out, Glow in the Dark Moon Rocks deliver every time.
Ingredients and Supplies
To make your glowing lunar rocks, gather the following materials. Most are inexpensive and easy to find:
-
1 cup baking soda – The base for the moon rocks and the key ingredient for fizzing.
-
1/4 cup water – Adjust as needed to achieve moldable consistency.
-
Neon or glow-in-the-dark acrylic paint – These provide the glowing effect. Choose a variety of colors for visual impact.
-
Glitter (optional) – Adds sparkle, making the rocks shimmer like stardust.
-
Glow-in-the-dark pigment powder (optional) – Enhances brightness and longevity of the glow.
-
Vinegar – Creates the fizzing chemical reaction when applied to the rocks.
-
Mixing bowl – For combining ingredients.
-
Spoon – For stirring and mixing.
-
Tray or plate – A surface for drying the shaped rocks.
-
Dropper or squeeze bottle – Used to apply vinegar during playtime.
Optional additions like essential oils or food-safe scents can make this activity multi-sensory, appealing to both smell and touch.
Step-by-Step Instructions
Follow these steps carefully to ensure your Glow in the Dark Moon Rocks turn out perfectly.
Step 1: Prepare the Base
Start by adding 1 cup of baking soda into a mixing bowl. This will form the main structure of your rocks.
Step 2: Add Color and Glow
Stir in a few spoonfuls of glow-in-the-dark paint. Use neon shades if you want vibrant colors under normal light, or phosphorescent paint for a stronger glow in darkness. Add glitter if you’d like to mimic the sparkling effect of moon dust. Mix well to distribute the paint evenly.
Step 3: Adjust Texture
Slowly pour in water, a little at a time, while stirring. The goal is to achieve a damp, sand-like consistency—moldable but not runny. If the mixture feels too dry, add a touch more water; if it becomes too wet, add a small amount of baking soda.
Step 4: Enhance the Glow (Optional)
If you have glow pigment powder, sprinkle some into the mixture and stir thoroughly. This step ensures your moon rocks glow intensely when exposed to light.
Step 5: Shape Your Moon Rocks
Scoop small handfuls of the mixture and press them into irregular rock-like shapes with your hands. You can make them small like pebbles or larger like chunks of asteroid—there are no strict rules here.
Step 6: Dry the Rocks
Place your shaped rocks on a tray or plate. Allow them to air-dry overnight for best results. If you are short on time, you can speed up the process by placing them in the freezer for 30–60 minutes.
Step 7: Charge the Glow
Once dry, expose your rocks to bright light—either sunlight, a lamp, or a blacklight. This charges the paint and pigment so that they glow vividly when placed in darkness.
Step 8: Play and Explore
Turn off the lights and watch your moon rocks glow. For added excitement, use a dropper or squeeze bottle to squirt vinegar onto the rocks. They will fizz and bubble dramatically, mimicking cosmic explosions or lunar dust clouds.
Tips and Variations
The beauty of Glow in the Dark Moon Rocks is how versatile they are. Here are some creative ways to personalize your project:
-
Rainbow Rocks – Use different paint colors for each rock to create a colorful assortment.
-
Galaxy Effect – Swirl two or more colors together before shaping for a marbled, galactic appearance.
-
Sparkling Stardust – Add extra glitter for a dazzling shimmer.
-
Scented Moon Rocks – Mix in a drop of lavender or citrus essential oil to create a pleasant fragrance.
-
Space Adventure Game – Hide the rocks around a darkened room and have children go on a “moon rock hunt.”
-
Blacklight Glow – For parties or classrooms, use a UV blacklight to intensify the glowing effect.
-
Themed Rocks – Create rocks in colors that match specific planets, such as red-orange for Mars or blue-green for Neptune.
The Science Behind Glow in the Dark Moon Rocks
This project may seem like simple play, but it introduces children to fascinating scientific concepts.
Phosphorescence
The glowing effect comes from phosphorescent pigments in the paint or powder. These pigments absorb energy from light sources and then slowly release it in darkness. This is why the rocks need to be “charged” under a lamp or sunlight before glowing.
Acid-Base Reaction
The fizzing occurs when vinegar (an acid) comes into contact with baking soda (a base). Together, they create carbon dioxide gas, which forms bubbles and foam. This reaction demonstrates basic chemistry in an exciting, hands-on way.
STEM Connections
-
Science: Teaches chemical reactions and light energy storage.
-
Technology: Involves using UV lights or blacklights to enhance glow.
-
Engineering: Children shape and build structures, strengthening motor skills.
-
Mathematics: Measuring ingredients reinforces practical math concepts.
Educational and Play Opportunities
Glow in the Dark Moon Rocks are not just fun—they’re also a valuable learning tool.
-
Classroom Activity: Teachers can use them to demonstrate chemical reactions.
-
Sensory Play: Younger children enjoy the textures and fizzing sounds.
-
Themed Parties: Perfect for space or science-themed birthday celebrations.
-
Family Fun: An engaging way to combine crafting, science, and play during family time.
-
After-School Projects: Great for STEM clubs or after-school programs.
Frequently Asked Questions
1. How long do Glow in the Dark Moon Rocks last?
Once dried, they can last for several days if stored in a dry, airtight container.
2. Can I reuse them after fizzing?
No, once vinegar dissolves the rocks, they can’t be reused. However, you can always make new ones.
3. Are they safe for children?
Yes, the ingredients are non-toxic, but they are not edible. Always supervise young children.
4. What if my rocks don’t glow very well?
Make sure you used enough glow paint or pigment powder, and expose them to a strong light source for several minutes before turning off the lights.
5. Can I make them without glow paint?
Yes, but they won’t glow in the dark. You can still make colorful rocks using regular acrylic paint.
Conclusion
Glow in the Dark Moon Rocks are an engaging DIY project that brings together creativity, science, and sensory play. By mixing common household items with glowing pigments, children can create their very own lunar treasures that light up the night and fizz with excitement.
This activity is simple enough for young children yet fascinating enough for older kids and even adults. It introduces key scientific principles, encourages hands-on learning, and sparks imagination by allowing kids to pretend they are explorers holding real pieces of the moon.
Whether you use them as a STEM lesson, a party activity, or a family craft, Glow in the Dark Moon Rocks are guaranteed to inspire wonder and curiosity. With every fizz and every glow, kids are reminded that science and creativity can come together to create pure magic.