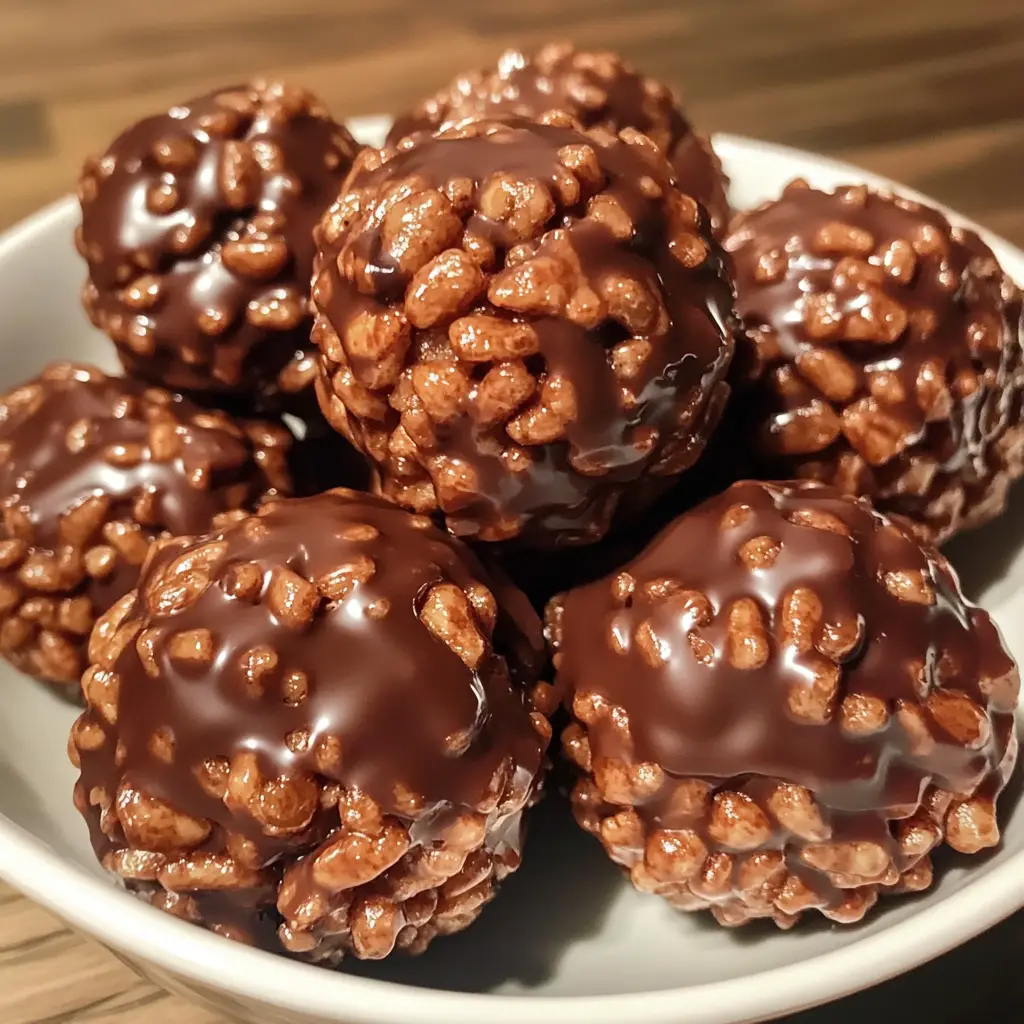
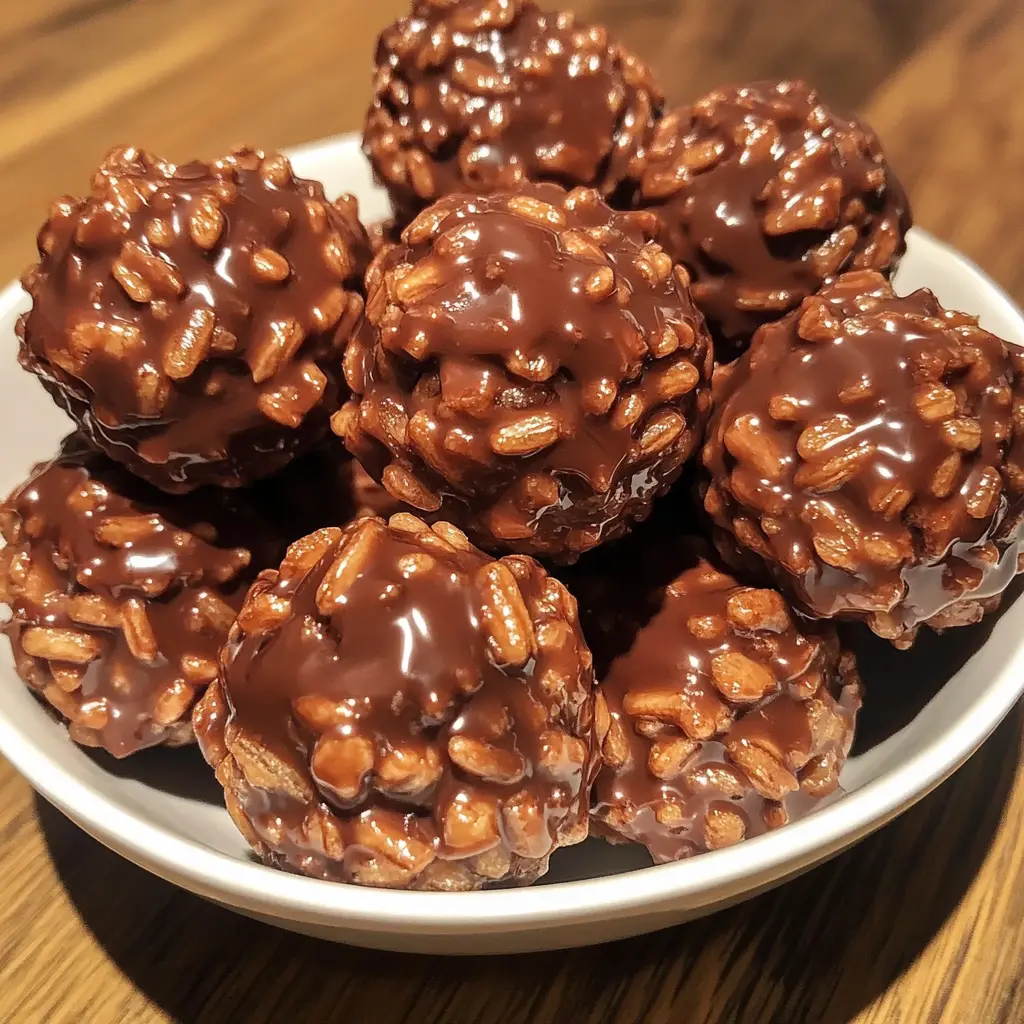
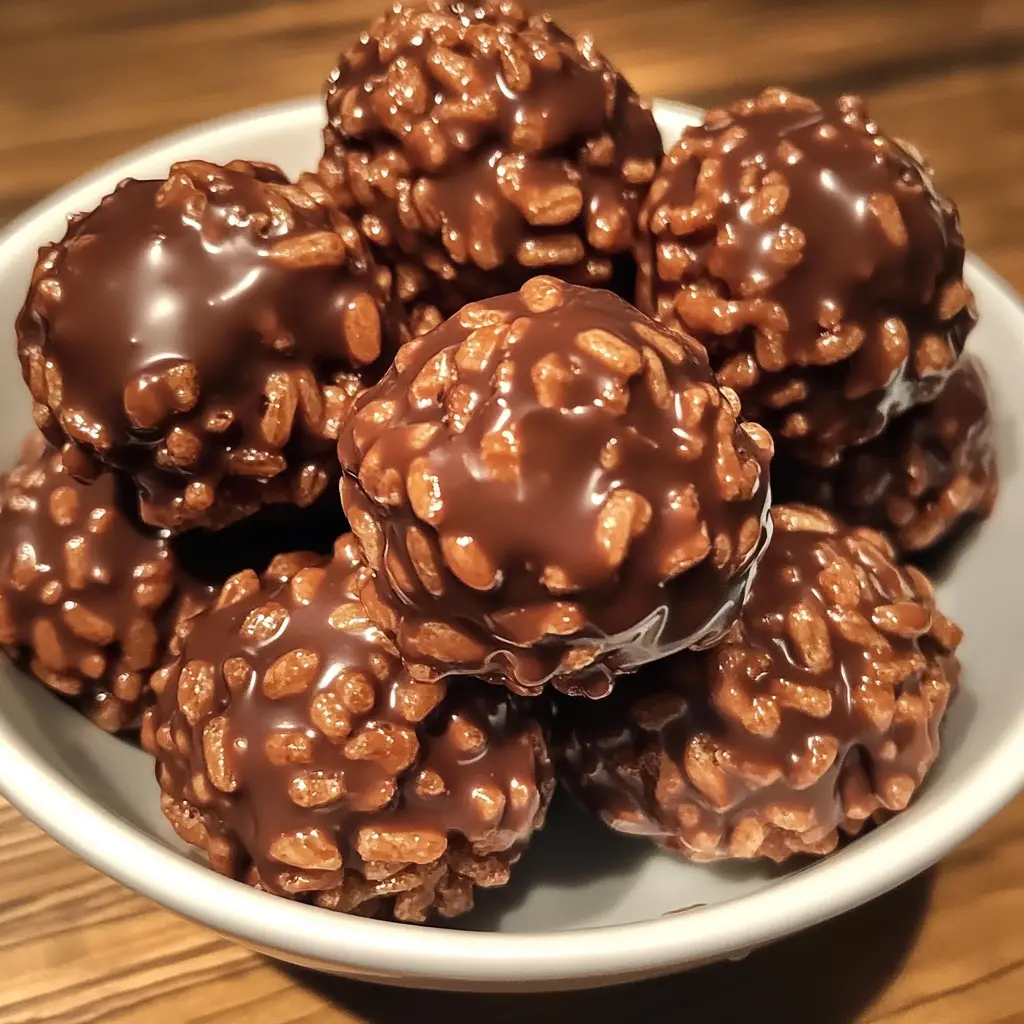
Introduction to Chocolate Rice Krispie Balls
As a busy mom, I know how precious time can be, especially when it comes to whipping up something sweet. That’s why I absolutely adore these Chocolate Rice Krispie Balls! They’re not just a treat; they’re a quick solution for those hectic days when you want to impress your loved ones without spending hours in the kitchen. With just a handful of ingredients and no baking required, these delightful bites are perfect for any occasion. Trust me, once you make them, you’ll find yourself reaching for this recipe time and time again!
Why You’ll Love This Chocolate Rice Krispie Balls
These Chocolate Rice Krispie Balls are a dream come true for busy moms and professionals alike. They come together in just 25 minutes, making them a perfect last-minute dessert. The combination of crispy cereal and rich chocolate creates a delightful texture that’s hard to resist. Plus, they’re customizable! You can add your favorite mix-ins or toppings, ensuring everyone gets a treat they love. What’s not to adore?
Ingredients for Chocolate Rice Krispie Balls
Gathering the right ingredients is the first step to creating these delightful Chocolate Rice Krispie Balls. Here’s what you’ll need:
- Rice Krispies cereal: This crispy cereal forms the base of our treat, adding that satisfying crunch.
- Chocolate chips: Choose semi-sweet or dark chocolate for a rich flavor that melts beautifully.
- Marshmallows: These add a touch of sweetness and help bind everything together, creating a chewy texture.
- Butter: A little butter adds richness and helps the chocolate melt smoothly.
- Vanilla extract: This enhances the overall flavor, giving a warm, inviting aroma to your treats.
For those who like to get creative, consider adding optional ingredients like chopped nuts or dried fruit for extra flavor and texture. You can also substitute the chocolate chips with white chocolate or even peanut butter chips for a fun twist!
Don’t forget, the exact quantities for these ingredients are listed at the bottom of the article, ready for you to print out and take to the kitchen!
How to Make Chocolate Rice Krispie Balls
Now that you have your ingredients ready, let’s dive into the fun part—making these Chocolate Rice Krispie Balls! This no-bake recipe is simple and quick, perfect for busy days. Follow these steps, and you’ll have a delightful treat in no time!
Step 1: Melt the Butter
Start by placing a large saucepan on the stove over low heat. Add the butter and let it melt slowly. Stir occasionally to ensure it doesn’t burn. The goal is to have it completely melted and bubbly, creating a rich base for your chocolate.
Step 2: Add Chocolate Chips
Once the butter is melted, it’s time to add the chocolate chips. Pour them into the saucepan and stir continuously. Keep the heat low, and watch as the chocolate transforms into a smooth, glossy mixture. This is where the magic begins!
Step 3: Mix in Vanilla and Marshmallows
Remove the saucepan from the heat. Now, add the vanilla extract and marshmallows to the melted chocolate. Stir well until the marshmallows are fully incorporated and melted. This step adds a delightful sweetness and a hint of flavor that makes these Chocolate Rice Krispie Balls irresistible.
Step 4: Combine with Rice Krispies
Next, it’s time to bring in the star of the show—Rice Krispies cereal! Gently fold the cereal into the chocolate mixture. Make sure every piece is evenly coated. This is where you’ll see those crispy bits getting enveloped in chocolatey goodness!
Step 5: Form the Balls
Allow the mixture to cool slightly, just enough so it’s manageable. With clean hands, take small portions of the mixture and roll them into balls. Aim for about one inch in diameter. This is a fun step, and you can even get the kids involved!
Step 6: Refrigerate
Finally, place the formed balls on a baking sheet lined with parchment paper. Pop them in the refrigerator for about 30 minutes, or until they’re set. This will help them hold their shape and make them easier to enjoy later!
Tips for Success
- Make sure to melt the butter slowly to avoid burning.
- Use a rubber spatula for easy mixing and scraping the sides of the pan.
- Let the mixture cool enough to handle, but not too long, or it will harden.
- For uniform balls, use a cookie scoop or your hands.
- Experiment with different chocolate types for unique flavors!
Equipment Needed
- Large saucepan: A heavy-bottomed one works best to prevent burning.
- Rubber spatula: Perfect for mixing and scraping the sides.
- Baking sheet: Any flat surface will do, but parchment paper is a must.
- Cookie scoop: Optional, but great for uniform balls.
Variations
- Nutty Delight: Add chopped nuts like almonds or walnuts for a crunchy texture.
- Fruit Fusion: Mix in dried fruits such as cranberries or raisins for a sweet and chewy surprise.
- Peanut Butter Bliss: Substitute half of the chocolate chips with peanut butter chips for a nutty twist.
- Gluten-Free Option: Use gluten-free Rice Krispies to make this treat suitable for those with dietary restrictions.
- Festive Touch: Roll the balls in shredded coconut or crushed graham crackers for added flavor and visual appeal.
Serving Suggestions
- Pair these Chocolate Rice Krispie Balls with a glass of cold milk for a classic treat.
- Serve them on a colorful platter for a festive touch at parties.
- For a fun twist, drizzle with melted chocolate or caramel before serving.
- These treats also make great additions to lunchboxes or as after-school snacks!
FAQs about Chocolate Rice Krispie Balls
As you embark on your journey to make these delightful Chocolate Rice Krispie Balls, you might have a few questions. Here are some common queries I’ve encountered, along with helpful answers!
Can I use different types of chocolate for this recipe?
Absolutely! You can use semi-sweet, dark, or even white chocolate chips. Each type will give your Chocolate Rice Krispie Balls a unique flavor profile. Feel free to experiment!
How should I store the Chocolate Rice Krispie Balls?
Store them in an airtight container at room temperature for up to a week. If you live in a warm climate, refrigerating them is a good idea to keep them firm.
Can I make these Chocolate Rice Krispie Balls ahead of time?
Yes! These treats are perfect for making ahead. Just prepare them a day or two in advance and store them properly. They’ll be ready to impress when you are!
What can I add to make them more festive?
Consider rolling the balls in colorful sprinkles, shredded coconut, or crushed nuts. A drizzle of melted chocolate on top can also add a beautiful touch!
Are these Chocolate Rice Krispie Balls suitable for kids?
Definitely! They’re a fun and easy treat for kids to help make. Just be sure to supervise them while handling the melted chocolate!
Final Thoughts
Making Chocolate Rice Krispie Balls is more than just a recipe; it’s a delightful experience that brings joy to both the cook and the lucky eaters. The simplicity of this no-bake treat allows for creativity, whether you’re adding your favorite mix-ins or decorating them for a special occasion. I love how these little bites can turn an ordinary day into something special, bringing smiles to my family’s faces. So, gather your ingredients, roll up your sleeves, and enjoy the sweet satisfaction of creating something delicious together. Trust me, these treats will become a cherished favorite in your home!
Print
Chocolate Rice Krispie Balls: A Sweet Delight Recipe!
- Total Time: 25 minutes
- Yield: 24 balls 1x
- Diet: Vegetarian
Description
Chocolate Rice Krispie Balls are a delightful treat made with crispy rice cereal, melted chocolate, and a touch of sweetness, perfect for any occasion.
Ingredients
- 4 cups Rice Krispies cereal
- 1 cup chocolate chips
- 1/2 cup marshmallows
- 1/4 cup butter
- 1/2 teaspoon vanilla extract
Instructions
- In a large saucepan, melt the butter over low heat.
- Add the chocolate chips and stir until melted and smooth.
- Remove from heat and mix in the vanilla extract and marshmallows until well combined.
- Stir in the Rice Krispies cereal until evenly coated.
- Allow the mixture to cool slightly, then form into small balls.
- Place the balls on a baking sheet lined with parchment paper and refrigerate until set.
Notes
- For added flavor, consider adding nuts or dried fruit.
- Store in an airtight container for up to a week.
- These can be decorated with sprinkles or drizzled with additional chocolate for a festive touch.
- Prep Time: 15 minutes
- Cook Time: 10 minutes
- Category: Dessert
- Method: No-Bake
- Cuisine: American
Nutrition
- Serving Size: 1 ball
- Calories: 120
- Sugar: 8g
- Sodium: 50mg
- Fat: 6g
- Saturated Fat: 4g
- Unsaturated Fat: 2g
- Trans Fat: 0g
- Carbohydrates: 15g
- Fiber: 1g
- Protein: 1g
- Cholesterol: 15mg
Keywords: Chocolate Rice Krispie Balls, dessert, no-bake treats, sweet snacks