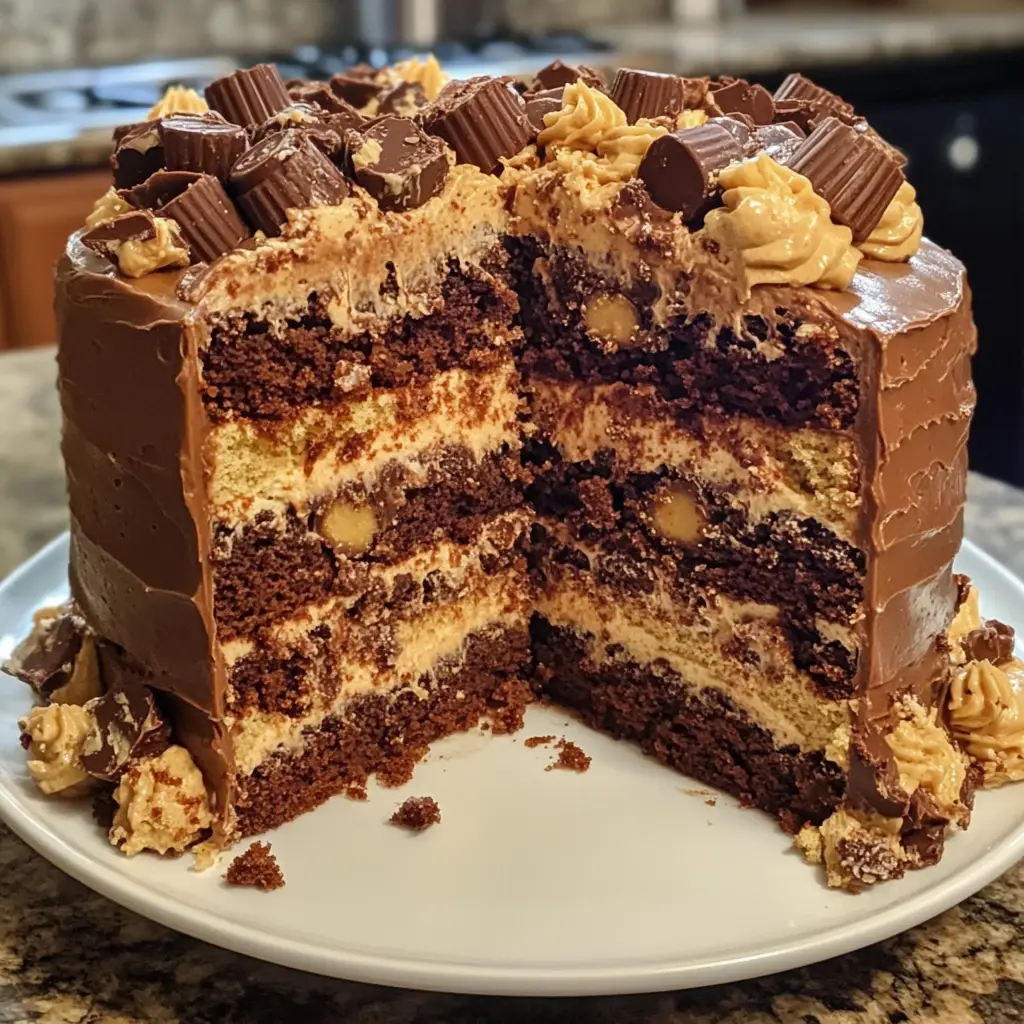
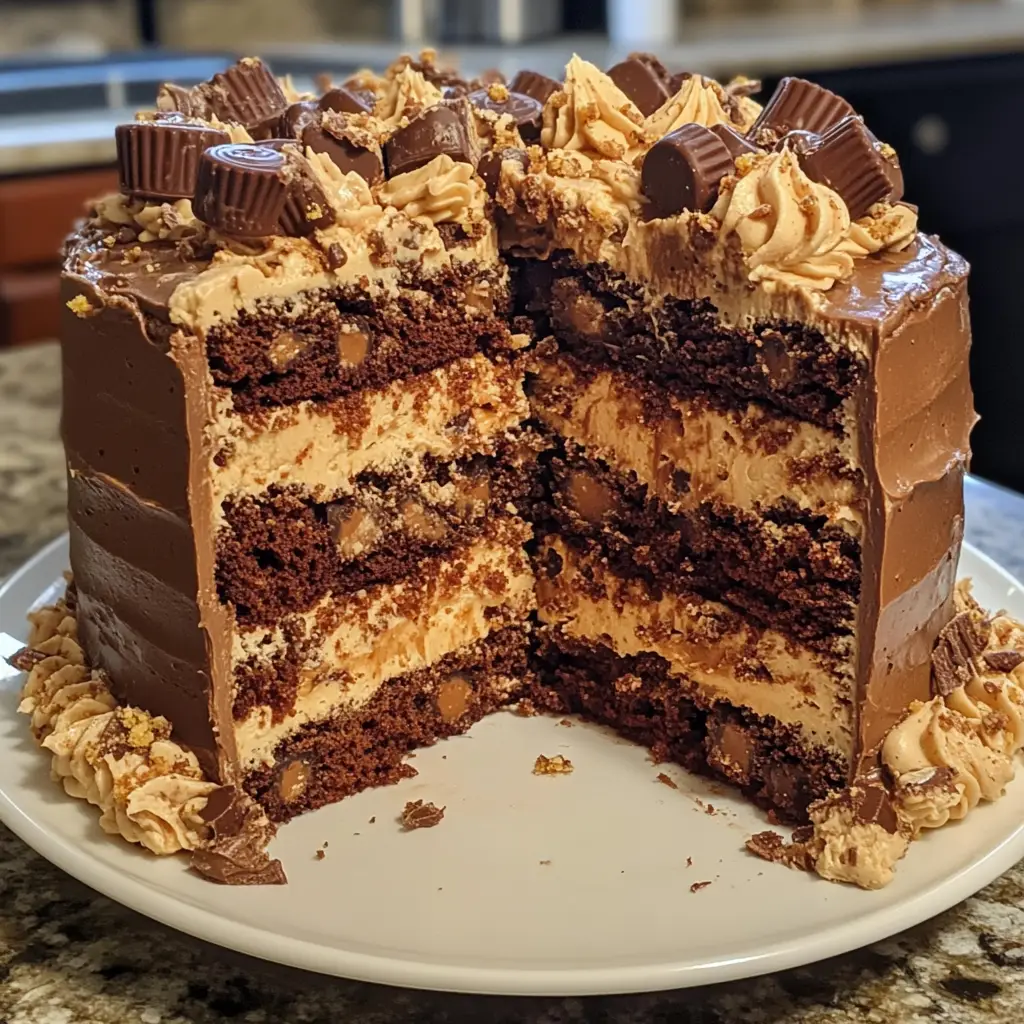
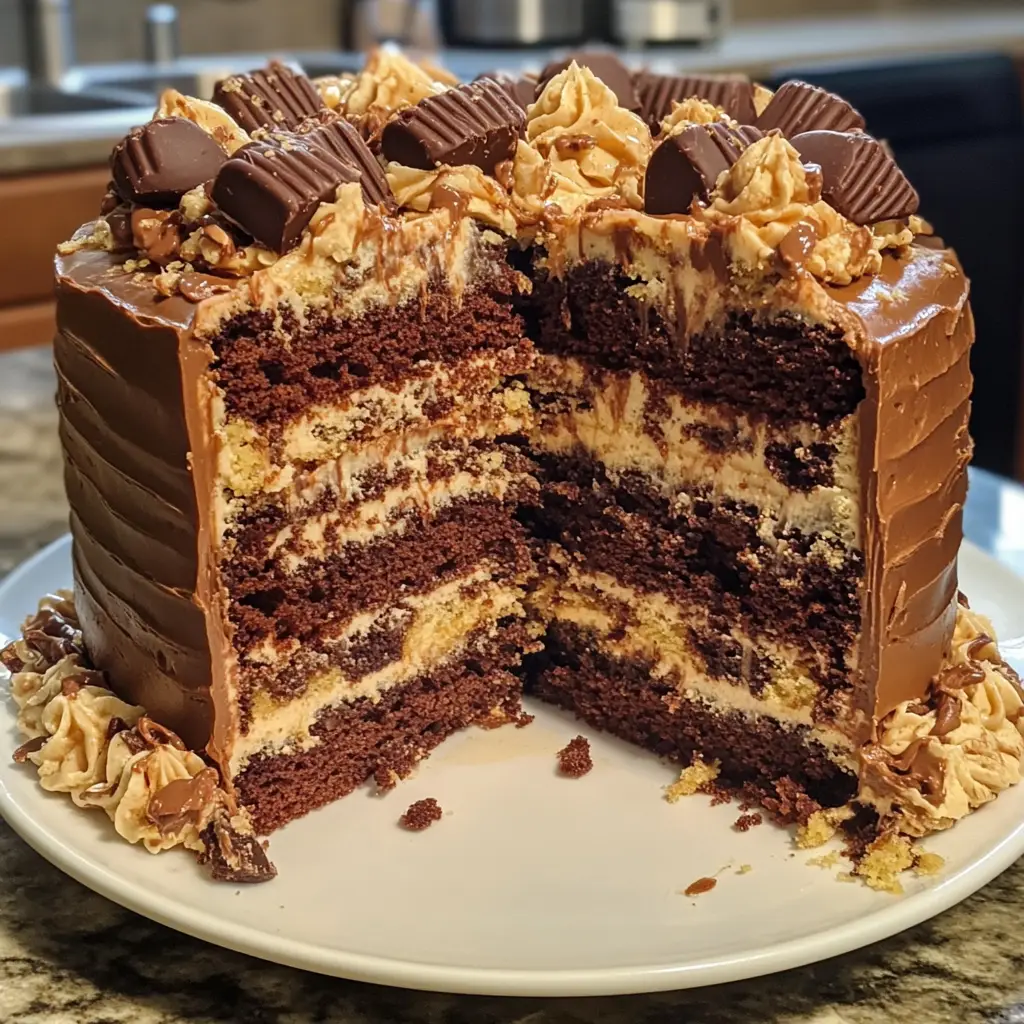
Introduction to Reese’s Peanut Butter Cup Earthquake Cake
Hey there, fellow dessert lovers! If you’re anything like me, you know that life can get pretty hectic. Between juggling work, family, and everything in between, finding time to whip up a delightful treat can feel impossible. That’s where my Reese’s Peanut Butter Cup Earthquake Cake comes in! This cake is not just a dessert; it’s a sweet escape that combines rich chocolate and creamy peanut butter, topped with those irresistible Reese’s cups. Perfect for impressing your loved ones or simply indulging after a long day, this cake is a quick solution that will leave everyone asking for seconds!
Why You’ll Love This Reese’s Peanut Butter Cup Earthquake Cake
This Reese’s Peanut Butter Cup Earthquake Cake is a dream come true for busy moms and professionals alike. It’s incredibly easy to make, requiring just a few simple steps. The combination of chocolate and peanut butter creates a flavor explosion that’s hard to resist. Plus, it’s perfect for any occasion, whether it’s a family gathering or a cozy night in. Trust me, this cake will quickly become a favorite!
Ingredients for Reese’s Peanut Butter Cup Earthquake Cake
Gathering the right ingredients is the first step to creating your Reese’s Peanut Butter Cup Earthquake Cake. Here’s what you’ll need:
- Chocolate cake mix: This is the base of your cake, providing that rich, chocolatey goodness.
- Water: Helps to hydrate the cake mix, ensuring a moist texture.
- Vegetable oil: Adds moisture and richness, making the cake tender.
- Large eggs: These bind the ingredients together and add structure to your cake.
- Creamy peanut butter: The star of the show! It brings that delicious nutty flavor and creamy texture.
- Powdered sugar: Sweetens the peanut butter mixture, creating a delightful contrast to the chocolate.
- Chopped Reese’s Peanut Butter Cups: These little gems add bursts of chocolate and peanut butter throughout the cake.
- Chocolate chips: For an extra layer of chocolatey goodness, these melt beautifully into the cake.
- Chopped nuts (optional): If you like a bit of crunch, feel free to sprinkle in some nuts for added texture.
For exact measurements, check the bottom of the article where you can find everything listed for easy printing. Happy baking!
How to Make Reese’s Peanut Butter Cup Earthquake Cake
Now that you have all your ingredients ready, let’s dive into the fun part—making your Reese’s Peanut Butter Cup Earthquake Cake! Follow these simple steps, and you’ll have a delicious dessert that will wow your family and friends.
Step 1: Preheat and Prepare
First things first, preheat your oven to 350°F (175°C). This is crucial for a perfect bake!
While the oven warms up, grab a 9×13 inch baking pan and grease it well. You can use cooking spray or butter. This will ensure your cake slides out easily when it’s done.
Step 2: Mix the Chocolate Cake Batter
In a large mixing bowl, combine the chocolate cake mix, water, vegetable oil, and eggs. Use a whisk or an electric mixer to blend everything until it’s smooth and well combined.
This chocolate batter is the foundation of your cake, so make sure there are no lumps. It should be thick and luscious, just like a good chocolate cake should be!
Step 3: Prepare the Peanut Butter Mixture
In a separate bowl, mix together the creamy peanut butter and powdered sugar. Stir until it’s smooth and creamy.
This peanut butter mixture is what makes this cake special. It adds a rich layer of flavor that pairs perfectly with the chocolate!
Step 4: Layer the Cake
Now, it’s time to assemble your cake! Pour half of the chocolate batter into the prepared pan, spreading it evenly.
Next, drop spoonfuls of the peanut butter mixture over the chocolate batter. Don’t worry about making it perfect; the “earthquake” effect will happen as it bakes!
Sprinkle the chopped Reese’s Peanut Butter Cups and chocolate chips over the peanut butter layer. Then, pour the remaining chocolate batter on top, covering everything.
Step 5: Bake the Cake
Place your cake in the preheated oven and bake for 30-35 minutes. You’ll know it’s done when a toothpick inserted in the center comes out clean.
This is where the magic happens! The layers will meld together, creating a deliciously rich cake that’s sure to impress.
Step 6: Cool and Serve
Once baked, remove the cake from the oven and let it cool in the pan for about 10-15 minutes. This cooling time allows the flavors to meld beautifully.
After it’s cooled, slice it up and serve! Whether you enjoy it warm or at room temperature, this cake is sure to be a hit.
Tips for Success
- Make sure your ingredients are at room temperature for better mixing.
- Don’t overmix the batter; a few lumps are okay!
- For a richer flavor, use high-quality chocolate cake mix.
- Let the cake cool completely before slicing for cleaner pieces.
- Feel free to customize with your favorite nuts or additional chocolate chips.
Equipment Needed
- 9×13 inch baking pan: A standard size for this cake; you can also use a round pan if preferred.
- Mixing bowls: Use two bowls—one for the chocolate batter and one for the peanut butter mixture.
- Whisk or electric mixer: For blending the batter smoothly; a whisk works just fine!
- Spatula: Great for spreading the batter evenly in the pan.
Variations
- Gluten-Free Option: Substitute the chocolate cake mix with a gluten-free blend to make this cake suitable for gluten-sensitive friends.
- Nut-Free Version: Omit the chopped nuts and use sunflower seed butter instead of peanut butter for a nut-free alternative.
- Vegan Twist: Replace eggs with flax eggs and use a plant-based chocolate cake mix to create a vegan-friendly dessert.
- Extra Crunch: Add crushed pretzels or graham crackers to the peanut butter layer for a delightful crunch.
- Flavor Infusion: Mix in a teaspoon of vanilla extract or a pinch of sea salt to enhance the flavors of the chocolate and peanut butter.
Serving Suggestions
- Pair your Reese’s Peanut Butter Cup Earthquake Cake with a scoop of vanilla ice cream for a delightful contrast.
- Drizzle warm chocolate sauce over the top for an extra indulgent treat.
- Serve with a side of fresh berries to add a refreshing touch.
- For a fun presentation, dust with powdered sugar before serving.
FAQs about Reese’s Peanut Butter Cup Earthquake Cake
As you embark on your baking adventure with the Reese’s Peanut Butter Cup Earthquake Cake, you might have a few questions. Here are some common queries that can help you along the way:
Can I use a different cake mix?
Absolutely! While chocolate cake mix is traditional, you can experiment with vanilla or even red velvet for a fun twist.
How do I store leftovers?
Store any leftover cake in an airtight container at room temperature. It stays delicious for a few days, but I doubt it will last that long!
Can I freeze this cake?
Yes! Wrap slices in plastic wrap and place them in a freezer-safe container. It can be frozen for up to three months.
What can I substitute for peanut butter?
If you need a nut-free option, sunflower seed butter works great! It has a similar texture and flavor profile.
Can I make this cake ahead of time?
Definitely! You can bake it a day in advance. Just let it cool completely before storing it. It tastes even better the next day!
Final Thoughts
Creating the Reese’s Peanut Butter Cup Earthquake Cake is more than just baking; it’s about bringing joy to your kitchen and your loved ones. The delightful combination of chocolate and peanut butter creates a symphony of flavors that dances on your taste buds. Whether you’re celebrating a special occasion or simply treating yourself after a long day, this cake is sure to bring smiles all around. Plus, it’s so easy to make that even the busiest of moms can whip it up in no time. So, grab your ingredients and let the baking adventure begin!
Print
Reese’s Peanut Butter Cup Earthquake Cake Delights You!
- Total Time: 55 minutes
- Yield: 12 servings 1x
- Diet: Vegetarian
Description
A deliciously rich and decadent cake featuring layers of chocolate, peanut butter, and Reese’s Peanut Butter Cups, perfect for any dessert lover.
Ingredients
- 1 box chocolate cake mix
- 1 cup water
- 1/2 cup vegetable oil
- 3 large eggs
- 1 cup creamy peanut butter
- 1 cup powdered sugar
- 1 cup chopped Reese’s Peanut Butter Cups
- 1 cup chocolate chips
- 1/2 cup chopped nuts (optional)
Instructions
- Preheat the oven to 350°F (175°C) and grease a 9×13 inch baking pan.
- In a large bowl, combine the chocolate cake mix, water, vegetable oil, and eggs. Mix until well combined.
- In another bowl, mix the peanut butter and powdered sugar until smooth.
- Pour half of the chocolate cake batter into the prepared pan.
- Drop spoonfuls of the peanut butter mixture over the chocolate batter.
- Sprinkle the chopped Reese’s Peanut Butter Cups and chocolate chips over the peanut butter layer.
- Pour the remaining chocolate cake batter over the top.
- Bake for 30-35 minutes or until a toothpick inserted in the center comes out clean.
- Let the cake cool before serving.
Notes
- For an extra chocolatey flavor, add more chocolate chips.
- Store leftovers in an airtight container at room temperature.
- This cake can be served warm or cold.
- Prep Time: 20 minutes
- Cook Time: 35 minutes
- Category: Dessert
- Method: Baking
- Cuisine: American
Nutrition
- Serving Size: 1 slice
- Calories: 450
- Sugar: 35g
- Sodium: 300mg
- Fat: 25g
- Saturated Fat: 10g
- Unsaturated Fat: 15g
- Trans Fat: 0g
- Carbohydrates: 50g
- Fiber: 2g
- Protein: 6g
- Cholesterol: 50mg
Keywords: Reese's Peanut Butter Cup, Earthquake Cake, Chocolate Cake, Peanut Butter Dessert