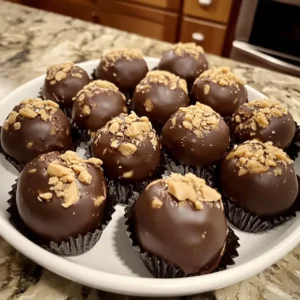
Introduction to Layered Toffee Cracker Bars Recipe
Ah, the sweet aroma of toffee wafting through the kitchen! It takes me back to my childhood, where I would eagerly await the arrival of family gatherings. My aunt, a culinary wizard, would whip up her famous Layered Toffee Cracker Bars, and I can still hear the delightful crunch of the crackers mingling with the rich, buttery toffee. Those bars were the highlight of every dessert table, and I knew I had to learn how to make them myself.
What I love most about this recipe is its simplicity. With just a handful of ingredients, you can create a treat that feels indulgent and special. It’s like a warm hug on a plate! The combination of salty and sweet is simply irresistible. Each bite is a delightful dance of flavors, and I can’t help but smile as I share them with friends and family.
Whether you’re hosting a party, looking for a quick dessert to impress, or just craving something sweet, these Layered Toffee Cracker Bars are the answer. They’re perfect for any occasion, and trust me, they disappear faster than you can say “toffee!” So, grab your apron, and let’s dive into this delicious adventure together. I promise you won’t regret it!
Ingredients for Layered Toffee Cracker Bars Recipe
Before we embark on this delightful culinary journey, let’s gather our ingredients. I always believe that the quality of ingredients can make or break a recipe. So, let’s ensure we have the best of the best for our Layered Toffee Cracker Bars!
Main Ingredients
- 1 box of saltine crackers (about 40 crackers) – These will form the crunchy base.
- 1 cup unsalted butter (2 sticks) – The star of our toffee layer!
- 1 cup packed brown sugar – This adds that rich, caramel-like flavor.
- 2 cups semi-sweet chocolate chips – For that luscious chocolate topping.
- 1 cup chopped nuts (optional) – I love using pecans or walnuts for a delightful crunch.
Optional Add-ons
- 1 teaspoon vanilla extract – A splash of vanilla can elevate the flavor.
- Sea salt flakes – A sprinkle on top can enhance the sweet and salty contrast.
- 1 cup shredded coconut – If you’re a coconut lover, this adds a tropical twist!
- 1/2 cup peanut butter – Drizzle this on top for a nutty flavor explosion.
When I make these bars, I often opt for high-quality chocolate chips. They melt beautifully and give a rich taste that makes every bite heavenly. If you can, try to find organic or fair-trade chocolate. It’s worth it! And don’t forget about the nuts; they add a lovely texture and flavor. If you’re not a fan of nuts, feel free to skip them. The beauty of this recipe is its flexibility!
Now that we have our ingredients ready, let’s move on to the fun part—preparing our Layered Toffee Cracker Bars!
How to Prepare Layered Toffee Cracker Bars Recipe
Now that we have our ingredients all lined up like eager little soldiers, it’s time to roll up our sleeves and get cooking! Making Layered Toffee Cracker Bars is a fun and rewarding process. I promise, the end result will be worth every minute spent in the kitchen. Let’s dive into the steps!
Step 1: Prepare the Base Layer
First things first, we need to create a solid foundation for our bars. Start by preheating your oven to 400°F (200°C). While the oven warms up, line a baking sheet with aluminum foil or parchment paper. This will make cleanup a breeze!
Next, lay out the saltine crackers in a single layer on the prepared baking sheet. I like to arrange them in a neat grid, but feel free to get creative! Just make sure they cover the entire surface. This crunchy base is what makes these bars so delightful.
Tips for Step 1
- For an extra touch, you can lightly brush the crackers with melted butter before baking. It adds a lovely flavor!
- Don’t worry if some crackers break; just fill in the gaps with the pieces. They’ll still taste amazing!
Step 2: Create the Toffee Layer
Now, let’s make that luscious toffee layer! In a medium saucepan, melt the unsalted butter and brown sugar over medium heat. Stir constantly until the mixture comes to a gentle boil. This is where the magic happens! The butter and sugar will transform into a beautiful, bubbly toffee.
Once it starts boiling, let it cook for about 3-4 minutes without stirring. You want it to thicken up a bit. Then, pour the hot toffee mixture evenly over the crackers. Use a spatula to spread it out gently, ensuring every cracker gets a taste of that sweet goodness.
Tips for Step 2
- Be careful when handling the hot toffee; it can be quite sticky and may splatter!
- If you want a deeper flavor, you can add a pinch of salt to the toffee mixture while it cooks.
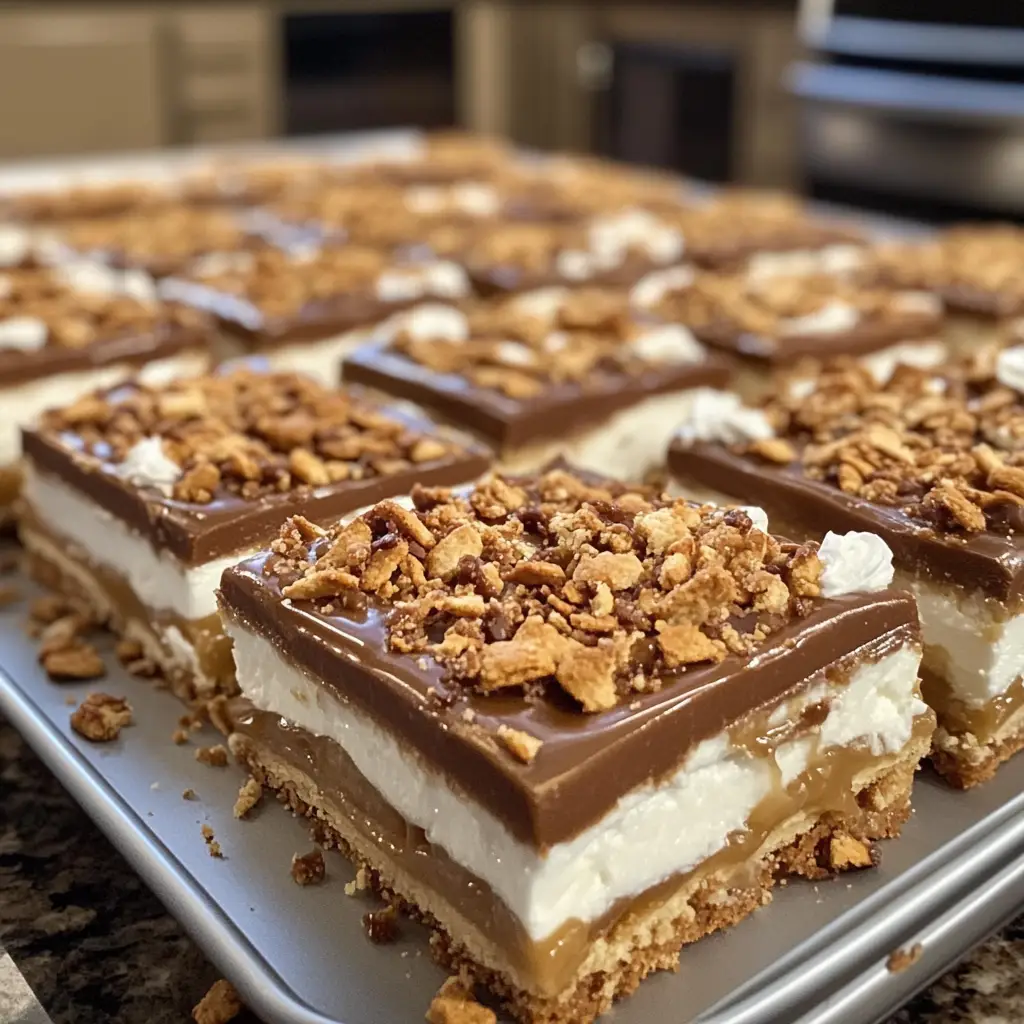
Step 3: Assemble the Layers
With the toffee layer in place, it’s time to add the chocolate! Sprinkle the semi-sweet chocolate chips over the hot toffee layer. The heat from the toffee will melt the chocolate chips beautifully. After a few minutes, use a spatula to spread the melted chocolate evenly across the top.
If you’re feeling adventurous, now’s the time to sprinkle on any optional add-ons like chopped nuts or shredded coconut. It’s like giving your bars a little personality!
Tips for Step 3
- For a fun twist, try using different types of chocolate, like milk chocolate or dark chocolate.
- Make sure to spread the chocolate quickly while it’s still warm; it will set as it cools!
Step 4: Chill and Set
Now that our bars are beautifully layered, it’s time to let them chill. Place the baking sheet in the refrigerator for at least 2 hours. This will allow the chocolate to set and the flavors to meld together. Patience is key here, but I promise it’s worth the wait!
Tips for Step 4
- If you’re in a hurry, you can pop them in the freezer for about 30 minutes instead.
- Once set, you can cut them into squares or bars. I like to use a sharp knife dipped in hot water for clean cuts!
And there you have it! Four simple steps to create your very own Layered Toffee Cracker Bars. I can already imagine the smiles on everyone’s faces when they take that first bite. Let’s keep the momentum going and move on to the next exciting part—what equipment we’ll need!
Equipment Needed for Layered Toffee Cracker Bars Recipe
Before we dive into the kitchen, let’s gather the essential tools for our Layered Toffee Cracker Bars. Having the right equipment makes the process smoother and more enjoyable. Here’s what you’ll need:
- Baking Sheet: A standard-sized baking sheet is perfect for laying out the saltine crackers. If you don’t have one, a large casserole dish can work too!
- Aluminum Foil or Parchment Paper: This will line your baking sheet, making cleanup a breeze. If you’re out of these, a silicone baking mat is a great alternative.
- Medium Saucepan: You’ll need this for melting the butter and brown sugar. A non-stick saucepan is ideal, but any medium-sized pot will do.
- Spatula: A heat-resistant spatula is essential for spreading the toffee and chocolate layers. If you don’t have one, a wooden spoon can work in a pinch.
- Refrigerator: This is where the magic happens! You’ll need space to chill your bars until they set. If you’re short on space, a cooler can help too.
- Sharp Knife: For cutting the bars into perfect squares. Dipping the knife in hot water makes for cleaner cuts, but any sharp knife will do.
With these tools at your side, you’re all set to create your delicious Layered Toffee Cracker Bars. Remember, the kitchen is a place for creativity, so feel free to improvise if you’re missing something. Let’s keep the excitement going as we move on to the next step in our culinary adventure!
Variations of Layered Toffee Cracker Bars Recipe
One of the things I adore about the Layered Toffee Cracker Bars is their versatility. You can easily switch things up to suit your taste or the occasion. Here are a few fun variations that I’ve tried and loved:
- Mint Chocolate Delight: Add a few drops of peppermint extract to the melted chocolate for a refreshing twist. It’s like a holiday treat any time of year!
- Caramel Drizzle: Instead of just chocolate, drizzle some warm caramel sauce over the top. It adds an extra layer of sweetness that’s simply divine.
- Nutty Crunch: Mix in different nuts like almonds or hazelnuts for a unique flavor. Toasting the nuts beforehand enhances their taste and adds a lovely crunch.
- Spicy Kick: For those who enjoy a little heat, sprinkle some cayenne pepper or chili powder into the toffee mixture. It creates a surprising and delightful contrast!
- Fruit Fusion: Top the chocolate layer with dried fruits like cranberries or apricots. They add a chewy texture and a burst of fruity flavor.
These variations not only keep things interesting but also allow you to personalize your Layered Toffee Cracker Bars. I love experimenting with different flavors, and I encourage you to do the same! The possibilities are endless, and each version brings its own unique charm to the table. So, let your creativity shine as we continue our delicious journey!
Cooking Notes for Layered Toffee Cracker Bars Recipe
As I’ve learned through my culinary adventures, a few cooking notes can make all the difference in achieving the perfect Layered Toffee Cracker Bars. Here are some tips that I’ve gathered over the years to ensure your bars turn out just right:
- Watch the Toffee: When cooking the toffee, keep a close eye on it. If it cooks too long, it can become too hard. You want that perfect gooey texture!
- Cooling Time: Allow the bars to cool completely before cutting. This helps the layers set properly and makes for cleaner cuts.
- Storage: Store any leftovers in an airtight container at room temperature. They’ll stay fresh for several days, but I doubt they’ll last that long!
- Experiment with Layers: Don’t hesitate to play around with the layers. You can add more chocolate or toffee if you like a richer flavor. It’s all about what makes your taste buds dance!
- Serving Temperature: These bars are delightful at room temperature, but I also enjoy them chilled. It’s a fun way to change up the texture!
With these cooking notes in mind, you’re well on your way to creating a batch of Layered Toffee Cracker Bars that will impress everyone. Remember, cooking is all about having fun and making it your own. So, let’s keep the excitement alive as we move on to serving suggestions!
Serving Suggestions for Layered Toffee Cracker Bars Recipe
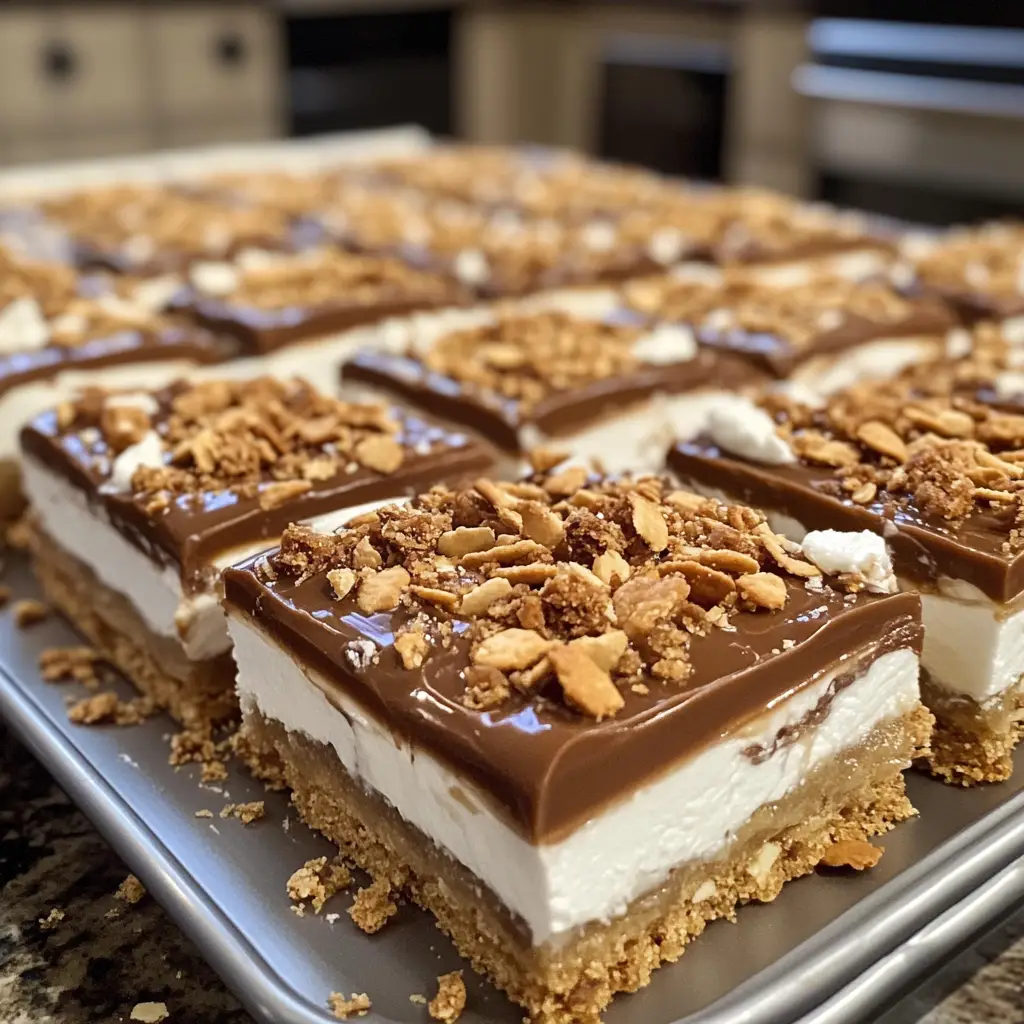
Now that our Layered Toffee Cracker Bars are ready to shine, let’s talk about how to serve them up! Presentation can elevate any dish, and these bars are no exception. Here are some delightful serving suggestions that I’ve found to be crowd-pleasers:
- On a Dessert Platter: Arrange the bars on a beautiful platter, perhaps with a sprinkle of powdered sugar on top for a touch of elegance. It’s like a sweet masterpiece!
- With Ice Cream: Serve a warm bar alongside a scoop of vanilla or chocolate ice cream. The combination of warm toffee and cold ice cream is pure bliss!
- As Party Favors: Cut the bars into smaller squares and package them in cute little bags tied with ribbon. They make for delightful party favors that guests will love!
- With Coffee or Tea: Pair these bars with a cup of coffee or tea for a cozy afternoon treat. The rich flavors complement each other beautifully.
- Garnished with Fresh Berries: Add a handful of fresh berries on the side for a pop of color and a refreshing contrast to the sweetness of the bars.
These serving suggestions not only enhance the visual appeal but also create a delightful experience for everyone enjoying your Layered Toffee Cracker Bars. I can already picture the smiles and hear the compliments as they take that first bite. So, let’s keep the momentum going and explore some tips for making these bars even better!
Tips for Making Layered Toffee Cracker Bars Recipe
As I’ve whipped up countless batches of Layered Toffee Cracker Bars, I’ve gathered a treasure trove of tips that can elevate your baking experience. Here are some of my favorite nuggets of wisdom to ensure your bars turn out perfectly every time:
- Use Fresh Ingredients: Always check the freshness of your butter and chocolate. Fresh ingredients make a world of difference in flavor!
- Don’t Rush the Toffee: Allow the toffee to bubble gently. Rushing it can lead to a grainy texture. Patience is key!
- Chill for Best Results: If you can, let the bars chill overnight. This allows the flavors to meld beautifully, making each bite even more delicious.
- Experiment with Toppings: Don’t be afraid to get creative! Try drizzling white chocolate or adding crushed candies for a fun twist.
- Cut with Care: When it’s time to cut, use a sharp knife and a gentle sawing motion. This helps maintain the layers without squishing them.
With these tips in your back pocket, you’re ready to create Layered Toffee Cracker Bars that will impress everyone. Remember, cooking is all about enjoying the process, so have fun and let your creativity shine! Now, let’s move on to the breakdown of time for this delightful recipe.
Breakdown of Time for Layered Toffee Cracker Bars Recipe
As a passionate home cook, I know that time management is key in the kitchen. So, let’s break down the time it takes to create these scrumptious Layered Toffee Cracker Bars. This way, you can plan your baking adventure with ease!
- Prep Time: Approximately 15 minutes. This includes gathering your ingredients, lining the baking sheet, and preparing the toffee mixture.
- Cooking Time: About 10 minutes. This is the time spent melting the butter and brown sugar, as well as baking the crackers.
- Chilling Time: At least 2 hours. This is crucial for allowing the layers to set properly. If you’re in a hurry, you can chill them in the freezer for about 30 minutes instead.
- Total Time: Roughly 2 hours and 25 minutes. This includes all the prep, cooking, and chilling time.
With this time breakdown, you can easily fit these delicious bars into your day. I often find that the anticipation of waiting for them to chill only adds to the excitement! So, gather your ingredients, and let’s get started on this delightful journey together!
Nutritional Information for Layered Toffee Cracker Bars Recipe
As a passionate home cook, I always find it helpful to know the nutritional information of the treats I whip up. It allows me to enjoy them mindfully and share them with friends and family without hesitation. Here’s a general breakdown of the nutritional content for one serving (assuming the recipe yields about 24 bars):
- Calories: Approximately 200 calories
- Fat: 10g (Saturated Fat: 5g)
- Carbohydrates: 28g (Sugars: 15g)
- Protein: 2g
- Sodium: 150mg
- Fiber: 1g
Keep in mind that these values can vary based on the specific brands of ingredients you use and any optional add-ons you choose to include. For instance, adding nuts or coconut will increase the nutritional content, especially in terms of healthy fats and protein. I always encourage balance, so enjoy these delicious Layered Toffee Cracker Bars as an occasional treat, and savor every delightful bite!
Frequently Asked Questions about Layered Toffee Cracker Bars Recipe
As I’ve shared my love for Layered Toffee Cracker Bars, I often get questions from fellow home cooks eager to try this delightful treat. I love answering these queries because it shows just how much excitement surrounds this recipe! Here are some of the most frequently asked questions, along with my personal insights:
Can I use a different type of cracker?
Absolutely! While saltine crackers are traditional, you can experiment with other types like graham crackers or even Ritz crackers. Each will bring its own unique flavor and texture to the bars. Just remember, the saltiness of the cracker balances the sweetness of the toffee, so choose wisely!
How do I store the leftover bars?
To keep your Layered Toffee Cracker Bars fresh, store them in an airtight container at room temperature. They’ll stay delicious for about a week. If you want to keep them longer, you can refrigerate them, but I find they taste best at room temperature!
Can I make these bars ahead of time?
Yes, you can! In fact, making them a day in advance allows the flavors to meld beautifully. Just be sure to let them chill completely before cutting and serving. They’re perfect for parties or gatherings when you want to get a head start!
What if I don’t have chocolate chips?
No worries! If you’re out of chocolate chips, you can melt chocolate bars instead. Just chop them into small pieces and follow the same melting process. You can also use white chocolate or even butterscotch chips for a fun twist!
Can I freeze these bars?
Yes, you can freeze Layered Toffee Cracker Bars! Just cut them into squares, wrap them tightly in plastic wrap, and place them in a freezer-safe container. They’ll keep well for up to three months. When you’re ready to enjoy, simply thaw them at room temperature.
These questions reflect the curiosity and creativity that come with baking. I love how this recipe sparks conversations and inspires others to get into the kitchen. If you have more questions or need tips, feel free to reach out! Now, let’s wrap up our delicious journey with a sweet conclusion.
Conclusion on Layered Toffee Cracker Bars Recipe
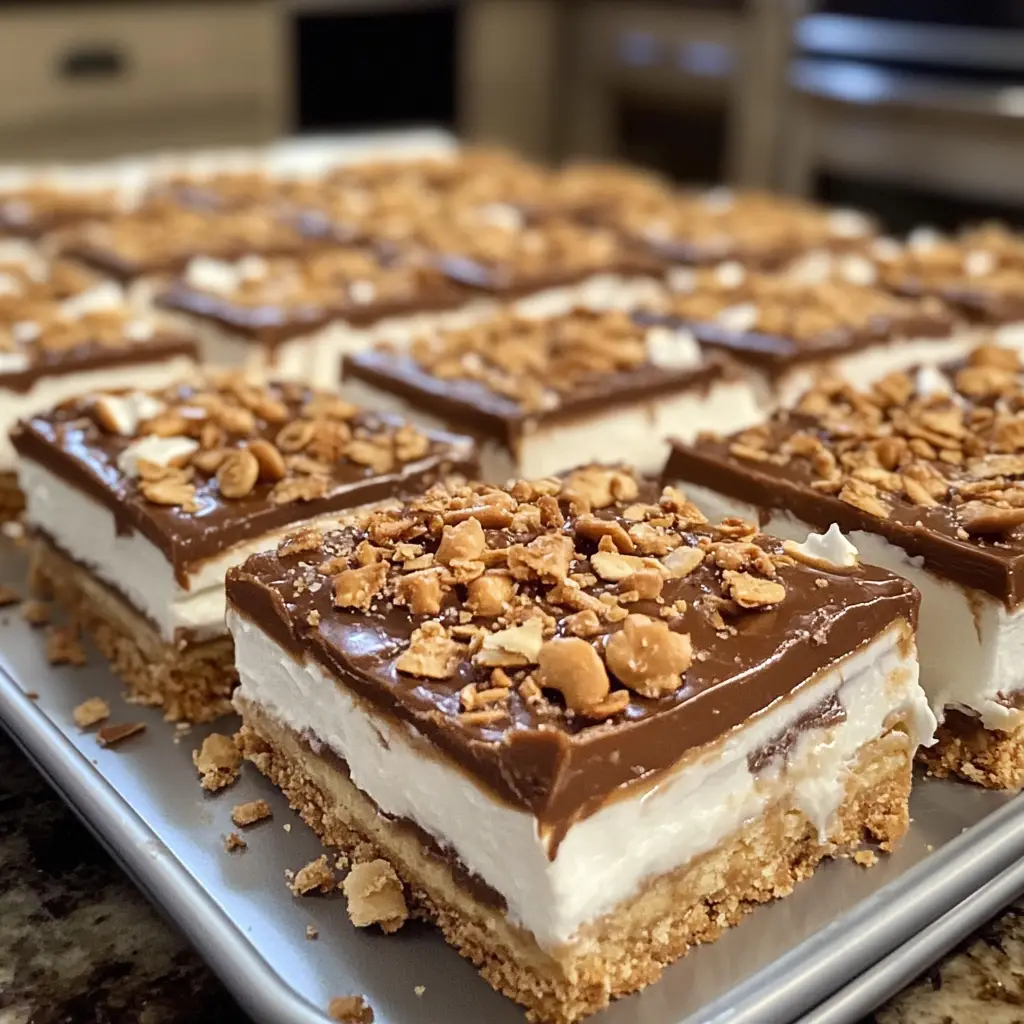
As we wrap up our delightful journey through the world of Layered Toffee Cracker Bars, I can’t help but feel a sense of joy. This recipe is more than just a collection of ingredients; it’s a celebration of flavors, memories, and the simple pleasure of sharing something sweet with loved ones. The combination of crunchy saltine crackers, rich toffee, and luscious chocolate creates a symphony of taste that’s hard to resist.
What I love most about these bars is their versatility. Whether you’re making them for a festive gathering, a cozy family night, or just to satisfy a sweet tooth, they never fail to impress. Plus, the ease of preparation means you can whip them up in no time, making them a go-to treat for any occasion.
So, the next time you find yourself in the kitchen, I encourage you to give this Layered Toffee Cracker Bars Recipe a try. Embrace the process, get creative with your variations, and most importantly, enjoy every delicious bite. I can already picture the smiles on everyone’s faces as they savor these delightful bars. Happy baking!