Introduction to Easter Egg Cheesecake Bites Recipe
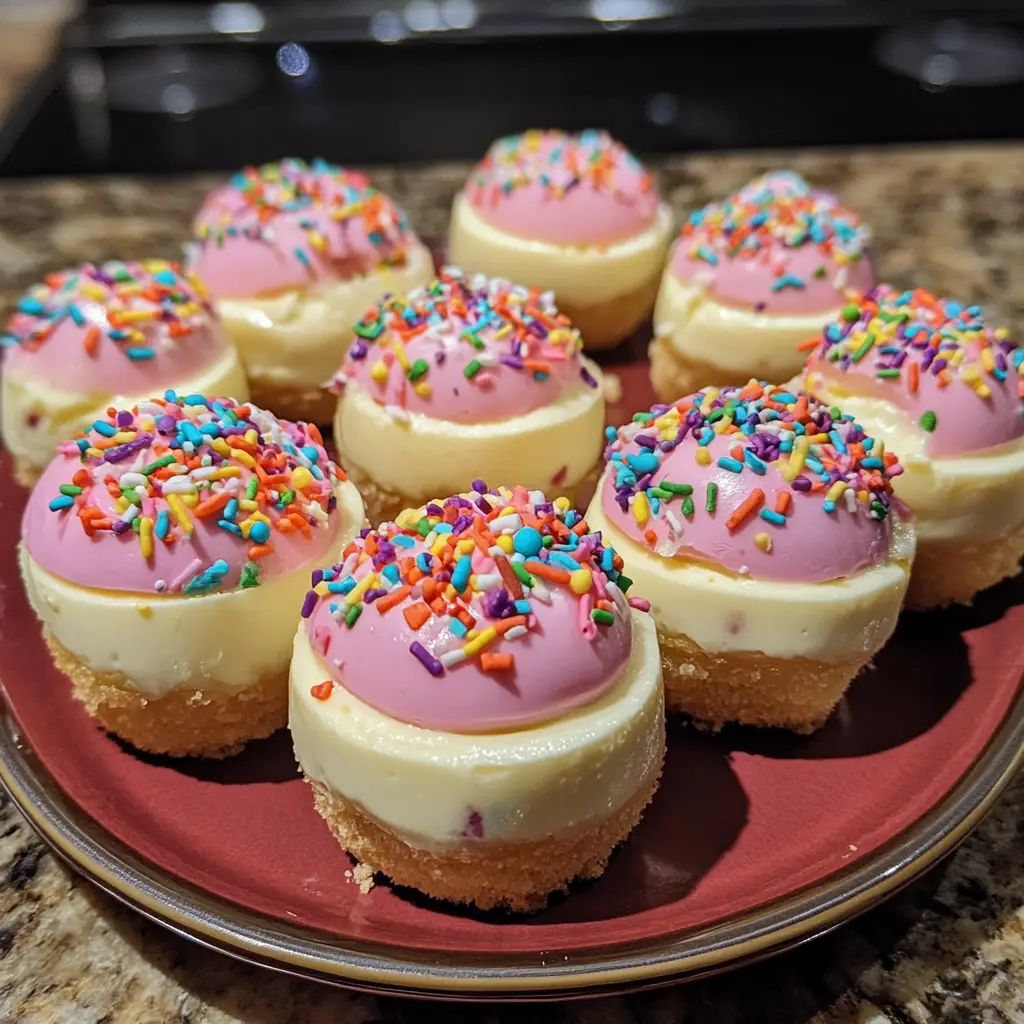
As a passionate home cook, I find joy in creating delightful treats that bring smiles to faces, especially during festive occasions. Easter is one of those special times when family and friends gather to celebrate, and what better way to sweeten the day than with my Easter Egg Cheesecake Bites? These little gems are not just a feast for the eyes; they are a burst of creamy, dreamy cheesecake wrapped in a delightful crust, all shaped like colorful Easter eggs!
Let me take you back to my childhood. I remember eagerly waiting for Easter morning, my heart racing with excitement as I searched for hidden eggs in the garden. The thrill of discovery was always accompanied by the sweet aroma of baked goods wafting through the house. My grandmother would whip up her famous cheesecake, and I would sneak bites when I thought no one was watching. Those memories inspired me to create a fun twist on her classic recipe, perfect for sharing with loved ones.
These Easter Egg Cheesecake Bites are not only adorable but also incredibly easy to make. They are the perfect treat for kids and adults alike, and they add a festive touch to any Easter celebration. Plus, they can be made ahead of time, allowing you to enjoy the holiday without spending all day in the kitchen. So, roll up your sleeves, and let’s dive into this delightful recipe that will surely become a family favorite!
Ingredients for Easter Egg Cheesecake Bites Recipe
Before we jump into the fun of making these Easter Egg Cheesecake Bites, let’s gather our ingredients. I always believe that quality ingredients make a world of difference in the final product. So, let’s make sure we have everything we need to create these delightful treats!
Main Ingredients
- 1 cup of graham cracker crumbs
- 1/4 cup of unsalted butter, melted
- 2 cups of cream cheese, softened
- 1/2 cup of granulated sugar
- 1 teaspoon of vanilla extract
- 2 large eggs
- 1/4 cup of sour cream
- 1/2 cup of chocolate chips (optional, for drizzling)
When I make these bites, I always opt for high-quality cream cheese. It really enhances the creaminess of the filling. Also, using fresh eggs makes a noticeable difference in texture. If you can, try to find organic or free-range eggs for the best flavor!
Optional Add-ons
- Food coloring (for vibrant cheesecake filling)
- Mini chocolate eggs (for decoration)
- Crushed nuts (like pecans or almonds, for added crunch)
- Fruit preserves (like raspberry or strawberry, for a fruity twist)
These optional add-ons can take your Easter Egg Cheesecake Bites to the next level! I love adding a splash of food coloring to the cheesecake filling to make them even more festive. And if you’re feeling adventurous, a dollop of fruit preserves in the center adds a delightful surprise!
Now that we have our ingredients ready, let’s move on to the fun part—preparing these delicious bites!
How to Prepare Easter Egg Cheesecake Bites Recipe
Now that we have our ingredients all lined up, it’s time to roll up our sleeves and get cooking! Making these Easter Egg Cheesecake Bites is a fun and rewarding process. I promise, the end result will be worth every minute spent in the kitchen. Let’s dive into the steps!
Step 1: Prepare the Crust
First things first, we need to create a delicious crust that will hold our cheesecake filling. In a mixing bowl, combine the graham cracker crumbs and melted butter. Mix until the crumbs are evenly coated and resemble wet sand.
Tips for Step 1
- For an extra flavor boost, consider adding a pinch of cinnamon to the crust mixture. It adds a warm, cozy touch!
- Press the mixture firmly into the bottom of your molds or mini muffin tin. This helps create a sturdy base for your cheesecake bites.
Step 2: Make the Cheesecake Filling
Next, let’s whip up that creamy cheesecake filling! In a large bowl, beat the softened cream cheese until it’s smooth and fluffy. Gradually add in the sugar, vanilla extract, and sour cream, mixing until well combined. Finally, add the eggs one at a time, mixing just until incorporated.
Tips for Step 2
- Make sure your cream cheese is at room temperature. This helps achieve a smooth filling without lumps.
- Don’t overmix the eggs; just blend until they’re combined. Overmixing can lead to cracks in your cheesecake bites.
Step 3: Assemble the Cheesecake Bites
Now comes the fun part—assembling our bites! Spoon the cheesecake filling over the prepared crust in each mold, filling them about three-quarters full. If you’re using any optional add-ons like fruit preserves, now’s the time to add a small dollop in the center of each bite.
Tips for Step 3
- Use a piping bag or a zip-top bag with the corner snipped off for a mess-free way to fill the molds.
- Don’t worry if they look a little uneven; they’ll smooth out as they bake!
Step 4: Chill and Set
Once your bites are assembled, it’s time to chill them in the refrigerator. Cover the molds with plastic wrap and let them set for at least 4 hours, or overnight if you can wait that long. This step is crucial for achieving that perfect cheesecake texture!
Tips for Step 4
- If you’re short on time, you can place them in the freezer for about 1-2 hours. Just be sure to keep an eye on them!
- Once they’re set, gently pop them out of the molds. If they stick, run a small knife around the edges to help release them.
And there you have it! Your Easter Egg Cheesecake Bites are now ready to be enjoyed. I can already imagine the smiles on everyone’s faces as they take their first bite. Let’s move on to the next section where we’ll discuss the equipment needed for this delightful recipe!
Equipment Needed for Easter Egg Cheesecake Bites Recipe
Before we dive into the kitchen, let’s make sure we have all the right tools at our fingertips. Having the right equipment can make the process smoother and more enjoyable. Here’s what you’ll need to whip up these delightful Easter Egg Cheesecake Bites!
- Mixing Bowls: A couple of medium-sized mixing bowls will do the trick. I love using glass bowls because they’re easy to clean and you can see the ingredients mixing!
- Electric Mixer: A hand mixer or stand mixer is essential for achieving that fluffy cheesecake filling. If you don’t have one, a whisk will work, but it’ll take a bit more elbow grease!
- Measuring Cups and Spoons: Accurate measurements are key in baking. Make sure you have a set of measuring cups and spoons handy.
- Mini Muffin Tin or Silicone Molds: These are perfect for shaping your cheesecake bites. If you don’t have a mini muffin tin, you can use a regular muffin tin, just adjust the baking time accordingly.
- Piping Bag or Zip-top Bag: For filling the molds neatly, a piping bag is ideal. If you don’t have one, a zip-top bag with a corner snipped off works just as well!
- Plastic Wrap: This will help cover your molds while the cheesecake bites chill in the fridge.
- Spatula: A silicone spatula is great for scraping down the sides of your mixing bowl and ensuring everything is well combined.
With these tools in hand, you’re all set to create your Easter Egg Cheesecake Bites! If you find yourself missing any of these items, don’t fret. Many kitchen tools can be substituted with what you already have. Just get creative, and let’s get baking!
Variations of Easter Egg Cheesecake Bites Recipe
As a home cook, I love experimenting with flavors and textures, especially when it comes to my Easter Egg Cheesecake Bites. The beauty of this recipe is its versatility! Here are a few fun variations that I’ve tried and absolutely adore:
- Chocolate Cheesecake Bites: Swap out half of the cream cheese for melted chocolate. This creates a rich, decadent filling that chocolate lovers will swoon over!
- Fruit-Infused Cheesecake: Incorporate pureed fruits like strawberries or blueberries into the filling. This not only adds a pop of color but also a refreshing taste that pairs beautifully with the creamy texture.
- Nutty Delight: Mix in crushed nuts like walnuts or pecans into the crust for an added crunch. You can also sprinkle some on top for a lovely garnish!
- Caramel Swirl: Drizzle caramel sauce into the cheesecake filling before baking. The sweet, gooey caramel creates a delightful surprise in every bite.
- Matcha Green Tea: For a unique twist, add matcha powder to the cheesecake filling. This not only gives a beautiful green hue but also a subtle earthy flavor that’s simply divine.
These variations allow you to tailor the Easter Egg Cheesecake Bites to your taste or the preferences of your guests. I encourage you to get creative and make this recipe your own! Each variation brings a new experience, and I can’t wait for you to try them all!
Cooking Notes for Easter Egg Cheesecake Bites Recipe
As I’ve learned through my culinary adventures, a few cooking notes can make all the difference in achieving the perfect Easter Egg Cheesecake Bites. Here are some tips that I always keep in mind when making this delightful treat:
- Room Temperature Ingredients: Ensure your cream cheese and eggs are at room temperature before mixing. This helps create a smooth and creamy filling without lumps.
- Don’t Overbake: Keep an eye on your cheesecake bites while they bake. They should be set around the edges but still slightly jiggly in the center. Overbaking can lead to a dry texture.
- Chill Time is Key: Patience is a virtue! Allowing the cheesecake bites to chill for at least 4 hours (or overnight) is crucial for the best flavor and texture. Trust me, it’s worth the wait!
- Storage: If you have leftovers (which is rare in my house!), store them in an airtight container in the fridge. They’ll stay fresh for up to a week, making them a perfect make-ahead treat.
- Presentation: For a festive touch, consider dusting the tops with powdered sugar or drizzling with chocolate before serving. A little garnish goes a long way in making these bites look as good as they taste!
By keeping these cooking notes in mind, you’ll be well on your way to creating Easter Egg Cheesecake Bites that are not only delicious but also visually stunning. Happy baking!
Serving Suggestions for Easter Egg Cheesecake Bites Recipe
Now that your Easter Egg Cheesecake Bites are ready to dazzle, let’s talk about how to serve them for maximum impact! Presentation is key, and I love to make these little treats shine on the dessert table. Here are some of my favorite serving suggestions:
- Colorful Platter: Arrange the cheesecake bites on a vibrant platter, mixing in some fresh fruits like strawberries or blueberries. The colors will pop and create an inviting display!
- Mini Nest Display: Create a whimsical look by placing the bites in edible nests made from shredded coconut or chocolate nests. It adds a fun Easter touch that kids will adore!
- Garnish with Whipped Cream: A dollop of freshly whipped cream on top of each bite elevates the dessert. You can even sprinkle some chocolate shavings or crushed nuts for added texture.
- Pair with Coffee or Tea: These cheesecake bites pair beautifully with a cup of coffee or tea. The rich flavors complement each other perfectly, making for a delightful afternoon treat.
- Individual Treats: For a more personal touch, serve each cheesecake bite in mini cupcake liners. This makes them easy to grab and enjoy, especially during gatherings!
With these serving suggestions, your Easter Egg Cheesecake Bites will not only taste amazing but also look like a masterpiece on your table. I can already picture the smiles as everyone digs in! Now, let’s move on to some tips for perfecting this delightful recipe.
Tips for Perfecting Easter Egg Cheesecake Bites Recipe
As I’ve spent countless hours perfecting my Easter Egg Cheesecake Bites, I’ve gathered a treasure trove of tips that can help you achieve the best results. These little nuggets of wisdom will ensure your bites are not only delicious but also visually stunning. Here’s what I’ve learned along the way:
- Use Quality Ingredients: Always opt for high-quality cream cheese and fresh eggs. The better the ingredients, the richer and creamier your cheesecake will be!
- Preheat Your Oven: Make sure your oven is fully preheated before baking. This helps the cheesecake bites cook evenly and prevents any unwanted texture issues.
- Don’t Skip the Chill: Allowing your cheesecake bites to chill for the recommended time is crucial. This step helps them set properly and enhances the flavors.
- Experiment with Flavors: Don’t be afraid to get creative! Try different flavorings or toppings to make each batch unique. You might just stumble upon a new favorite!
- Check for Doneness: When baking, gently shake the pan. If the edges are set but the center has a slight jiggle, they’re done! Overbaking can lead to a dry texture.
By keeping these tips in mind, you’ll be well on your way to creating Easter Egg Cheesecake Bites that are sure to impress. I can’t wait for you to share these delightful treats with your loved ones!
Breakdown of Time for Easter Egg Cheesecake Bites Recipe
As a home cook, I know that time management is key in the kitchen. When it comes to making my Easter Egg Cheesecake Bites, having a clear breakdown of the time involved helps me plan my day better. Here’s how the timing works out for this delightful recipe:
- Prep Time: 30 minutes – This includes gathering your ingredients, preparing the crust, and mixing the cheesecake filling. It’s a fun and creative time where you can let your culinary spirit shine!
- Cooking Time: 20 minutes – Baking the cheesecake bites is a quick process. Just keep an eye on them to ensure they don’t overbake!
- Chill Time: 4 hours (or overnight) – This is the most important step! Allowing the bites to chill ensures they set perfectly and develop that creamy texture we all love.
Total Time: Approximately 4 hours and 50 minutes (including chill time) – While the active cooking time is relatively short, the chill time is essential for the best results. I often make these bites the day before a gathering, so they’re ready to impress when it’s time to serve!
With this time breakdown, you can easily fit these delightful treats into your schedule. I promise, the wait will be worth it when you see the smiles on everyone’s faces as they enjoy your Easter Egg Cheesecake Bites!
Nutritional Information for Easter Egg Cheesecake Bites Recipe
As a passionate home cook, I always find it helpful to know the nutritional information of the treats I make. It allows me to enjoy them mindfully and share them with friends and family who may have dietary considerations. Here’s a general breakdown of the nutritional content for one Easter Egg Cheesecake Bite, assuming the recipe yields about 24 bites:
- Calories: Approximately 120 calories
- Protein: 2 grams
- Carbohydrates: 15 grams
- Fat: 7 grams
- Saturated Fat: 4 grams
- Cholesterol: 30 mg
- Sodium: 80 mg
- Fiber: 0.5 grams
- Sugar: 6 grams
Keep in mind that these values can vary based on the specific ingredients you use and any optional add-ons you choose to include. For instance, if you decide to add chocolate chips or fruit preserves, the calorie count may increase slightly. I always recommend enjoying these bites in moderation, especially during festive occasions like Easter. They’re a delightful treat that can be part of a balanced diet!
Frequently Asked Questions about Easter Egg Cheesecake Bites Recipe
As I’ve shared my Easter Egg Cheesecake Bites with friends and family, I’ve noticed a few common questions pop up. It’s always great to clarify any doubts, especially when it comes to creating these delightful treats. Here are some frequently asked questions that I hope will help you on your baking journey!
Can I make these cheesecake bites ahead of time?
Absolutely! In fact, I recommend making them a day in advance. The chilling time allows the flavors to meld beautifully, and they’ll be ready to impress when it’s time to serve. Just store them in an airtight container in the fridge until you’re ready to enjoy!
What if I don’t have mini muffin tins?
No worries! If you don’t have mini muffin tins, you can use a regular muffin tin. Just keep in mind that the baking time may vary slightly. You can also use silicone molds, which make it easy to pop out the bites once they’re set.
Can I freeze the cheesecake bites?
Yes, you can freeze these bites! Just make sure they are well-wrapped in plastic wrap and stored in an airtight container. They can be frozen for up to a month. When you’re ready to enjoy them, simply thaw them in the fridge overnight.
How do I know when the cheesecake bites are done baking?
Great question! The edges should be set, while the center will still have a slight jiggle. This indicates that they’re perfectly baked. Remember, overbaking can lead to a dry texture, so keep a close eye on them!
Can I use flavored cream cheese?
Definitely! Using flavored cream cheese, like strawberry or chocolate, can add a fun twist to your cheesecake bites. Just keep in mind that it may alter the overall flavor, so choose a flavor that complements your other ingredients.
What can I use instead of graham cracker crumbs for the crust?
If you’re looking for alternatives, crushed cookies like Oreos or digestive biscuits work wonderfully. You can also use crushed nuts for a gluten-free option. Just mix them with melted butter to create a similar crust texture!
These FAQs should help clear up any uncertainties you might have about making your Easter Egg Cheesecake Bites. I’m excited for you to try this recipe and create your own delicious memories in the kitchen!
Conclusion on Easter Egg Cheesecake Bites Recipe
As I wrap up this delightful journey of creating Easter Egg Cheesecake Bites, I can’t help but feel a sense of joy and nostalgia. These little treats are more than just a dessert; they are a celebration of love, creativity, and the sweet moments we share with family and friends. The creamy filling, the crunchy crust, and the vibrant colors make them a feast for both the eyes and the taste buds.
What I love most about this recipe is its versatility. Whether you stick to the classic version or experiment with fun variations, each bite is sure to bring smiles and spark joy. Plus, they can be made ahead of time, allowing you to enjoy the festivities without the stress of last-minute baking.
So, as you gather around the table this Easter, I encourage you to whip up a batch of these Easter Egg Cheesecake Bites. Share them with your loved ones, and create new memories that will last a lifetime. Happy baking, and may your Easter be filled with sweetness and laughter!