Introduction to Honey Lavender Thumbprint Cookies
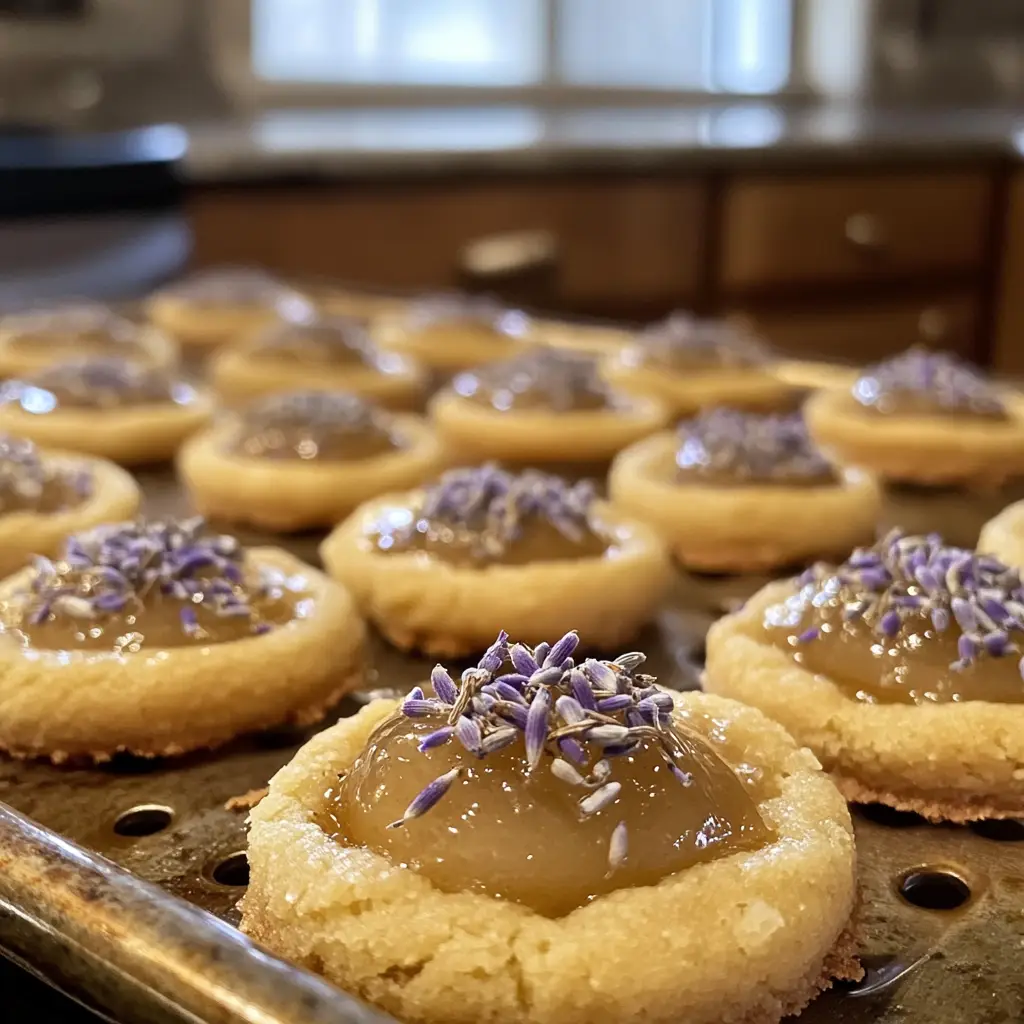
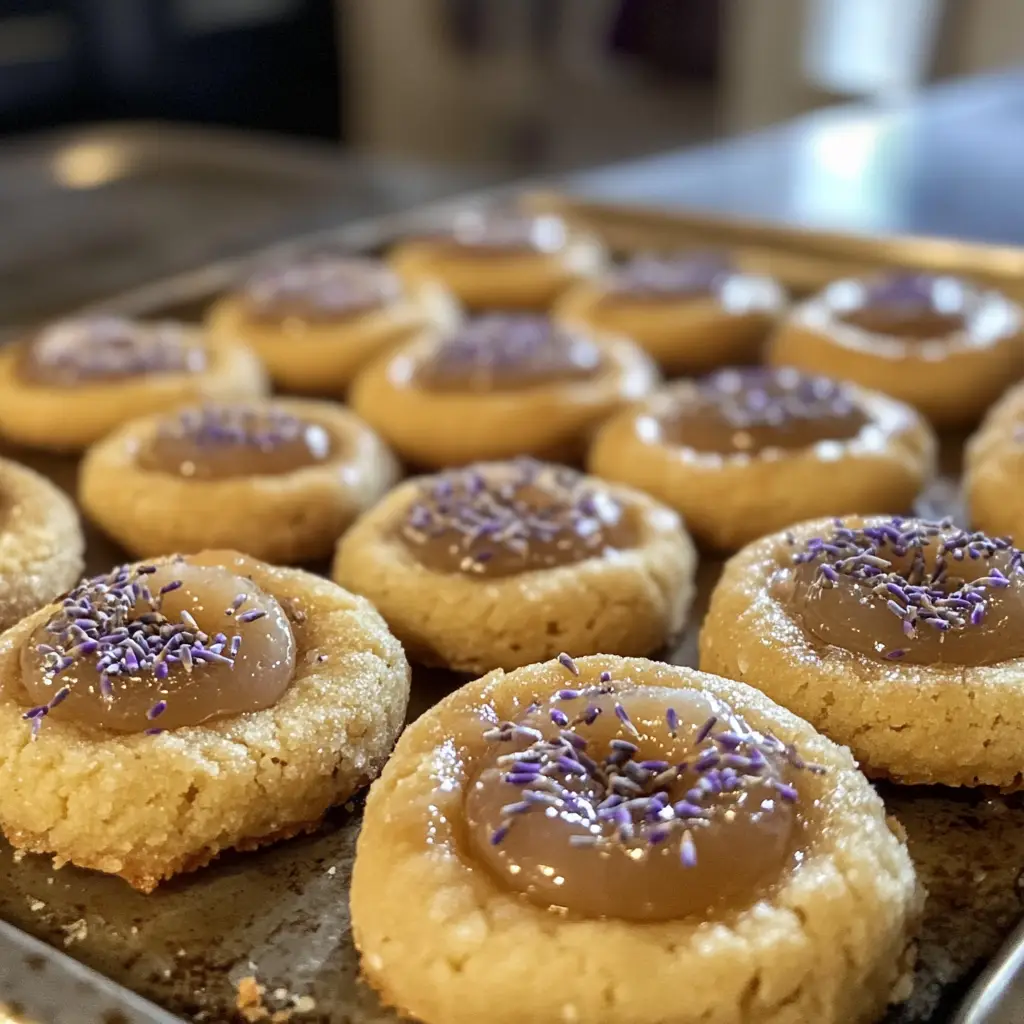
As a passionate home cook, I find joy in creating treats that not only taste delightful but also tell a story. One of my favorite recipes is for Honey Lavender Thumbprint Cookies. The moment I first tasted these cookies, I was transported to a sunlit garden filled with blooming lavender. The sweet aroma of honey mingled with the floral notes of lavender, creating a symphony of flavors that danced on my palate.
These cookies are more than just a dessert; they are a celebration of nature’s beauty. I remember the first time I made them for a family gathering. The kitchen was filled with laughter and the warm scent of baking cookies. As I pulled the tray from the oven, my family gathered around, their eyes wide with anticipation. The moment they took a bite, smiles spread across their faces, and I knew I had created something special.
Honey Lavender Thumbprint Cookies are perfect for any occasion, whether it’s a cozy afternoon tea or a festive holiday gathering. They are simple to make yet elegant enough to impress your guests. Plus, the combination of honey and lavender is not only delicious but also brings a touch of sophistication to your dessert table.
In this article, I’ll guide you through the process of making these delightful cookies, sharing tips and tricks that I’ve learned along the way. So, grab your apron, and let’s embark on this sweet culinary adventure together!
Ingredients for Honey Lavender Thumbprint Cookies
Before we dive into the baking process, let’s gather our ingredients. Having everything ready makes the experience smoother and more enjoyable. I always find that when I have my ingredients prepped, it feels like I’m setting the stage for a delightful performance in the kitchen. Here’s what you’ll need to create these enchanting cookies.
Main Ingredients
- 1 cup unsalted butter, softened (make sure it’s at room temperature for easy creaming)
- ¾ cup granulated sugar
- ¼ cup honey (I love using local honey for its unique flavor)
- 2 cups all-purpose flour
- 1 tablespoon dried culinary lavender (be sure to use food-grade lavender)
- ½ teaspoon salt
- 1 teaspoon vanilla extract
When selecting your ingredients, I recommend using high-quality butter and honey. The butter adds richness, while the honey brings a natural sweetness that pairs beautifully with lavender. If you can, try to find lavender from a local farmer’s market or specialty store. The fresher the lavender, the more vibrant the flavor!
Optional Add-ons
- 1 tablespoon lemon zest (for a zesty twist)
- ½ cup chopped nuts (like almonds or walnuts, for added crunch)
- Different jams for filling (raspberry, apricot, or even lemon curd)
These optional ingredients can elevate your cookies even further. I often add lemon zest for a refreshing zing that complements the floral notes of lavender. If you’re feeling adventurous, try experimenting with different jams for the thumbprint filling. Each variation brings a new flavor profile to the table, making every batch a unique experience!
How to Prepare Honey Lavender Thumbprint Cookies
Now that we have our ingredients ready, it’s time to roll up our sleeves and get baking! The process of making Honey Lavender Thumbprint Cookies is as delightful as the cookies themselves. Each step is an opportunity to infuse love and care into your creation. Let’s dive into the steps together!
Step 1: Creaming the Butter and Sugar
Start by placing the softened butter and granulated sugar in a large mixing bowl. Using an electric mixer, beat them together on medium speed until the mixture is light and fluffy. This usually takes about 3-5 minutes. The key here is to incorporate air into the mixture, which will help your cookies rise beautifully.
Tips for Achieving the Perfect Cream
Make sure your butter is at room temperature; this makes it easier to cream. If you forget to take it out ahead of time, you can cut it into small cubes and let it sit for about 15 minutes. Also, scrape down the sides of the bowl occasionally to ensure everything is mixed evenly. Trust me, this little step makes a big difference!
Step 2: Incorporating the Lavender and Honey
Next, it’s time to add the honey and dried lavender to the creamed mixture. Pour in the honey and sprinkle the lavender over the top. Mix on low speed until everything is well combined. The aroma that fills your kitchen at this point is simply heavenly!
Tips for Measuring Lavender
When measuring lavender, I recommend using a kitchen scale for accuracy. If you don’t have one, a tablespoon works just fine. Just be sure to pack it lightly, as too much lavender can overpower the cookies. Remember, we want a hint of floral, not a bouquet!
Step 3: Forming the Cookie Dough
Now, it’s time to add the flour and salt to the mixture. Gradually mix in the flour and salt until a soft dough forms. You can use a spatula or your hands to bring it all together. The dough should be slightly sticky but manageable.
Tips for Consistency
If your dough feels too sticky, don’t panic! Just sprinkle a little extra flour on your hands while shaping the cookies. This will help prevent sticking without altering the dough’s texture. Remember, the goal is a soft, pliable dough that holds its shape when baked.
Step 4: Baking the Cookies
Preheat your oven to 350°F (175°C). While it’s heating, line a baking sheet with parchment paper. Scoop out tablespoon-sized portions of dough and roll them into balls. Place them on the prepared baking sheet, leaving some space between each cookie. Use your thumb to create an indentation in the center of each ball.
Tips for Even Baking
To ensure even baking, try to make your cookie balls uniform in size. This way, they’ll all bake at the same rate. If you want a little extra flair, you can chill the cookie dough balls in the fridge for about 15 minutes before baking. This helps them hold their shape even better!
Step 5: Filling the Thumbprints
Once your cookies are baked and slightly cooled, it’s time to fill those lovely thumbprints! Choose your favorite jam and spoon a small amount into each indentation. Be careful not to overfill, as the jam can bubble over while baking.
Tips for Choosing the Right Jam
When it comes to jam, I love using raspberry or apricot for their vibrant flavors. However, feel free to experiment! Lemon curd adds a delightful tang, while strawberry jam brings a classic sweetness. The choice is yours, and each variation will create a unique twist on this delightful cookie!
Equipment Needed for Honey Lavender Thumbprint Cookies
Before we dive into the baking process, let’s gather the essential tools that will make our cookie-making adventure a breeze. Having the right equipment on hand not only simplifies the process but also enhances the joy of baking. Here’s what you’ll need:
- Mixing Bowls: A large mixing bowl is essential for creaming the butter and sugar. I often use a glass bowl because it’s easy to see the texture of the mixture.
- Electric Mixer: An electric mixer saves time and effort when creaming the butter and sugar. If you don’t have one, a good old-fashioned whisk will work, but be prepared for a workout!
- Measuring Cups and Spoons: Accurate measurements are key to baking success. I recommend using dry measuring cups for flour and sugar, and liquid measuring cups for honey.
- Baking Sheet: A sturdy baking sheet is necessary for placing your cookies. If you don’t have one, a flat oven-safe dish can work in a pinch.
- Parchment Paper: Lining your baking sheet with parchment paper prevents sticking and makes cleanup a breeze. If you’re out of parchment, a silicone baking mat is a great alternative.
- Cookie Scoop or Spoon: A cookie scoop helps create uniform cookie sizes, but a regular tablespoon works just as well if you don’t have one.
- Thumbprint Tool: While your thumb is the traditional tool for making the indentations, you can also use the back of a small spoon if you prefer.
With these tools at your side, you’ll be well-equipped to create your Honey Lavender Thumbprint Cookies. Remember, the joy of baking comes not just from the end result but also from the process itself. So, let’s get started!
Variations of Honey Lavender Thumbprint Cookies
As I’ve experimented with Honey Lavender Thumbprint Cookies, I’ve discovered that there are countless ways to put a personal spin on this delightful treat. Each variation brings its own unique flavor and charm, making the baking experience even more exciting. Here are a few of my favorite twists that you might want to try:
- Chocolate Drizzle: After filling the thumbprints with jam, melt some dark chocolate and drizzle it over the cookies. The rich chocolate pairs beautifully with the floral notes of lavender.
- Herbal Infusion: For a more complex flavor, consider adding a teaspoon of finely chopped fresh herbs like rosemary or thyme to the dough. This adds an earthy depth that complements the lavender.
- Citrus Burst: Swap out the honey for orange or lemon honey to infuse a zesty brightness into the cookies. The citrus notes will dance alongside the lavender, creating a refreshing treat.
- Nutty Delight: Incorporate finely chopped nuts, such as pistachios or hazelnuts, into the dough for added texture and flavor. The crunchiness of the nuts adds a delightful contrast to the soft cookie.
These variations not only keep things interesting but also allow you to tailor the cookies to your taste preferences or the occasion. I love how a simple change can transform the entire experience, making each batch feel like a new adventure in baking!
Cooking Notes for Honey Lavender Thumbprint Cookies
As I’ve baked these Honey Lavender Thumbprint Cookies time and time again, I’ve picked up a few cooking notes that can help ensure your baking experience is as smooth as honey. Here are some insights that I find particularly helpful:
- Chill the Dough: If you find that your dough is too soft to handle, don’t hesitate to chill it in the refrigerator for about 30 minutes. This will make it easier to shape and help the cookies maintain their form while baking.
- Watch the Baking Time: Every oven is different, so keep an eye on your cookies as they bake. They should be lightly golden around the edges but still soft in the center. If you overbake them, they can lose that delightful chewy texture.
- Store Properly: To keep your cookies fresh, store them in an airtight container at room temperature. They can last for about a week, but I doubt they’ll last that long once your family gets a taste!
- Experiment with Fillings: Don’t be afraid to try different jams or even curds for the thumbprint filling. Each choice can bring a new flavor experience, so let your taste buds guide you!
These cooking notes are like little nuggets of wisdom that I’ve gathered over my baking journey. They help me create the perfect batch of cookies every time, and I hope they do the same for you. Happy baking!
Serving Suggestions for Honey Lavender Thumbprint Cookies
When it comes to serving my Honey Lavender Thumbprint Cookies, I love to get a little creative! These cookies are not just a treat; they can be the star of your dessert table or a charming addition to any gathering. Here are some delightful serving suggestions that I’ve found elevate the experience:
- Tea Time Delight: Pair these cookies with a fragrant cup of herbal tea, like chamomile or earl grey. The floral notes of the tea complement the lavender beautifully, creating a serene afternoon moment.
- Picnic Treat: Pack these cookies for a picnic in the park. Their unique flavor will surprise and delight your friends, making them a perfect conversation starter.
- Gift from the Heart: Arrange the cookies in a decorative box or tin and gift them to friends or family. A handwritten note adds a personal touch that makes the gift even more special.
- Brunch Buffet: Serve these cookies as part of a brunch spread alongside fresh fruit, yogurt, and pastries. Their elegant appearance will surely impress your guests!
Each of these serving suggestions adds a layer of charm to the experience of enjoying Honey Lavender Thumbprint Cookies. Whether you’re sharing them with loved ones or savoring them solo, these cookies are sure to bring a smile to your face. So, let’s get ready to share the joy of baking!
Tips for Perfecting Honey Lavender Thumbprint Cookies
As I’ve baked these Honey Lavender Thumbprint Cookies, I’ve gathered a treasure trove of tips that can help you achieve cookie perfection. Each little nugget of wisdom can make a world of difference in your baking journey. Here are my top tips to ensure your cookies turn out just right:
- Use Fresh Ingredients: Always opt for fresh lavender and high-quality honey. The flavors are more vibrant, and your cookies will taste like a slice of heaven!
- Don’t Skip the Chilling: If your dough feels too soft, chilling it for about 30 minutes can help. This step is crucial for shaping and maintaining the cookies’ form while baking.
- Mind the Oven Temperature: Make sure your oven is preheated properly. An oven thermometer can help ensure accuracy, as even a few degrees can affect baking time.
- Experiment with Fillings: Try different jams or curds for the thumbprint filling. Each choice can create a unique flavor experience, so let your creativity shine!
- Cool Before Storing: Allow your cookies to cool completely before storing them in an airtight container. This helps maintain their texture and prevents them from becoming soggy.
These tips are like little guiding stars on your baking adventure. With each batch, you’ll find your rhythm and discover what works best for you. Happy baking, and may your Honey Lavender Thumbprint Cookies be a delightful success!
Breakdown of Time for Honey Lavender Thumbprint Cookies
When it comes to baking, timing is everything! I’ve learned that having a clear idea of how long each step takes can make the process feel more manageable and enjoyable. Here’s a quick breakdown of the time you’ll need to whip up a batch of these delightful Honey Lavender Thumbprint Cookies:
- Prep Time: Approximately 20 minutes. This includes gathering your ingredients, creaming the butter and sugar, and forming the cookie dough. I always find that this part is like setting the stage for a beautiful performance!
- Cooking Time: About 12-15 minutes. Keep an eye on your cookies as they bake, ensuring they turn a lovely golden color without overbaking. The aroma wafting through your kitchen will be worth the wait!
- Total Time: Roughly 35-40 minutes. In just over half an hour, you’ll have a batch of scrumptious cookies ready to impress your family and friends.
With this time breakdown, you can plan your baking session with ease. Whether you’re making these cookies for a special occasion or just to enjoy at home, knowing how long each step takes helps keep the excitement alive. So, let’s get baking and fill our kitchens with the sweet scent of honey and lavender!
Nutritional Information for Honey Lavender Thumbprint Cookies
As a passionate home cook, I believe that enjoying a treat like Honey Lavender Thumbprint Cookies can be part of a balanced lifestyle. While these cookies are undeniably delicious, it’s also good to be mindful of their nutritional content. Here’s a quick overview of the nutritional information for one cookie, assuming the recipe yields about 24 cookies:
- Calories: Approximately 120 calories
- Fat: 6g (of which saturated fat is 4g)
- Carbohydrates: 16g
- Fiber: 0.5g
- Sugar: 6g
- Protein: 1g
These cookies are a delightful treat, but moderation is key! The combination of butter and honey gives them a rich flavor, while the lavender adds a unique twist. If you’re looking to make them a bit healthier, consider using whole wheat flour or reducing the sugar slightly. Remember, baking is all about balance, and these cookies can be enjoyed as part of a joyful and fulfilling culinary journey!
Frequently Asked Questions about Honey Lavender Thumbprint Cookies
As I’ve shared my love for Honey Lavender Thumbprint Cookies, I’ve often encountered questions from fellow bakers eager to try this delightful recipe. It’s always a joy to connect with others who share my passion for baking! Here are some of the most frequently asked questions I receive, along with my answers to help you on your cookie-making journey.
Can I use fresh lavender instead of dried?
Absolutely! Fresh lavender can be used, but you’ll need to use more of it since the flavor is less concentrated. I recommend using about three times the amount of fresh lavender compared to dried. Just make sure to chop it finely to release its aromatic oils!
What type of honey works best for these cookies?
I love using local honey because it adds a unique flavor that varies with the seasons. However, any light-colored honey will work well. Just avoid strong-flavored honeys, like buckwheat, as they can overpower the delicate lavender notes.
Can I make the dough ahead of time?
Yes! You can prepare the dough in advance and refrigerate it for up to three days. Just wrap it tightly in plastic wrap. When you’re ready to bake, let it sit at room temperature for about 15 minutes before shaping the cookies. This makes it easier to work with!
How should I store the cookies?
To keep your cookies fresh, store them in an airtight container at room temperature. They can last for about a week, but I doubt they’ll last that long once your family gets a taste! If you want to keep them longer, you can freeze them for up to three months.
Can I substitute the flour for a gluten-free option?
Yes, you can use a gluten-free all-purpose flour blend in place of regular flour. Just make sure it contains xanthan gum, which helps mimic the texture of traditional flour. I’ve had great success with gluten-free blends, and the cookies still turn out delicious!
These questions reflect the curiosity and creativity that come with baking. I hope my answers inspire you to dive into making your own Honey Lavender Thumbprint Cookies. Remember, baking is all about experimenting and having fun, so don’t hesitate to make this recipe your own!
Conclusion on Honey Lavender Thumbprint Cookies
As I reflect on my journey with Honey Lavender Thumbprint Cookies, I can’t help but smile at the memories they’ve created. These cookies are not just a treat; they are a delightful experience that brings together the sweet essence of honey and the enchanting aroma of lavender. Each bite is a reminder of the beauty of simple ingredients coming together to create something truly special.
Whether you’re baking for a special occasion or simply indulging in a cozy afternoon at home, these cookies are sure to impress. Their elegant appearance and unique flavor make them a standout addition to any dessert table. Plus, the joy of sharing them with family and friends adds an extra layer of warmth to the experience.
So, I encourage you to embrace the art of baking these Honey Lavender Thumbprint Cookies. With each batch, you’ll not only hone your skills but also create delicious memories that will linger long after the last crumb is gone. Happy baking, and may your kitchen be filled with the sweet scent of honey and lavender!